


Hardware components | ||||||
 |
| × | 1 | |||
 |
| × | 1 | |||
 |
| × | 1 | |||
 |
| × | 1 | |||
 |
| × | 1 | |||
Software apps and online services | ||||||
| ||||||
| ||||||
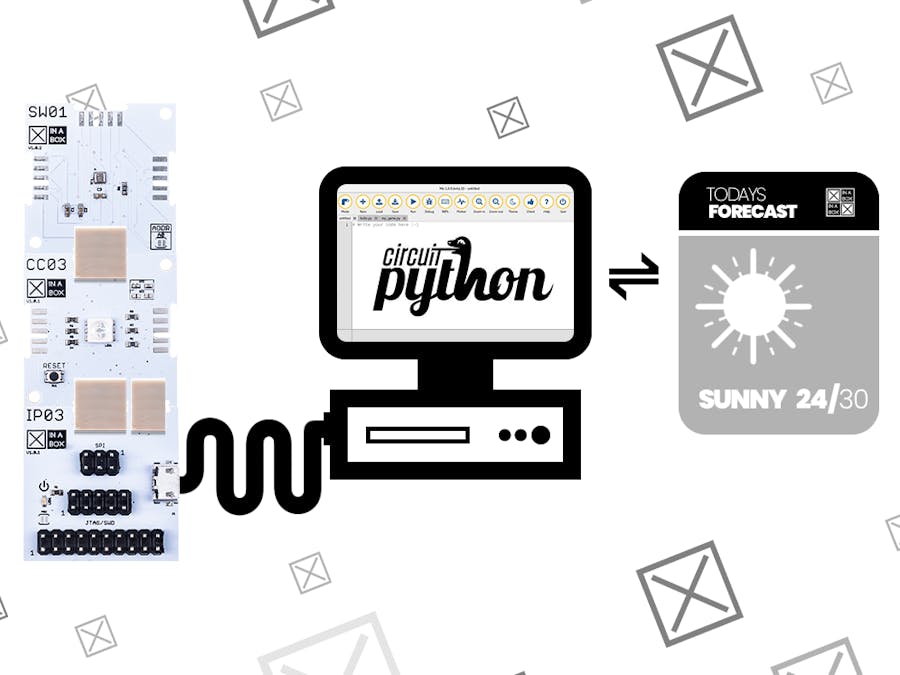
In this tutorial we will show you how to use the Mu Python editor to interact with an implementation of CircuitPython that is loaded onto an XinaBox programmable core. We will use a weather sensor xChip to record environmental data which is visualised in Mu.
- XinaBox produces a range of 80+ modular xChips, which includes cores/CPUs, sensors, power, communication, output, and storage, using a connectivity standard without wires, soldering, breadboards or hardware knowledge.
- Mu Is a simple and easy to use Python editor for microcontrollers which is designed to be beginner friendly. It is an open source project developed and maintained by a vibrant and committed community which focuses on incorporating feedback from teachers and learners.
- CircuitPython is is an open source derivative of the MicroPython programming language targeted towards students and beginners. Development of CircuitPython is supported by Adafruit Industries (wikipedia).
By combining the power and simplicity of XinaBox and Mu we can build simple and advanced projects, from Hello World to home automation.
Steps in this tutorial- Hardware setup
- Installing software modules
- The code
- Result
- Summary
- Related projects
You should be able to work through this in 10-15 minutes or so.
Hardware setupConnect the CC03, SW01 and IP03 xChips together using the XC10 xBUS connectors and XS02 xPDI connectors. You may connect it as shown in the image below:
Please see this guide on how to assemble xChips generally.
Note:you could substitute a CS11 xChip for the CC03 and you could use the IP02 instead of the IP03.
Connect the IP03 to your laptop / PC using a micro-USB cable.
Installing software modulesThe first step here is to install CircuitPython on your CC03:
- The process is quick and simple, and is fully documented in this Hackster tutorial.
NB - once you have installed CircuitPython, double-clicking the reset button on the CC03 will result in the CircuitPython installation being removed.
Next we need to add some modules (libraries) to the CC03. We will add a lib folder that we will download from Github:
- Navigate to this repo on GitHub
- Download the whole lib folder (it will download as a zip):
- Unzip then add the lib folder and all its contents to your CC03:
NOTES:
- Inside the lib folder are pre-compiled modules (files with extension.mpy). To avoid memory errors always use pre-compiled libraries.
- There are several alternative BME280 modules you could find, but using a different version to the one suggested may result in compatibility issues.
- Make sure you have flashed CircuitPython onto your CC03 before trying to add the modules.
Save the code provided in a file called “code.py”
Now load "code.py” onto your CC03 - save it in the CIRCUITPYTHON drive as “code.py”:
import time
import board
import busio
import adafruit_bme280

# Create library object using Bus I2C port
i2c = busio.I2C(board.SCL, board.SDA)

#initialize SW01 sensor
bme280 = adafruit_bme280.Adafruit_BME280_I2C(i2c)

# change this to match the location's pressure (hPa) at sea level
bme280.sea_level_pressure = 1013.25

while True:
         # Plot weather values on Mu Plotter
         print((bme280.temperature,bme280.humidity,bme280.pressure))

         # Print on Serial console
         print("\nTemperature(C): "+str(bme280.temperature))
         print("Humidity(%): "+str(bme280.humidity))
         print("Pressure(hPa): "+str(bme280.pressure))
         time.sleep(1)
This code uses Mu's built-in serial console (REPL) and graphing tool to print and visualise the weather data.
ResultWith the CC03 plugged into your PC / laptop, open Mu then click on SERIAL and PLOTTER. Data should begin to accumulate, and your view should look something like this:
The scale on the graph is determined dynamically based on the data we feed to it. Remove pressure from the data sent to the graph in the Python code (print((bme280.temperature,bme280.humidity,bme280.pressure))) to get a scale that shows temperature and humidity data more clearly.
In this tutorial we have shown how to build a simple weather station with xChips and the Mu editor. An implementation of CircuitPython loaded onto our XinaBox core is used to execute code, with Mu providing us the tools to view the output.
By adding different xChips you can build all sorts of instruments in a similar way. Look out for upcoming tutorials in this series showing how to use other xChips with Mu and CircuitPython.
Related projectsYou can use your xChips to build all sorts of instruments and devices. Here's a list of projects that are similar to this one:


Comments