IntroI built this weather station to sense the environment around my home just for fun. It was built using the modular platform, XinaBox. It is an easy to use platform that simply clicks together, no hardware hassles. The system runs on the CW01 ☒CHIP, which is an ESP8266 based WiFi core. The CW01 publishes the data to an MQTT broker over my home WiFi, where I can subscribe to the data with a Kibana server to visualize and plot the data.
Weather data plotted in Kibana
Apart from the set of ☒CHIPS, you will need Arduino installed and the following libraries.
- ESP8266 Board Driver from Arduino Board Manager
- ESP8266WiFi (Part of the ESP8266 board files in Arduino)
Additional:
- MQTT Server to publish to.
- Any visualization software that can subscribe to the MQTT Broker (I used Kibana).
Programming the CW01Click in an IP01 ☒CHIP onto the CW01 using an XC10 connector and plug into a USB port on your computer. Open Arduino, select the correct COM port, set the switches on the IP01 to "B" and "DCE" positions. Under Tools select "Generic ESP8266 Module" and set Flash Size to "4M (1M SPIFFS)", the rest can be left as default, then upload the sketch, which I will provide in the code section of this page. (Remember to change the WiFi and MQTT Server details to your own). Connect similar to the picture below.
CW02 and IP01 connected together for programming over USB.
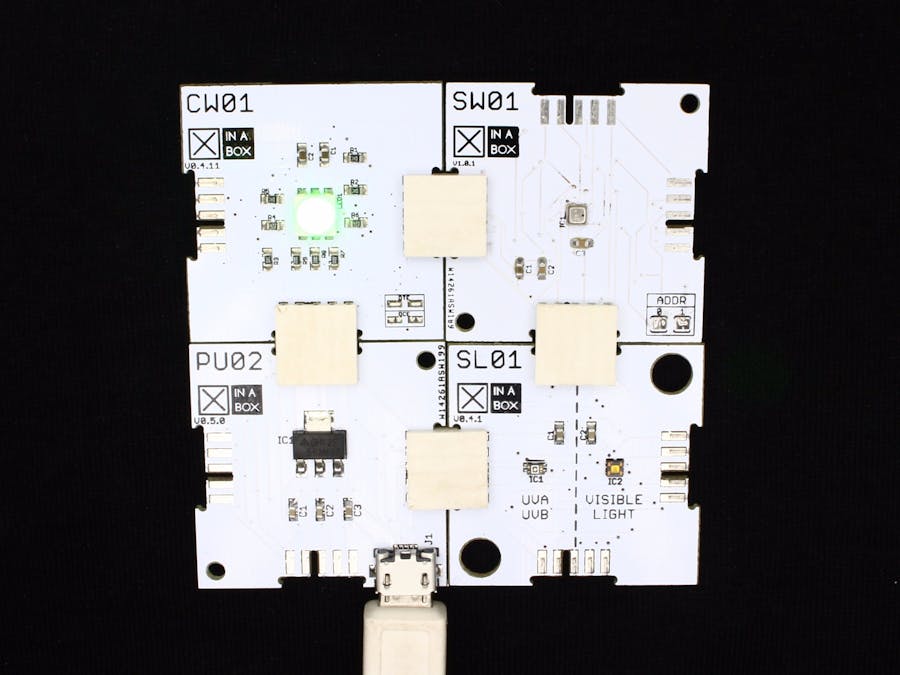
What build? Lol. The ☒CHIPS make it very easy, simply click them together with the XC10 connectors until it looks like the picture at the top of the page. The only thing to bare in mind, the small XinaBox logos with chip name must all face the same direction, the bus at the top and bottom of the board are NOT the same. Usually the boards have a large logo at the bottom.
Running itPut the device where-ever you want to measure the environment, simply plug a micro-USB cable into the PU02 and power it from a USB phone charger or computer USB port.


Comments