

Hardware components | ||||||
 |
| × | 1 | |||
| × | 1 | ||||
Software apps and online services | ||||||
| ||||||
 |
| |||||
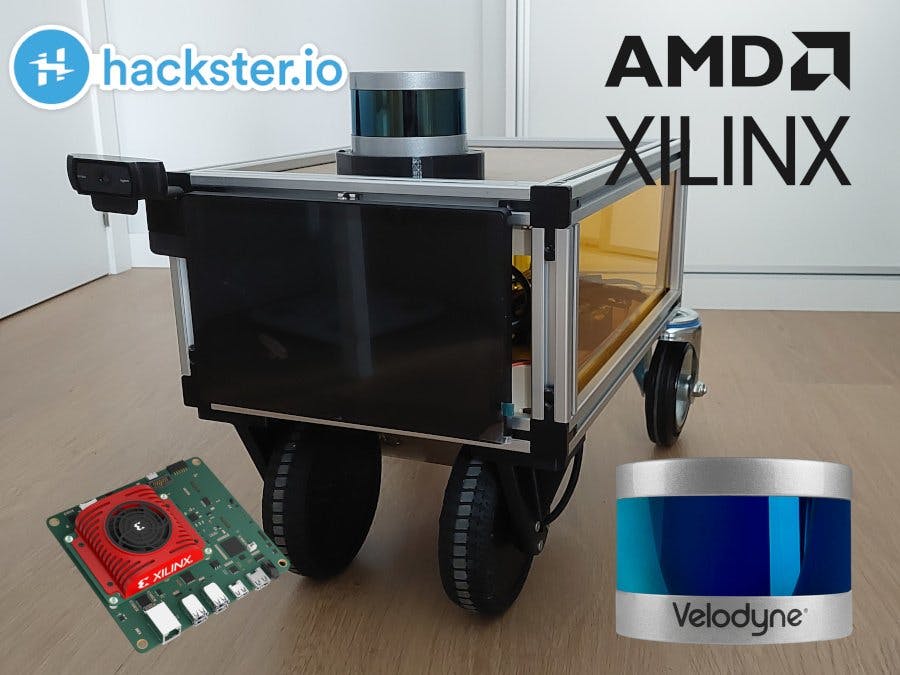
Kria Autonomous Robotic Platform (Karp) uses a Velodyne VLP16 Lidar for sensing the environment and checking the surroundings. In this tutorial, we will see how to connect this Lidar to the Kria KV260 board and how we can see the sensor information using ROS 2.
1. Connecting VLP16 to KriaThis step is easy, you only need to connect one Ethernet cable from the Velodyne Junction box to the Kria kv260 board ethernet port. For Karp, we don't need to use any intermediate switch since we will use Wifi for connecting to the robot.
The connection should be something like this:
Velodyne VLP16 sensor connected to Velodyne Junction box and this one it needs to be fed with 24V and connected to the Ethernet port of the Kria board.
By default, you can communicate with the Lidar and obtain PCAP packages through the 192.168.1.201 IP Address.
You need to create a network using eth0 interface to which we will give a static IP Address. For this end, we need to change /etc/network/interfaces file as superuser and replace the by default eth0 dhcp with something like,
auto eth0
iface eth0  inet static
 address 192.168.1.1
 netmask 255.255.255.0
 gateway 192.168.1.254
Once we have this file modified we could ping to 192.168.1.201 and if everything is alright we should receive the corresponding package,
$ ping 192.168.1.201
PING 192.168.1.201 (192.168.1.201) 56(84) bytes of data.
64 bytes from 192.168.1.201: icmp_seq=1 ttl=64 time=0.516 ms
64 bytes from 192.168.1.201: icmp_seq=2 ttl=64 time=0.411 msIn ROS 2 in Kria kv260 with Petalinux 2021.2 we have seen how to install ROS 2 using meta-ros in a Petalinux 2021.2 project but there we didn't install the corresponding package for Velodyne. To have Velodyne packages installed in our Petalinux image we need to add velodyne to petalinux-image-minimal.bbappend. This will install in our image the next packages:
libflann
libpcap1
pcl
velodyne
velodyne-driver
velodyne-laserscan
velodyne-msgs
velodyne-pointcloud
If we check Velodyne ROS 2 foxy package we can see that this ROS 2 package is composed of the next packages,
- velodyne
- velodyne_driver
- velodyne_laserscan
- velodyne_msgs
- velodyne_pointcloud
velodyne_driver is a ROS 2 driver for Velodyne devices. It currently supports the 64E(S2, S2.1, S3), the 32E, the 32C, and the VLP-16. This driver is responsible for taking the data from the Velodyne and combining it into one message per revolution. To turn that raw data into a point cloud or laser scan, see the velodyne_pointcloud and velodyne_laserscan packages. /velodyne_packets is the published topic in ROS 2.
velodyne_laserscan is a ROS 2 package that takes point cloud data as output by one of the velodyne_pointcloud nodes and converts it to a single laser scan. /scan is the published topic.
/velodyne_pointcloud is a ROS 2 package that takes raw Velodyne data as output by the velodyne_driver node and converts it into a sensor_msgs/PointCloud2 message.
Once we have the corresponding packages installed on the image we can do a simple launch file test to check that the Lidar is working. The test ROS 2 launch file is something like this,
import os
import yaml

import ament_index_python.packages
from launch import LaunchDescription
from launch_ros.actions import Node

# velodyne_1


def generate_launch_description():
    ld = LaunchDescription()

    driver_share_dir_1 = ament_index_python.packages.get_package_share_directory('velodyne_driver')
    driver_params_file_1 = os.path.join(driver_share_dir_1, 'config', 'vlp_1.yaml')
    velodyne_driver_node_1 = Node(package="velodyne_driver", executable="velodyne_driver_node", name="velodyne_driver_node_1", parameters=[driver_params_file_1], remappings=[
        ("velodyne_packets", "velodyne_packets_1")
    ]
    )

    convert_share_dir_1 = ament_index_python.packages.get_package_share_directory(
        'velodyne_pointcloud')
    convert_params_file_1 = os.path.join(
        convert_share_dir_1, 'config', 'VLP16-velodyne_convert_node-params.yaml')
    with open(convert_params_file_1, 'r') as f:
        convert_params_1 = yaml.safe_load(f)['velodyne_convert_node']['ros__parameters']
    convert_params_1['calibration'] = os.path.join(convert_share_dir_1, 'params', 'VLP16db.yaml')
    velodyne_convert_node_1 = Node(package="velodyne_pointcloud", executable="velodyne_convert_node", name="velodyne_convert_node_1", parameters=[convert_params_1], remappings=[
        ("velodyne_packets", "velodyne_packets_1"),
        ("velodyne_points", "velodyne_points_1")
    ]
    )

    laserscan_share_dir_1 = ament_index_python.packages.get_package_share_directory(
        'velodyne_laserscan')
    laserscan_params_file_1 = os.path.join(
        laserscan_share_dir_1, 'config', 'default-velodyne_laserscan_node-params.yaml')
    velodyne_laserscan_node_1 = Node(package="velodyne_laserscan", executable="velodyne_laserscan_node", name="velodyne_laserscan_node_1", parameters=[laserscan_params_file_1], remappings=[
        ("velodyne_points", "velodyne_points_1"),
        ("scan", "scan_1")
    ]
    )

    ld.add_action(velodyne_driver_node_1)
    ld.add_action(velodyne_convert_node_1)
    ld.add_action(velodyne_laserscan_node_1)
    return ld
where we create three different nodes for velodyne_driver,velodyne_pointcloud and velodyne_laserscan.
If we call this launch file like test_velodyne.launch.py we can run this in Kria board like,
source /usr/bin/ros_setup.bash
ros2 launch test_velodyne.launch.pyIf you have Wifi activated on Kria board and your Workstation is connected to the same network you will be able to see Velodyne output using RVIZ 2. If you have ROS 2 installed or you are inside a docker container you only need to type
rviz2And you will have something like this,
Here you need to create a visualization using the Add button and going to the By topic tab. There you can choose the PointCloud or the LaserScan visualization. After you have done all these steps you should be able to see something like in the next videos where the laser scan information is displayed.


Comments