

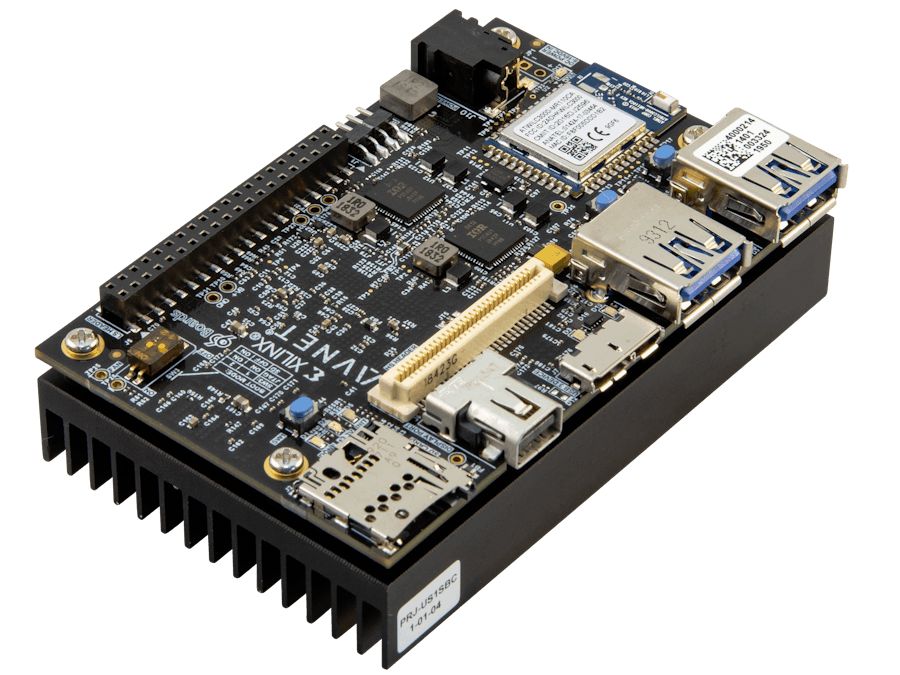
Hardware components | ||||||
 |
| × | 1 | |||
 |
| × | 1 | |||
 |
| × | 1 | |||
Software apps and online services | ||||||
| ||||||
 |
| |||||
With the A53 and R5 Hello World applications operational, we will now move on to more advanced test applications. Xilinx provides two different Memory Tests as well as a Peripherals’ Test in the built-in templates for example applications.
If you haven't already created the ZU+ Hardware Platform for Ultra96-V2 or completed the Hello World from ARM A53, go back to these tutorials and complete them first. Your starting point will be the VITIS project after the Hello World tutorial is complete.
https://www.hackster.io/BryanF/Ultra96-V2-vivado-2020-2-basic-hardware-platform-6b32b8
https://www.hackster.io/BryanF/Ultra96-V2-vitis-2020-2-hello-world-from-arm-a53-2d952a
ObjectivesWhen this tutorial is complete, you will be able to:
- Add the Memory Test application
- Add the Peripherals Test application
- Run both test applications
- Edit the memory test to increase the test range
The software used to test this reference design is:
- VirtualBox Ubuntu 18.04.1 Virtual Machine
- Xilinx Vitis 2020.2
- USB-JTAG device driver
- Terminal software, such as GtkTerm
The hardware setup used to test this reference design includes:
- Host PC
- Ultra96-V2
- 96Boards 4A Power Supply
- Ultra96 JTAG/UART Pod
- Micro-USB cable
Similar to Hello World from ARM A53, you will use templates to create three very useful test applications.
- Open VITIS and launch the Ultra96_V2_Basic_Applications workspace.
- In VITIS, select File > New > Application Project. Click Next> to skip the welcome page.
- In the Select a platform from repository tab, make sure the Ultra96_V2_Basic_Platform is selected and then click Next>.
- In the Application project name field type in Mem_Test. Keep the Create new and the psu_cortexa53_0 for the Processor selected. Click Next >.
- Keep the standalone on psu_cortexa53_0 selected for Domain and click Next>.
- Select Memory Tests from the Available Templates field. Click Finish.
Figure 2 –
Repeat steps above with the following options:
- Platform = Ultra96_V2_Basic_Platform
- Application project Name = Periph_Test
- Processor = psu_cortexa53_0
- Domain = standalone on psu_cortexa53_0
- Template = Peripheral Tests
Repeat steps above with the following options:
- Platform = Ultra96_V2_Basic_Platform
- Application project Name = ZynqMP_DRAM_Test
- Processor = psu_cortexa53_0
- Domain = standalone on psu_cortexa53_0
- Template = Zynq MP DRAM tests
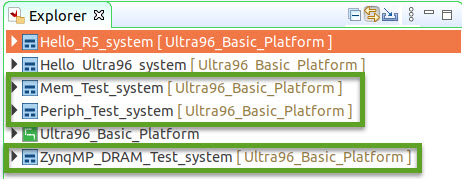
When complete, Explorer should look similar to below.
Figure 3 – Project Explorer with New Apps Highlighted
- Click Project > Build All to build all the newly created applications.
- he Ultra96-V2. Connect the micro-USB cable to your host and Ultra96-V2. Plug the barrel jack into the Ultra96-V2. Connect the Xilinx JTAG USB device in your VM. For detailed instructions, refer to the Hello World from A53 tutorial.
- Push the PWR BTN to turn on the Ultra96-V2.
- Open GtkTerm (serial console), connected to the Ultra96-V2 JTAG/UART Pod.
- Right-click on Mem_Test under Mem_Test_system and select Run as → Launch on Hardware (Single Application Debug).
When done you should see this terminal message for Mem_Test.
The Periph_Test will require a little manual editing. The default Hardware Platform Preset connects the PSU UART0 to the Bluetooth Radio. This radio is not going to be responsive without some configuring, which usually takes place with Linux or other driver. Therefore, for this simple bare metal test, we will simply comment out the UART0 tests.
- In VITIS, go to Explorer → Periph_Test_system → Periph_Test → src and double-click
testperiph.cto open it. - Comment out the psu_uart_0 code from lines 852 to 880. A shortcut to do this is by selecting those lines and then using
<Shift>-<Ctrl>-<C>key sequence to toggle comments.
- Save the file with the Save icon or
Ctrl-S. - Right-click Periph_Test and select Build Project.
- Now repeat the steps for Periph_Test to program and run this application. Click Yes to clear any conflict.
The Zynq MP DRAM Test is a bit more complex. It is explained in detail in the ZYNQMP_DRAM_DIAGNOSTICS_TEST.docx document that is included in the
ZynqMP_DRAM_Test/src/ directory of your VITIS Workspace.
A couple of the test outputs are shown below for Ultra96-V2.
You have now created and executed three test applications using Vitis 2020.2 application templates!


Comments