

Hardware components | ||||||
| × | 1 | ||||
| × | 1 | ||||
| × | 1 | ||||
| × | 1 | ||||
| × | 1 | ||||
| × | 1 | ||||
| × | 1 | ||||
| × | 1 | ||||
| × | 1 | ||||
Hand tools and fabrication machines | ||||||
| ||||||
| ||||||
 |
| |||||
| ||||||
| ||||||
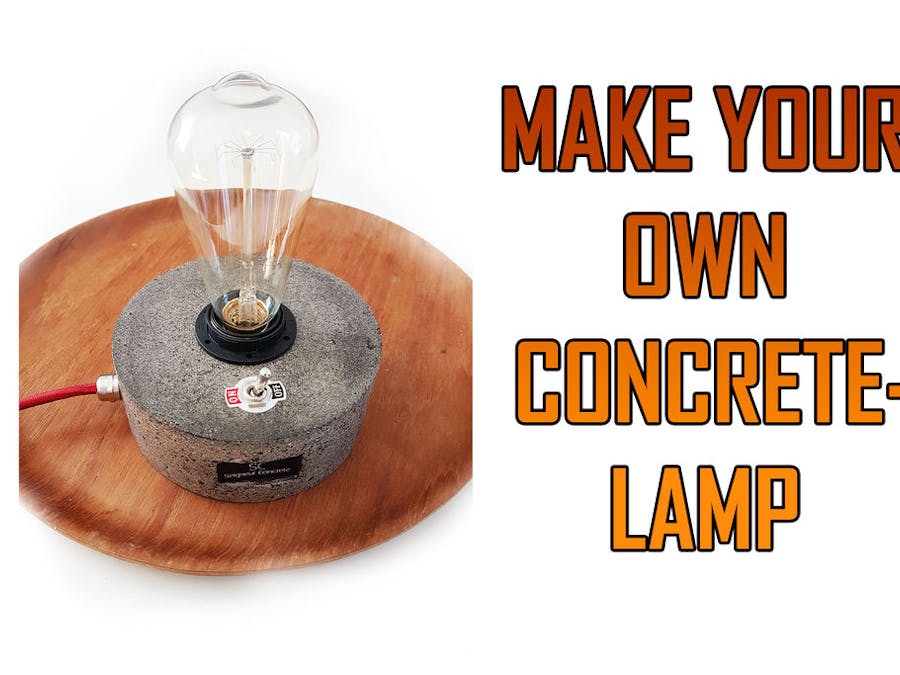
This is a tutorial on how to make a real concrete lamp. I have spent 100s of hours to make this perfect, so please enjoy it and check out my YouTube channel and subscribe :) I like quality and details so I'm going to show you how to make the real deal.
Regular concrete, Portland cement.
Video instructions:
Step 1: 3D print
3D print the molds from here or thingiverse. For the outer molds 20% infill is good. IMPORTANT: For the inner molds E27 Mold and button mold make sure that you DON'T print them with more than 5% infill, and DON'T use more than one perimeter as in the picture above. The reason is that it should be easy to break the inner mold after the concrete has cured.
Step 2: Assembly and GreasingGrease your molds with vaseline or use release agent, so it will be easy to disassemble the mold later on. Assemble the mold with M3 screws and nuts.
Step 3: Mix ConcreteUse a trowel to mix the concrete, do not use to much water! It should be a pretty solid mixture; if you're uncertain, read the instructions on the bag and mix for 4-5 minutes by hand.
Step 4: Pour and CoverPut the concrete in the mold, vibrate it with the trowel so there are no air-pockets in the mold! And make sure to cover it with plastic! Leave it for curing for at least 1 week, but if possible 2 weeks or more. The longer you wait for the curing before polishing, the shinier the concrete will get when you polish it with the diamond pads.
Step 5: Disassemble the MoldCAREFULLY AND IN THE RIGHT ORDER!
Step 1
Loosen the cable gland, and drill out the inner mold called Plug 1 and also remove Plug 2.
Step 2
Remove the E27 mold using tools such as: knife, pliers and screwdriver. Don't be violent! ;)
Step 3
Loosen the screws and remove the bottom part of the lamp.
Step 4
Carefully drill out the first layer of the button mold from the top of the lamp, then use pliers and a knife from the button to get all leftovers out.
Step 5
Spread each part of the mold when you disassemble the sides, and go slowly so you don't break any edges.
Step 6: It's Time to Start Polishing Your ConcreteAs you see, you will need a variety of different diamond pads; I have grits from 30 to 3000 grit. The links for where to buy them is at the start. Start with a 60 or 120 grit to remove the sharp edges before you break them.
Step 7: PolishUse a bucket full of water and put all of your diamond pads in there and dip them in water before grinding. After they get full of concrete between the grinders pads, wash them and the lamp, and continue. Start with a 30 grit and work step-by-step until a 800 grit. Grind with a circular motion. Wash with clean water and let it dry for 20 minutes.
Step 8: Make Slurry to Get Rid of the Concrete PoresUnless you don't want a rough surface, you should make some concrete slurry. Before I start to mix the slurry, I moisten or wet my concrete lamp with a little water to make improve the adhesion. I also use concrete bonding adhesive that I mix 50/50 with water, and then I use a strainer to stir/get rid of the big aggregate from the concrete. I just want the cement. If you wish, you can add some iron oxide pigment powder if you want some patina. I went for the black pigment. I used a latex glove to massage it into the concrete pores. Let it dry for 5 minutes and use your latex glove to remove the excessive slurry by "grinding" your glove against the surface.
Step 9: Polish It AgainNow you can probably start with a 200 grit and go step-by-step up to 3000, or higher if you have. After you are done, wash off your lamp with clean water and let dry before sealing.
Step 10: SealingFor the sealing, I use something called "Betonglack" (Swedish for concrete sealer). I'm not sure if you can buy it worldwide, but I will put a link for Cheng Countertop Sealing that is supposed to be great from what I have heard. I use a cloth to apply the sealer and let it dry for 20-50 minutes, then I rub it with the nylon, and apply more sealer; repeat 4-5 times.
Step 11: Assembly of Electrical ComponentsFirst make sure the switch and E27 socket fit, then insert the main cable through the cable restrainer (cable gland). Cut two 10-15 cm long wires and install to the switch on each side. Connect one of the sides to the socket, and the other one should be soldered to the main cable that goes through the cable restrainer.
Step 12: Tighten the Electrical Parts, Glue & Wall PlugTighten your cable restrainer, E27 socket nut and switch nut. Glue all the cables in place. Also, connect your wall plug.
Step 13: Finished!Insert the bulb, glue your logotype, and you are done!


Comments