
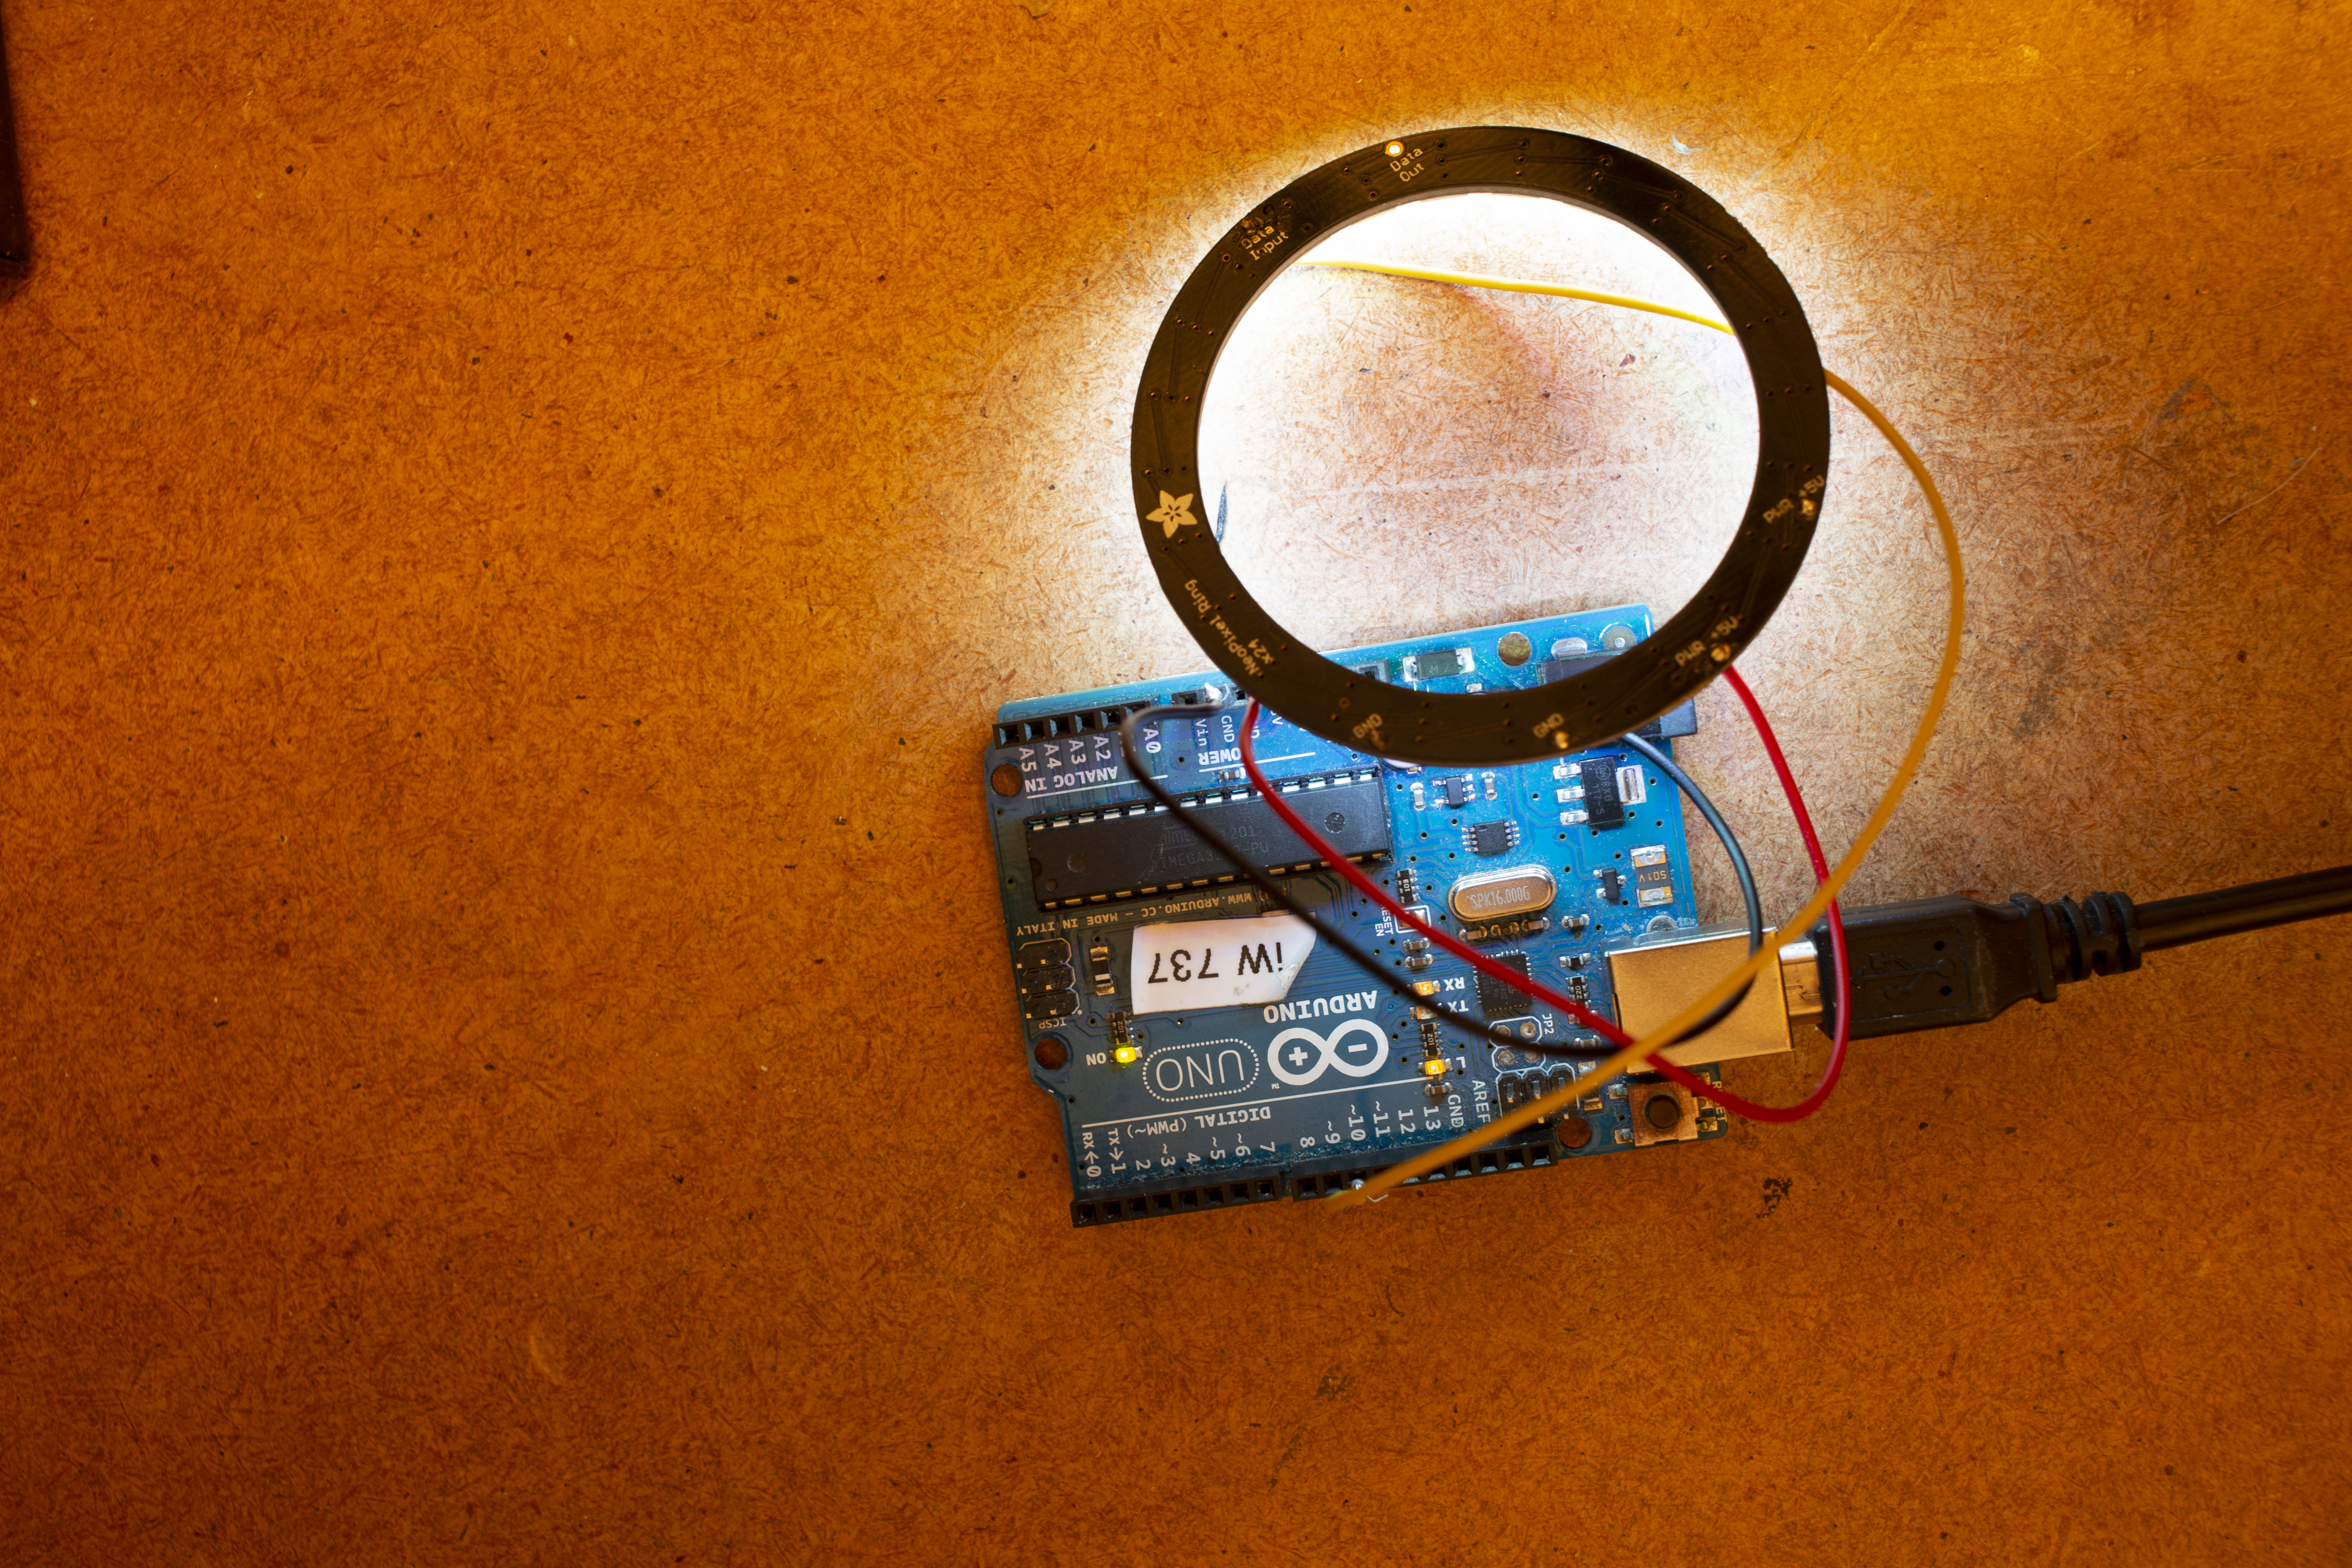
Hardware components | ||||||
_ztBMuBhMHo.jpg?auto=compress%2Cformat&w=48&h=48&fit=fill&bg=ffffff) |
| × | 1 | |||
 |
| × | 1 | |||
 |
| × | 1 | |||
 |
| × | 1 | |||
 |
| × | 1 | |||
Hand tools and fabrication machines | ||||||
 |
| |||||
When you want to prototype light behaviour that is beyond the blinking LED, things start to become tricky. You can of course 'hardcode' the behaviour with some for-loops, arrays or a sequence of instructions; but it is a tricky process and is hard when you want to explore; sometimes you don't really know what would look good, or would be understandable.
What if you can just hover over a colour or colours, and you would see how that would look in your prototype or project. Also by moving faster, or slower, you can see how changes and colour transitions would look. Now you can also use more visual-based software, like Photoshop, After Effects, Figma or Sketch.
This project contains two pieces of code; one to capture the current location of the cursor and find out what colour(s) it is pointing to (in Processing). And one that is connected to the Arduino that takes the RGB colours from the screen and sends it to the NeoPixel(s) (of course with a bit of tweaking; servos and other devices could also be controlled in this way).
Especially when you want to sync sound experiences with the light experiences or on-screen animations these examples can help out; in the course sound design at Umeå Institute of design this code has been used to do video prototyping or make experience prototypes (for user-testing or presenting); the sound can be part of an After Effects project while you can also influence the light behaviour (by manipulating visual effects on the screen).
Movement is more than the shortest way from A to BExamples of use:
Here is an example of the light guide exploration of Ove by Iris Ritsma, Ivan Kunjasic, Ricardo Verheul and me (Geert Roumen) where it was used to explore the light guide behaviour and see what intensity and colour would work best. In this case, the final experience was hard coded based on the experience that was explored and worked.
Here is an example of how in the terra project by Manuel Hess, Patrick Krassnitzer & Ferdinand Aichriedler the code was used to sync and control the light and sound experience of the earthquake alarm. In this case, the final experience was with a laptop that was looping through an After Effects video with sound that was audible through external speakers; The Processing sketch was sending it to the prototype which contained NeoPixel LEDs to show the experience.
Steps to make it work- Get the hardware described above (if you don't have NeoPixels you can change the code easily to fade a single LED, RGB LED or something else, but NeoPixels are really shiny so nice for these type of projects).
- Get an Arduino, any Arduino will do, as long as it connects to a computer using a serial connection. And download the Arduino (pro) IDE (or use the web editor)
- Download the Processing IDE (if you haven't already got it), the code should work both on Mac OSx and Windows, it has been working since 2013 (the AWT robot), so it hopefully continues to work in the future. It might be seen as spyware (in the future); because it literally looks at what happens at your screen, but it doesn't send it anywhere else than to the Arduino.
- Download, or copy and paste the code and upload the code to Arduino.
- Run the Processing sketch and you should be ready to explore light...
The Arduino code is probably the most interesting part to change; so three values are being received from the Processing sketch. r, g and b these can be used in any way to control anything; you could for example use analogWrite(10,r); to write the red value to a pin 10. You could also control the speed of motors, angle of a servo or trigger a solenoid at a specific moment; the sky is the limit. If you prefer blinking LEDs and abrupt motor movements you can also just use digitalWrite(13,r); now the LED connected to pin 13 will be on, except when your hovering over a black; or non-red pixel... Just remember to set pin 13 as an output pinMode(13,OUTPUT);
The protocol is that first an S should be received, after that, it is reading for the bytes of R G and B. It's not exactly watertight this way since the colour value 83 is also perceived as an 'S' by Arduino, but this shouldn't be a big problem...
if(Serial.available()) {
   if(Serial.read() == 'S') {
     //When it finds an 'S' char, it will wait untill it finds 3 other bytes
     while(!Serial.available()){}
     r = Serial.read();
     while(!Serial.available()){}
     g = Serial.read();
     while(!Serial.available()){}
     b = Serial.read();
   }
   delay(10); // some recovery time, not sure if nessecary
   for(int i=0;i<NUMPIXELS;i++){
   // pixels.Color takes RGB values, from 0,0,0 up to 255,255,255
   pixels.setPixelColor(i, pixels.Color(r,g,b)); // Moderately bright green color.
}
In processing it takes a little screenshot of the current pixel at the cursor position; it doesn't see the cursor itself. You can, of course, change that aswell to a fixed position; if you want to be able to still use the cursor.
Processing takes the first Serial port it can find; sometimes this is the right one, sometimes you need to change this to select the right Serial port. This can be done by changing theCode extendedSerial.list()[0];to something likeSerial.list()[1];orSerial.list()[2];in the monitor underneath the Processing sketch you can see the different Serial ports that your operating system can find. In Arduino you can see what the right name of the current port is in the right-bottom of the window.
Sometimes you don't want to just send one colour, but you want more of an animation. This is possible by just sending more pixels at the same time. Both sketches need a few adjustments...
Sometimes you don't want to send values from the screen to the Arduino, but also influence what is happening on the screen using Arduino. I've made several examples that could help you with this.
- Using an ESP32 as a keyboard to influence content on your computer or smartphone. Useful for prototyping hybrid interfaces, like consumer products that contain a display.
- Using web-serial to communicate back and forth from p5 with the Arduino from a laptop running Google Chrome. Powerful to prototype desktop applications that connect or control hardware.
- Using ble-serial to communicate back and forth from p5 with the Arduino from an Android device. Great for prototyping iot apps.
- Connecting the micro-bit using ble to p5 from a laptop running Google Chrome. Great for less code heavy users, while still having all the power of the ble.


Comments