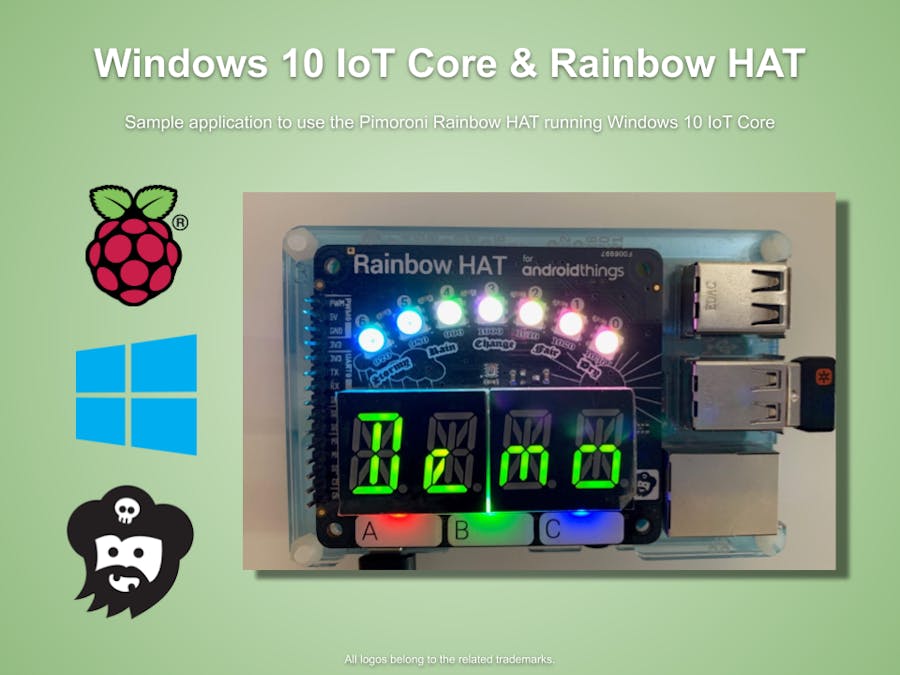
HomeBear.Rainbow a simple entry point in the world of Windows 10 IoT Core, GPIOs, I2C and PWM controller and UWP development using the Pimoroni Rainbow HAT.
As a app and backend developer by day, I wanted to code and assemble something that has an haptic, something that I can watch (LEDs), touch (buttons) and listen (buzzer) to.
This is no complicated project but it could help to start into the world of Windows IoT Core and awesome HATs.
- Control the large R, G, B LEDs
- Listen to 'A', 'B', 'C' capacitive touch buttons
- Piezo buzzer
- APA102 to control seven multicolor LEDs
- HT16K33 14-segment alphanumeric displays
- BMP280 temperature sensor
- BMP280 pressure sensor
Keep in mind
- All features have room for improvements.
- All values could be wrong. Please report mismatches measurements.
Information
Most of the logic behind is based on the official Python libraries.
UsageUse the an instance of the RainbowHAT to control the HAT, regardless what sub-controller (APA102, BMP280, HT16K33) you want to control. Listen on events to get values back from the HAT.
Call the PerformAction method to execute specified actions on the Pi's HAT.
// Setup event callbacks.
rainbowHAT.CaptiveButtonPressed += CaptiveButtonPressed;
rainbowHAT.TemperatureMeasured += TemperaturMeassured;
rainbowHAT.PressureMeasured += PressureMeasured;

// Perform actions
rainbowHAT.PerformAction(RainbowHATAction.ShowDemo);
Keep an eye on the debug output. If something went wrong, it should be logged to it.
ContributingIt would be a pleasure to learn more about how my code could be improved. Please do not hesitate to open issues or pull requests in the GitHub repository.


_xF0t4iaLPJ.jpg?auto=compress%2Cformat&w=40&h=40&fit=min&dpr=2)


_xF0t4iaLPJ.jpg?auto=compress%2Cformat&w=60&h=60&fit=min&dpr=2)


Comments