

Hardware components | ||||||
| × | 1 | ||||
| × | 1 | ||||
Software apps and online services | ||||||
| ||||||
Recent update: [0324] Added support for various CMSIS-DAP probes. For more information, please visit: https://chaos-neonx.github.io/
For any software development work—especially in the field of embedded systems—a good debugger is critically important, as it directly impacts debugging efficiency.
In embedded development, I personally dislike IDEs built on Eclipse, and I am also not a fan of environments based on VS Code. For commercial tools, I prefer products from IAR; KEIL is acceptable to some extent, but my real preference is an IDE that I build myself in C++. That said, today’s topic is debuggers, not IDEs, so let’s refocus on the debugger itself.
Among commercial embedded debuggers, I particularly like Ozone and TRACE32. In the open-source world, I find GDB acceptable, but it is overly large and lacks a well-designed native graphical interface. Because of this, I developed Compact Debugger, also known as CHAOS Debugger, which I will refer to as CB below.
CB is an embedded-focused debugger written entirely in pure C. With a footprint of roughly 500 KB, it provides powerful debugging capabilities along with a reasonably elegant visualization interface based on TUI. At this point, I consider CB to be in a beta stage, so I would like to present it to you and share what it can do. I hope you find it interesting.
Below are the main features of CB:
- Supports heterogeneous multi-core debugging
- Small, efficient, and lightweight, with no external dependencies beyond basic libraries
- Built-in code browser, supporting navigation between header files and functions
- Built-in chip database with automatic completion of full device part numbers
- Direct support for CMSIS-DAP / J-LINK
- Ability to browse related files by analyzing ELF files
- Automatically exports BIN files from ELF and downloads them directly to the target processor
- For libraries without source code, automatically switches to pure instruction view while still displaying function names
- When execution stops inside a library without source code, supports running to the next C statement
- Automatically records and displays branch/jump information within libraries without source code
- Supports ATTACH to a target processor as well as CLOSE (disconnect) operations
- Allows switching at any time within the same view between instruction-only, C-only, or mixed instruction/C display
- Supports instruction-level stepping and C-statement stepping
- Supports mixed instruction/C Step Into and Step Out
- Breakpoints can be set by ADDRESS, FILE:LINE, or SYMBOL
- Supports both graphical and command-line breakpoint configuration
- Supports register breakpoints
- Supports advanced data breakpoints (watchpoints)
- Run-To operations can be set by ADDRESS, FILE:LINE, or SYMBOL
- Supports both graphical and command-line Run-To configuration
- Dynamically and continuously refreshed WATCH window
- Dynamically and continuously refreshed MEMORY view
- Advanced stack analyzer, allowing selection of call frames and switching stack content viewers and local variables
- Built-in RTT terminal, supporting configurable content ranges and channels
- The INFO area supports viewing historical records
- …and more features such as status information, change highlighting, and additional enhancements
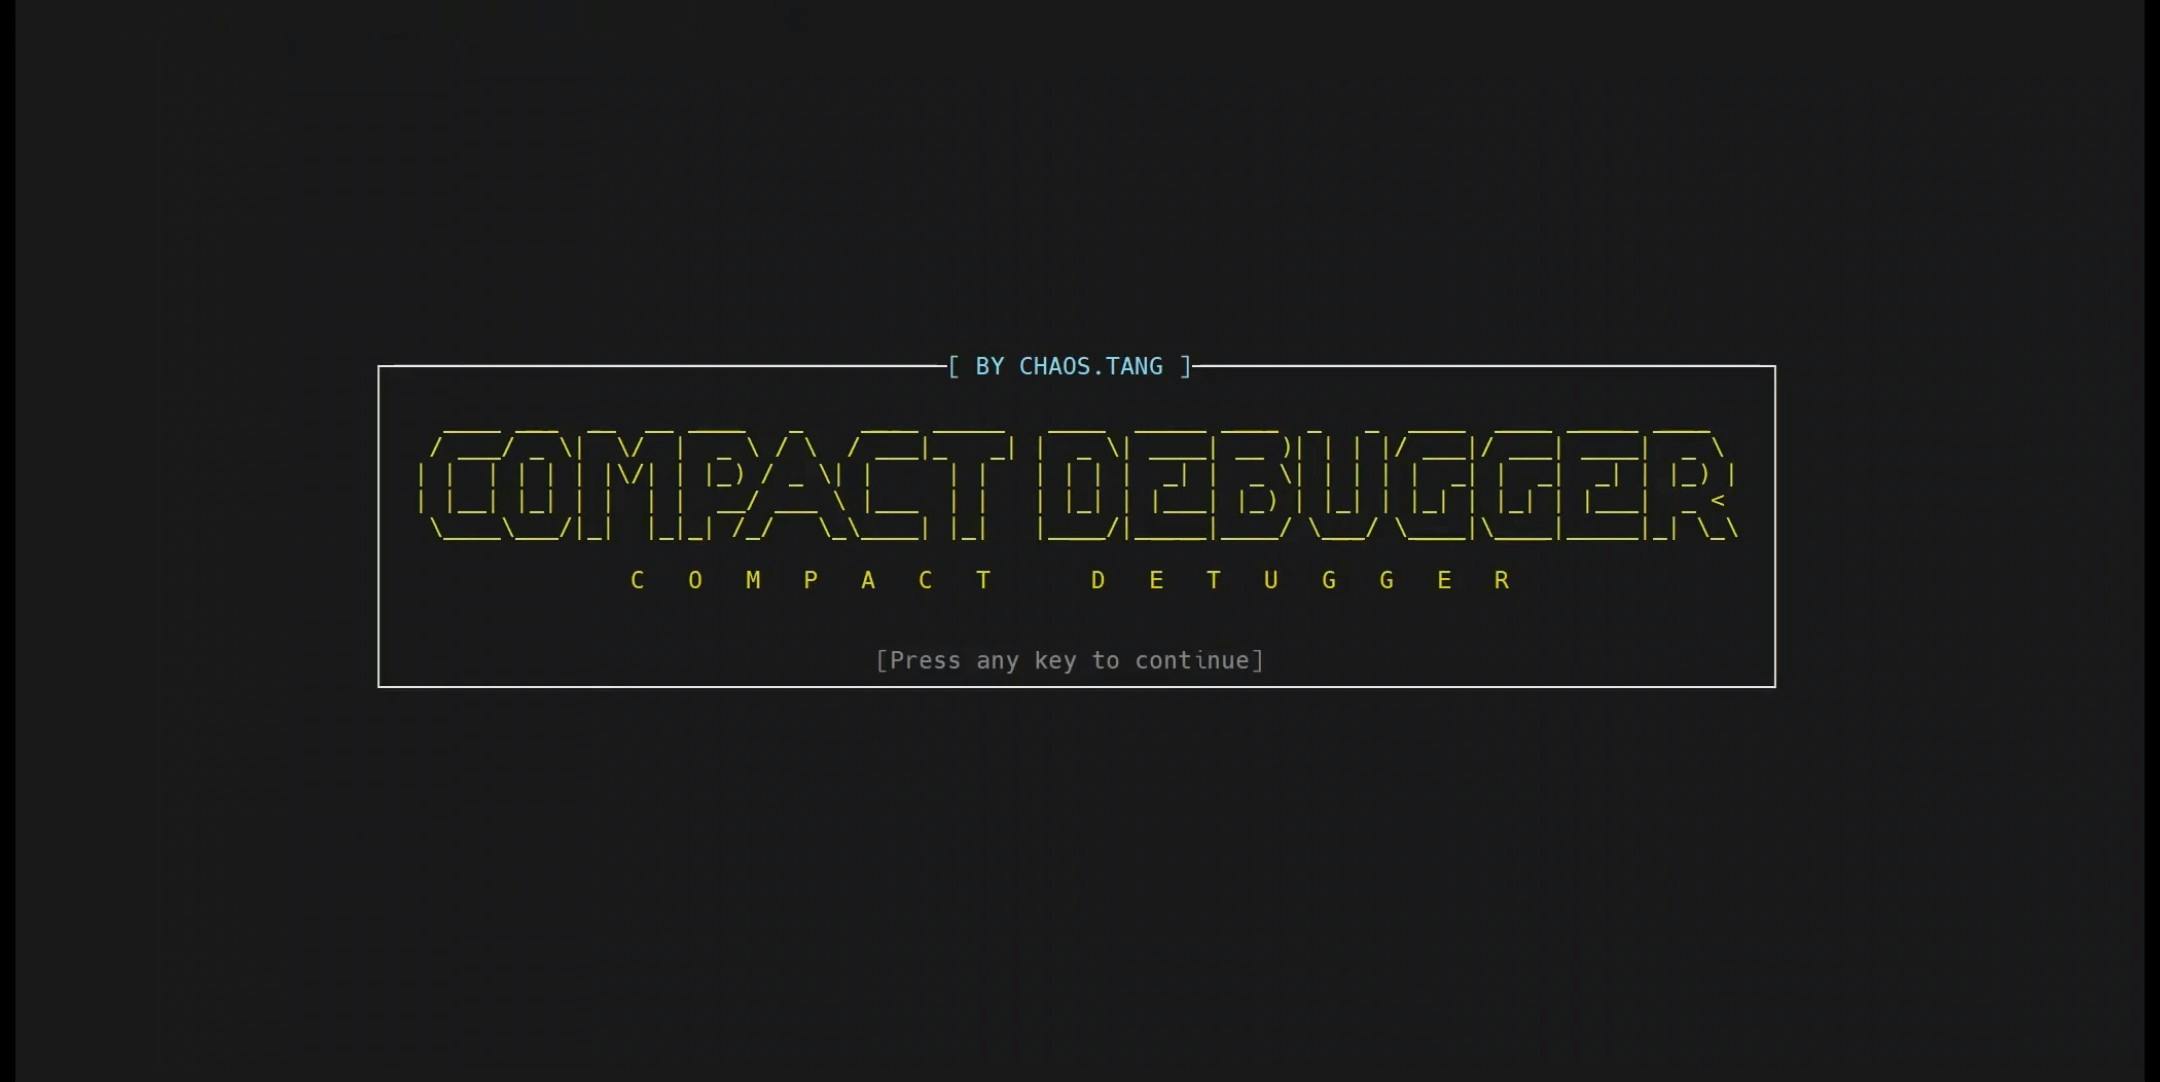
The following image shows the startup splash screen.
The following animated image demonstrates how to view the built-in list of supported target processors.
For longer device part numbers, scrolling display can be enabled.
The following animated image demonstrates how to select the target processor, configure the debug interface, load an ELF file, and download the code.
Note that the image also shows the TAB-based auto-completion for device part numbers.
The following animated image demonstrates the Run-To feature in both command-line and graphical interfaces.
The following animated image demonstrates breakpoint placement using both the command-line and graphical interfaces.
The following animated image demonstrates simultaneous debugging of RP2040 CORE0 and CORE1.
The following animated image demonstrates real-time transfer (RTT) communication.
The animation below shows debugging scenarios involving libraries that do not have source code available.
The animation below shows instruction stepping, C-level stepping, Step Into and Step Out operations, and mixed C/assembly debugging.
The animation below shows that, during continuous GO/BREAK cycles, the most recent break location is highlighted in a darker style in C, assembly, or mixed views.
The animation below shows how the Watch window is used and how data is updated dynamically.
The animation below shows how the Memory window is used and how data is updated dynamically.
The animation below shows graphical breakpoint placement during target execution and the use of the Locals window after a breakpoint is triggered.
The Locals window explicitly marks parameters and local variables.
The animation below shows graphical breakpoint placement during target execution and the use of the advanced stack analyzer after a breakpoint is triggered.
Within the stack analyzer, specific call frames can be selected to inspect internal variables and stack memory.
The following animated image demonstrates how to use register breakpoints (register-based conditional breakpoints).
The animation below shows the usage of data watchpoints.
The following animated image demonstrates how to use the code viewer.
The code viewer provides two operating modes:
- viewing the source file associated with the current debugging context
- browsing all source files referenced by the ELF file.
The code viewer allows you to select and open specific source files. It supports opening header files included by C source files and enables direct function navigation.
Within the code viewer, the assembly code corresponding to C statements can be expanded and collapsed.
In addition, the code viewer provides an advanced state-preserving navigation feature. You can open multiple source files, navigate between them, and expand or collapse C statements. When navigating back to previously viewed files, all prior viewing states and operations are automatically restored.
You can also place breakpoints and perform Run-To operations directly within the code viewer.
The following animated image shows a dual-core debugging example on the RP2040.
In this example,CORE0 executes several instructions and is then halted (as indicated by HALT in the status bar), while CORE1 continues running and continuously outputs data via RTT.


Comments