


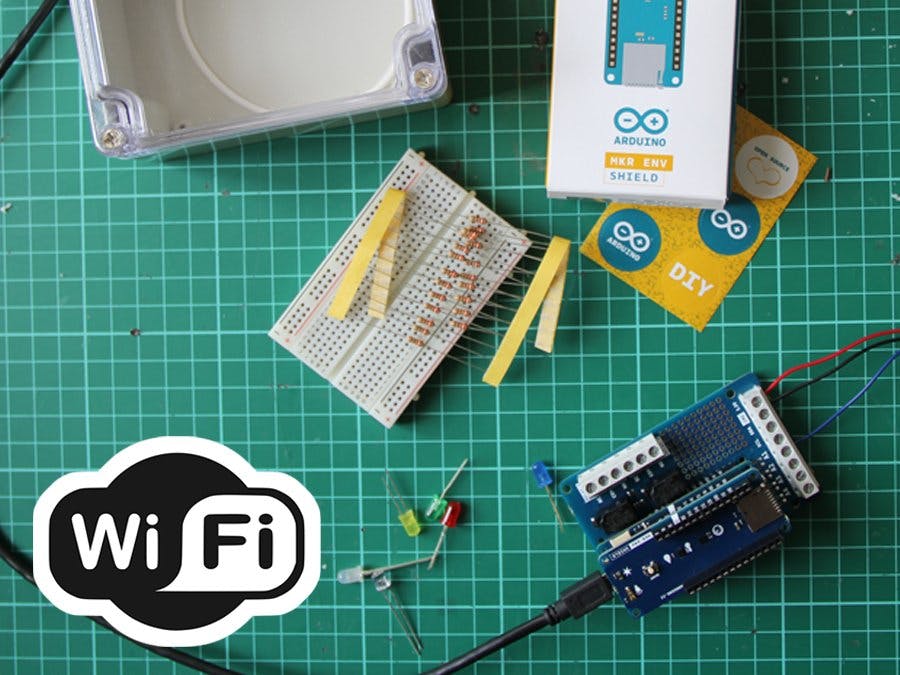
Hardware components | ||||||
 |
| × | 1 | |||
Note: This tutorial could be outdated, please go here for a more current version.
You can imagine this project as a standalone monitoring device that could expose information to other mobile devices (i.e. smartphones) in the absence of a WiFi Internet connection, while hosting a backup of this information.
As of this project, the WiFi web server is always on, while you can easily trigger the server by putting a pushbutton that brings it up if pressed, making the application less power-hungry. Temperature, humidity, pressure and light data are going to be displayed on a simple webpage, while two buttons will allow to control the behaviour of the two relays on the Proto Carrier.
Most important, all the data is stored on the SD, in a .CSV file (comma separated values). This is very handy if you want a solid backup device that can be collected / or replaced as needed.
SoftwareThis project heavily relies on the AP_SimpleWebServer example of the WiFi NINA Library written by Tom Igoe:
File>Examples>WifiNINA>AP_SimpleWebServer.ino
I strongly advice you to run that example in order to test a simpler sketch. Before we start we need to know that the SSID and Password names are to be longer than eight letters, don't use short names if you don't want to run into strange behaviours. Another very important rule of thumb is to be sure the WiFiNINA Library is up-to-date (1.4.0 as we speak). While the code checks for the firmware version on line 46.
String fv = WiFi.firmwareVersion();
if (fv < "1.0.0") {
Serial.println("Please upgrade the firmware");
}
You should follow the instructions of firmware updater (Tools>Wifi101 WifiNINA Firmware Updater) in order to be 100% sure everything is up to date and working fine on the module.If you are ok in testing the AP_SimpleWebServer.ino code, you should be able to light on and off the on-board LED.
Remember the network the MKR WiFi 1010 is offering has no connection to the interweb, so you'll may enable non-connected navigation on some mobile devices.We are ready to #copypasta the code. Before, let's review it in order to check if everything is in order.
Libraries to import:
#include <SPI.h>
#include <SD.h>
#include <WiFiNINA.h>
#include <Arduino_MKRENV.h>
#define POLL_RATE 2*1000
The variable POLL_RATE is defining the update time of the SD data. Every Log is printed in the Serial Port for you to check.
In the setup() function, the communication with the WiFi module, the Environmental Shield and the SD card is checked, and the server is run on port 80, and we are notfied on the Serial Port throughout printWiFiStatus(); function.
// start the web server on port 80
server.begin();//
you're connected now, so print out the status
printWiFiStatus();
Like in the previous example, everytime a client connects, its browser in injected with html data from the client.println() function. Also, this can be seen in the Serial Log.
The only exception in this version of the code is the body part, generated in the readENV() function, returning a string with the data.
String body = readENV();
// the content of the HTTP response follows the header:
client.print(body);
The data is then saved on the SD throughout the void writeLog() function. You can control the board using the web UI.
As a bonus track, an Arduino logo is hosted on the SD and imported directly in the page, using base64 standards. You can use multiple sites to create a img.txt file. Check it out!


Comments