


Hardware components | ||||||
| × | 1 | ||||
| × | 1 | ||||
 |
| × | 1 | |||
 |
| × | 1 | |||
| × | 1 | ||||
Software apps and online services | ||||||
 |
| |||||
 |
| |||||
This project utilizes a smart phone to open or close your garage door. A 5 volt relay is used to signal the garage door opener and a magnetic reed switch is used to signal the garage being closed or open. It also uses a BME280 sensor to gather temperature, humidity, barometric pressure, and altitude.
Not including the particle, the total cost of this project is about $15. Without the temperature sensor, the total cost would be $6.
The BasicsThe opening and closing of the garage door utilizes the DO Button within IFTTT. When the garage door is open, IFTTT sends a notification to your phone letting you know it's open. The BME280 sensor sends information to ThingSpeak to give a graphical presentation of the data. Pressure, temperature, humidity, altitude, RSSI and three analog channels are sent every 15 seconds to thingspeak.
If you already know how to set up the particle, continue to step 2. Download the Particle Mobile App for iOs or android devices. These steps and more detailed information can be found here: https://docs.particle.io/guide/getting-started/start/photon/
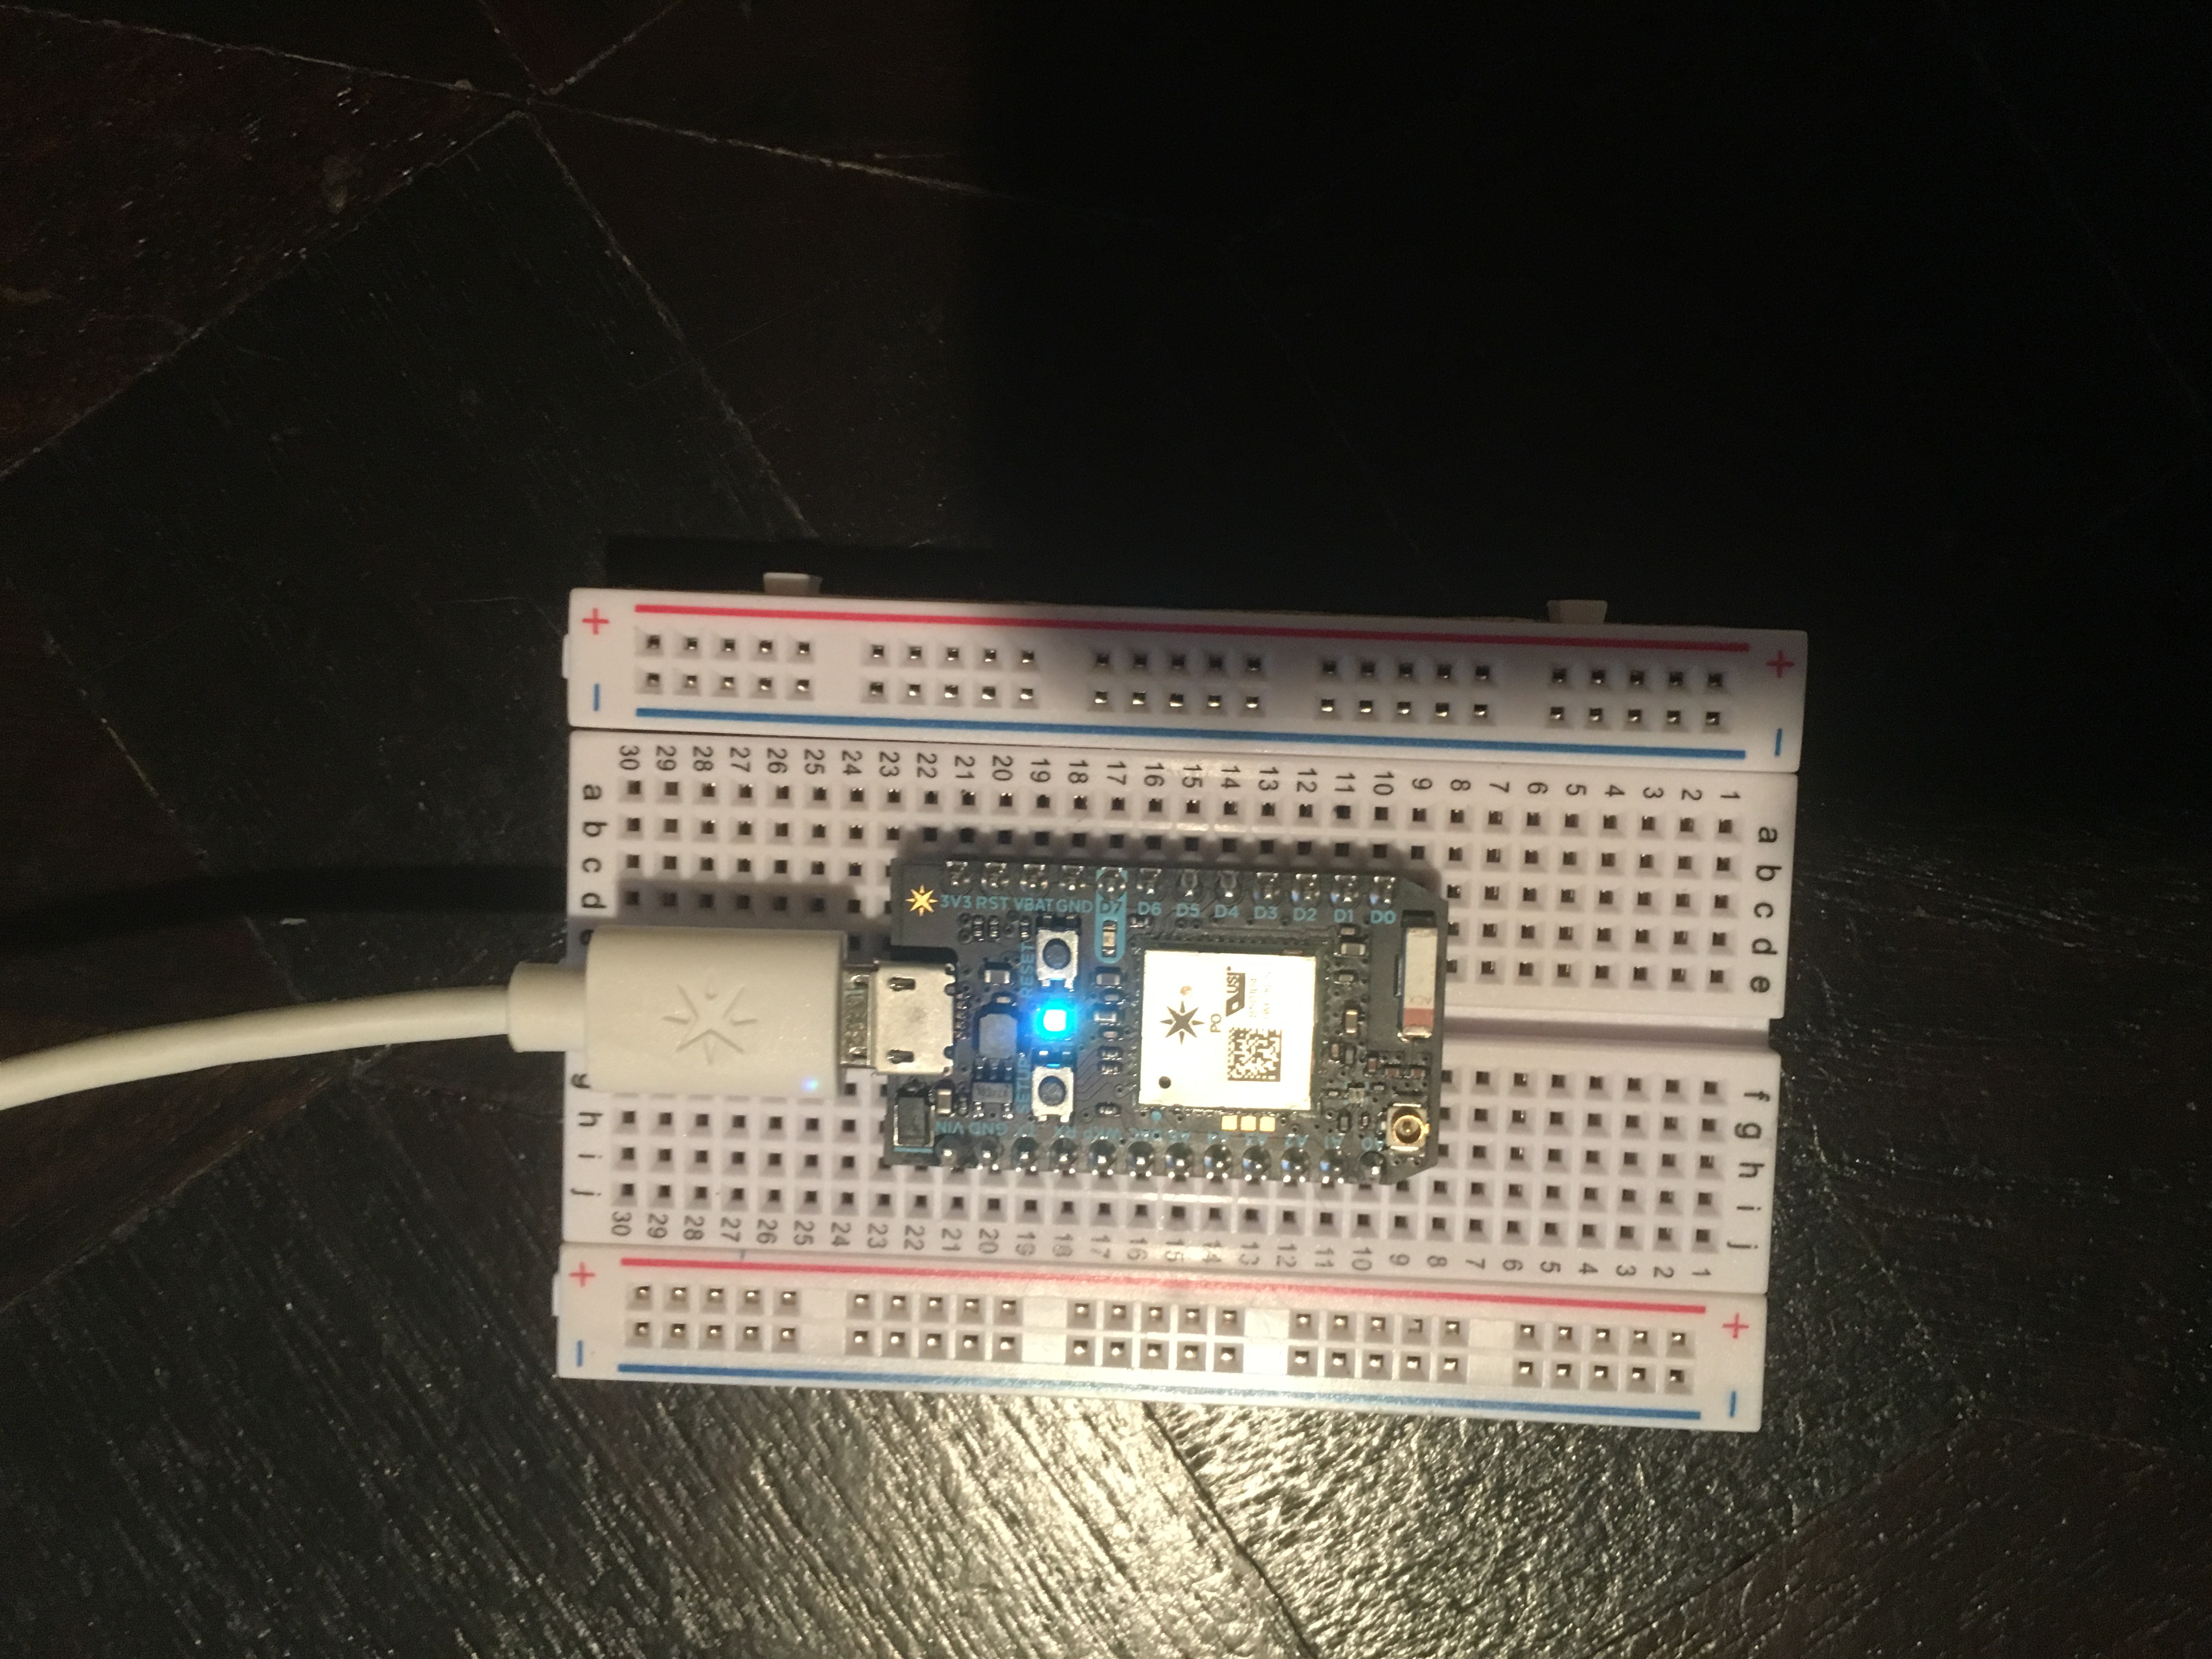
Plug the USB cable into your power source. (Your computer works perfectly for this purpose.) As soon as it is plugged in, the RGB LED on your device should begin blinking blue. If your device is not blinking blue, hold down the SETUP button. If your device is not blinking at all, or if the LED is burning a dull orange color, it may not be getting enough power. Try changing your power source or USB cable.
Open the app on your phone. Log in or sign up for an account with Particle if you don't have one. Press the plus icon and select the device you'd like to add. Then follow the instructions on the screen to connect your device to Wi-Fi. Remember that to connect the Core, you need the older Spark Core app and to connect the Photon you need the new Particle App. This may take a little while - but don't worry. If this is your Photon's first time connecting, it will blink purple for a few minutes as it downloads updates. This is perfectly normal. It may take 6-12 minutes for the updates to complete, depending on your internet connection, with the Photon restarting a few times in the process. Please do not restart or unplug your Photon during this time.
We will do more with the coding of the particle later
Step 2: Setting Up IFTTT for DO ButtonDownload the IFTTT app for your phone. Setup an account and link it to your particle.
Click on my Applets and click new applet. On the "this" option, search and select "DO Button". Choose trigger as Button Press. Then click the "that" option and search and select particle. Choose the "Publish an event" option. Click in the "Then Publish (Event Name)" and create a name for your event. This name will be used in the particle code later on. For our example, we named it "button". Then click next. You change the event title if you like and click "Finish". You can add an app directly to your home screen by going to back to "My Applets" and selecting DO widgets. Click on the applet you created and it will walk you through the process.
Step 3: Setting up the ThingSpeak IntegrationIn the particle console click on Integrations. Create a Webhook and paste the Thingspeak code into the custom JSON area. Once this is setup, go to Thingspeak and create an account. Create a new channel. Thingspeak is able to determine the channel by the different keys. Be sure to put your unique write key from Thingspeak in your particle code later.
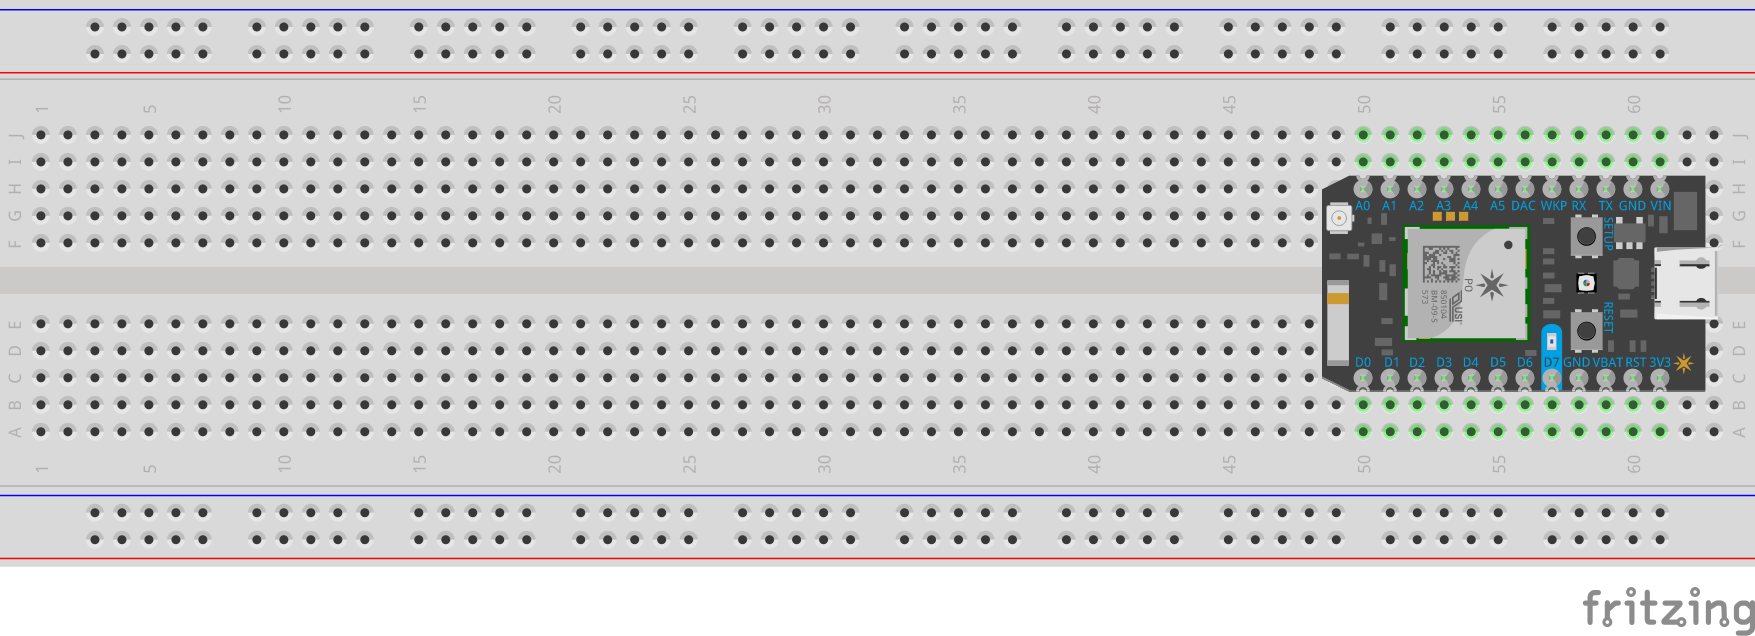
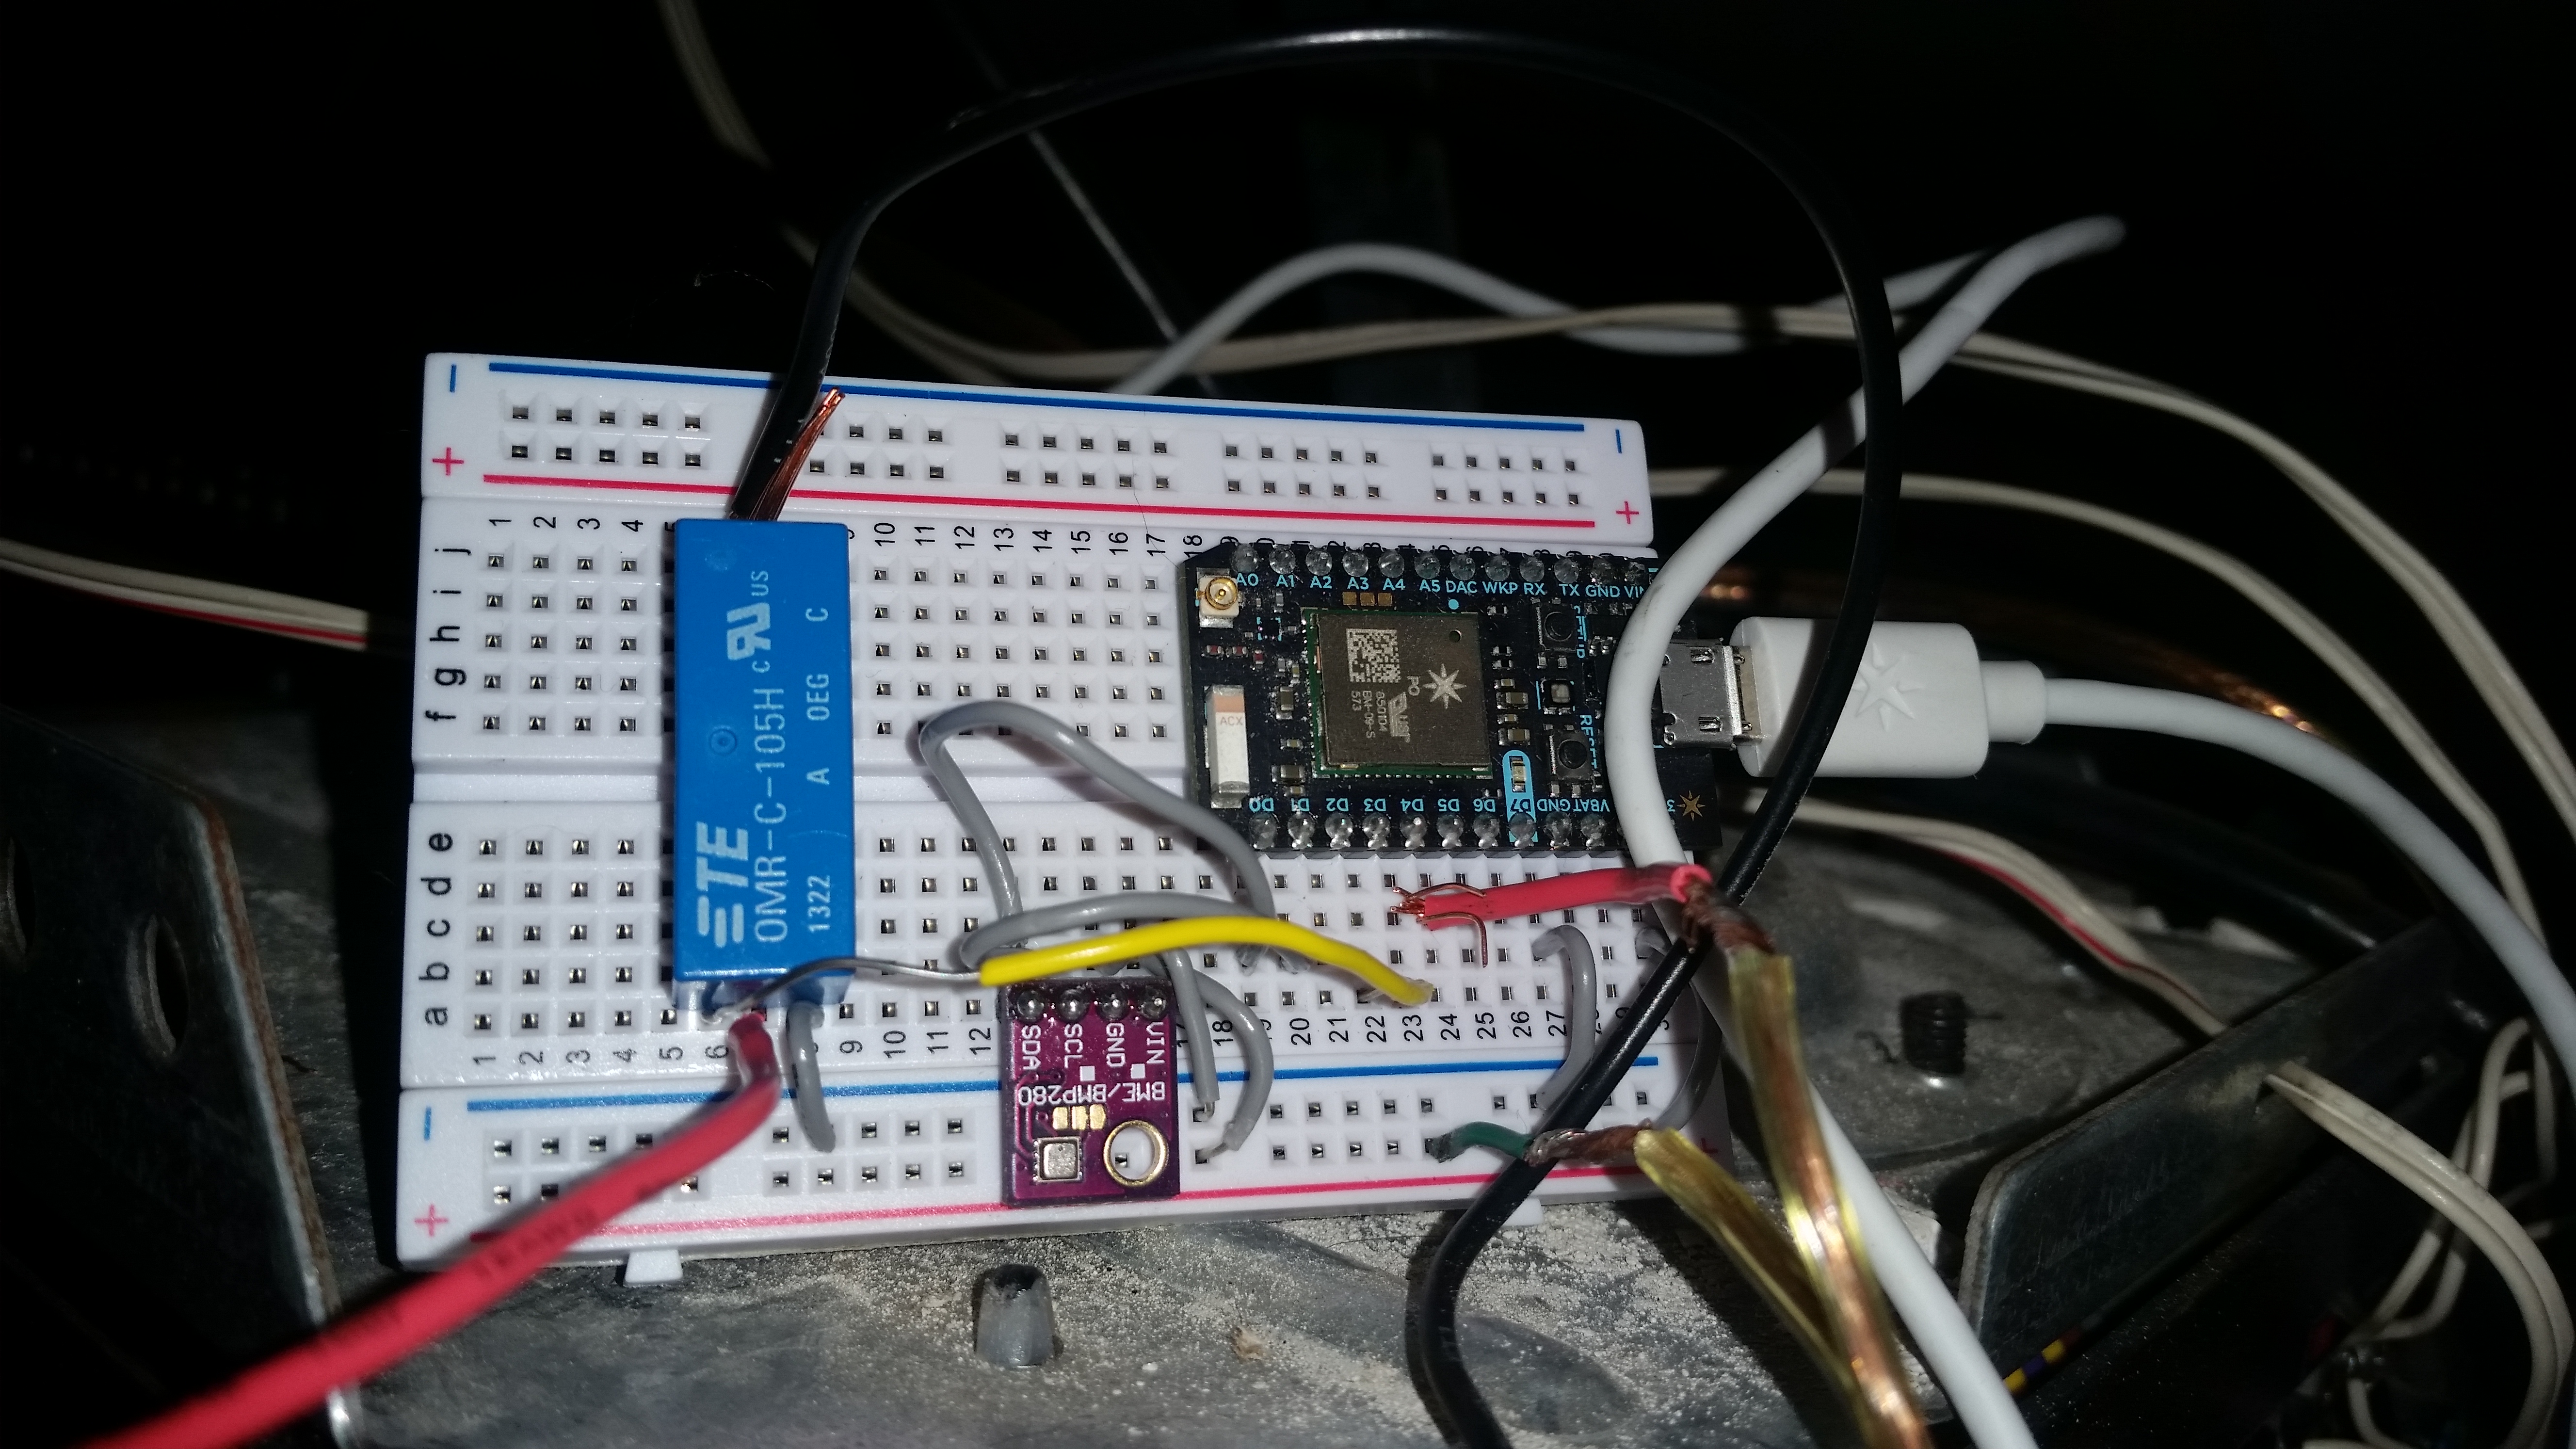
Step 3: Wiring Particle 1Wire the first particle as shown in the Particle 1 diagram.
The photo below shows the red and black wire across the switch terminals on the garage door opener. These wires are connected to the relay switch to allow the photon to short the connection, mimicking a press of the normal button on your wall.
The magnetic reed switch is temporally taped to the rail, while the portable switch is zip-tied to the chain. As the garage door opens and closes, the switch moves away and towards the other contact. They line up when the garage is completely closed to be sure that your garage is shut.
The wires are then ran to the photon. We used speaker wire that was laying around.
Create a new app in the Particle IDE and copy and paste the particle 1 code. If you gave your "button event" from your IFTT app a different name, you will have to adjust it in the code under the void setup section. Just replace "button" in Particle.subscribe("button", myHandler) with whatever you named the event.
You will also have to find your api key from Thingspeak channel and replace it in the section
const String key = "yourcodehere"; //thingspeak write key.
Depending on your particular wiring or use of different components the code may have to be adjusted accordingly.
Step 5: Setting up Door Status NotificationsReturn to the IFTTT app and create a new applet. For the "this" search and select particle. Then select "monitor a variable". Select "doorstatus" from the pull down menu. In the "Test Operation" section, select equals and for the "Comparison Value" type in 0. This will set up an alert when ever the door is open. You can repeat the process above but have it equal to 1 if you want a notification of when the door is closed.
For the "that" select notification. Now you will get a notification sent to your phone whenever the door opens. When you set this up, it may take a little longer than normal for the first notification to come in. However, once set up correctly, the future notifications will come more quickly.
Step 6: Optional ParticleThe second particle was only used for this particular school assignment. When the relay is activated on the first particle it will send a message to the second particle and its D7 LED will light up for 5 seconds. This will happen anytime the relay is activated. This can be modified in the code to stay on longer or to blink.
Create a new app in the Particle IDE and copy and paste the "particle 2 code".
Video


Comments