IntroI built this GPS location display using XinaBox ☒CHIPS. It is a very simple, quick build with straight forward software. The XinaBox technology made this project extremely easy to do in under 10 minutes.
What you will needApart from the set of ☒CHIPS, you will need Arduino installed and the following libraries.
- Arduino M0 Board Driver from Arduino Board Manager
Programming the CC03Click in an IP03 ☒CHIP onto the CC03 using an XC10 and XC55 connector and plug into a USB port on your computer via micro-USB cable. Connect as shown in the picture below. Open Arduino and select the correct COM port. Under Tools select Board: "Arduino M0", then upload the sketch, which I will provide in the code section of this page.
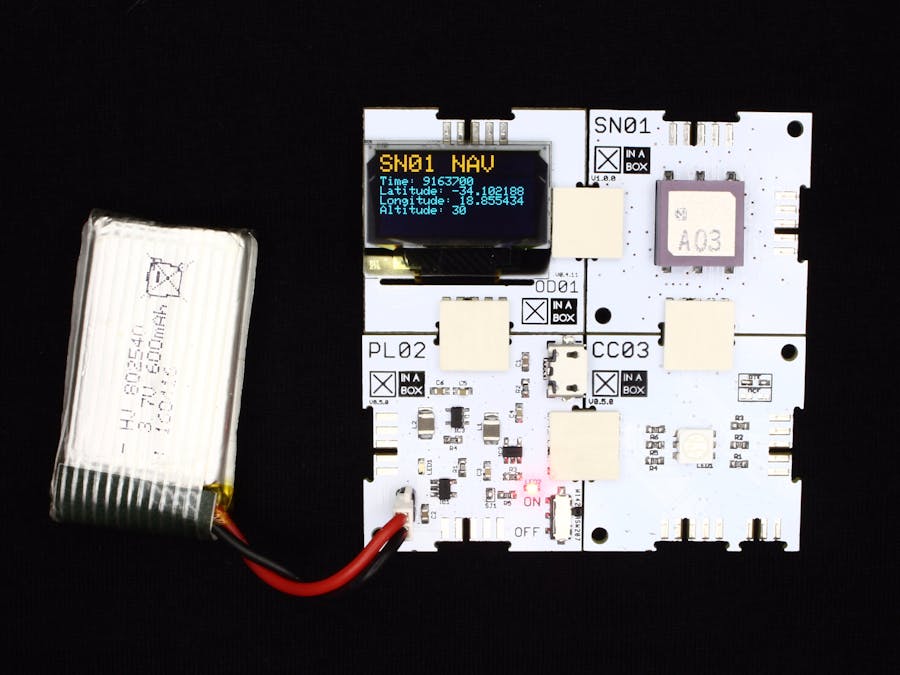
Building itWhat build? Lol. The ☒CHIPS make it very easy, simply click them together with the XC10 connectors until it looks like the picture at the top of the page. The only thing to bare in mind, the small XinaBox logos with chip name must all face the same direction, the bus at the top and bottom of the board are NOT the same. Usually the boards have a large logo at the bottom.
Connect a 3.7 V LiPo battery to the battery terminals of the PL02, remember to connect the polarity correctly, it is marked + and - on the board.
Running itSwitch on at the power switch of the PL02. And have fun with it!


Comments