


Hardware components | ||||||
 |
| × | 1 | |||
| × | 1 | ||||
| × | 1 | ||||
| × | 1 | ||||
Software apps and online services | ||||||
 |
| |||||
 | ||||||
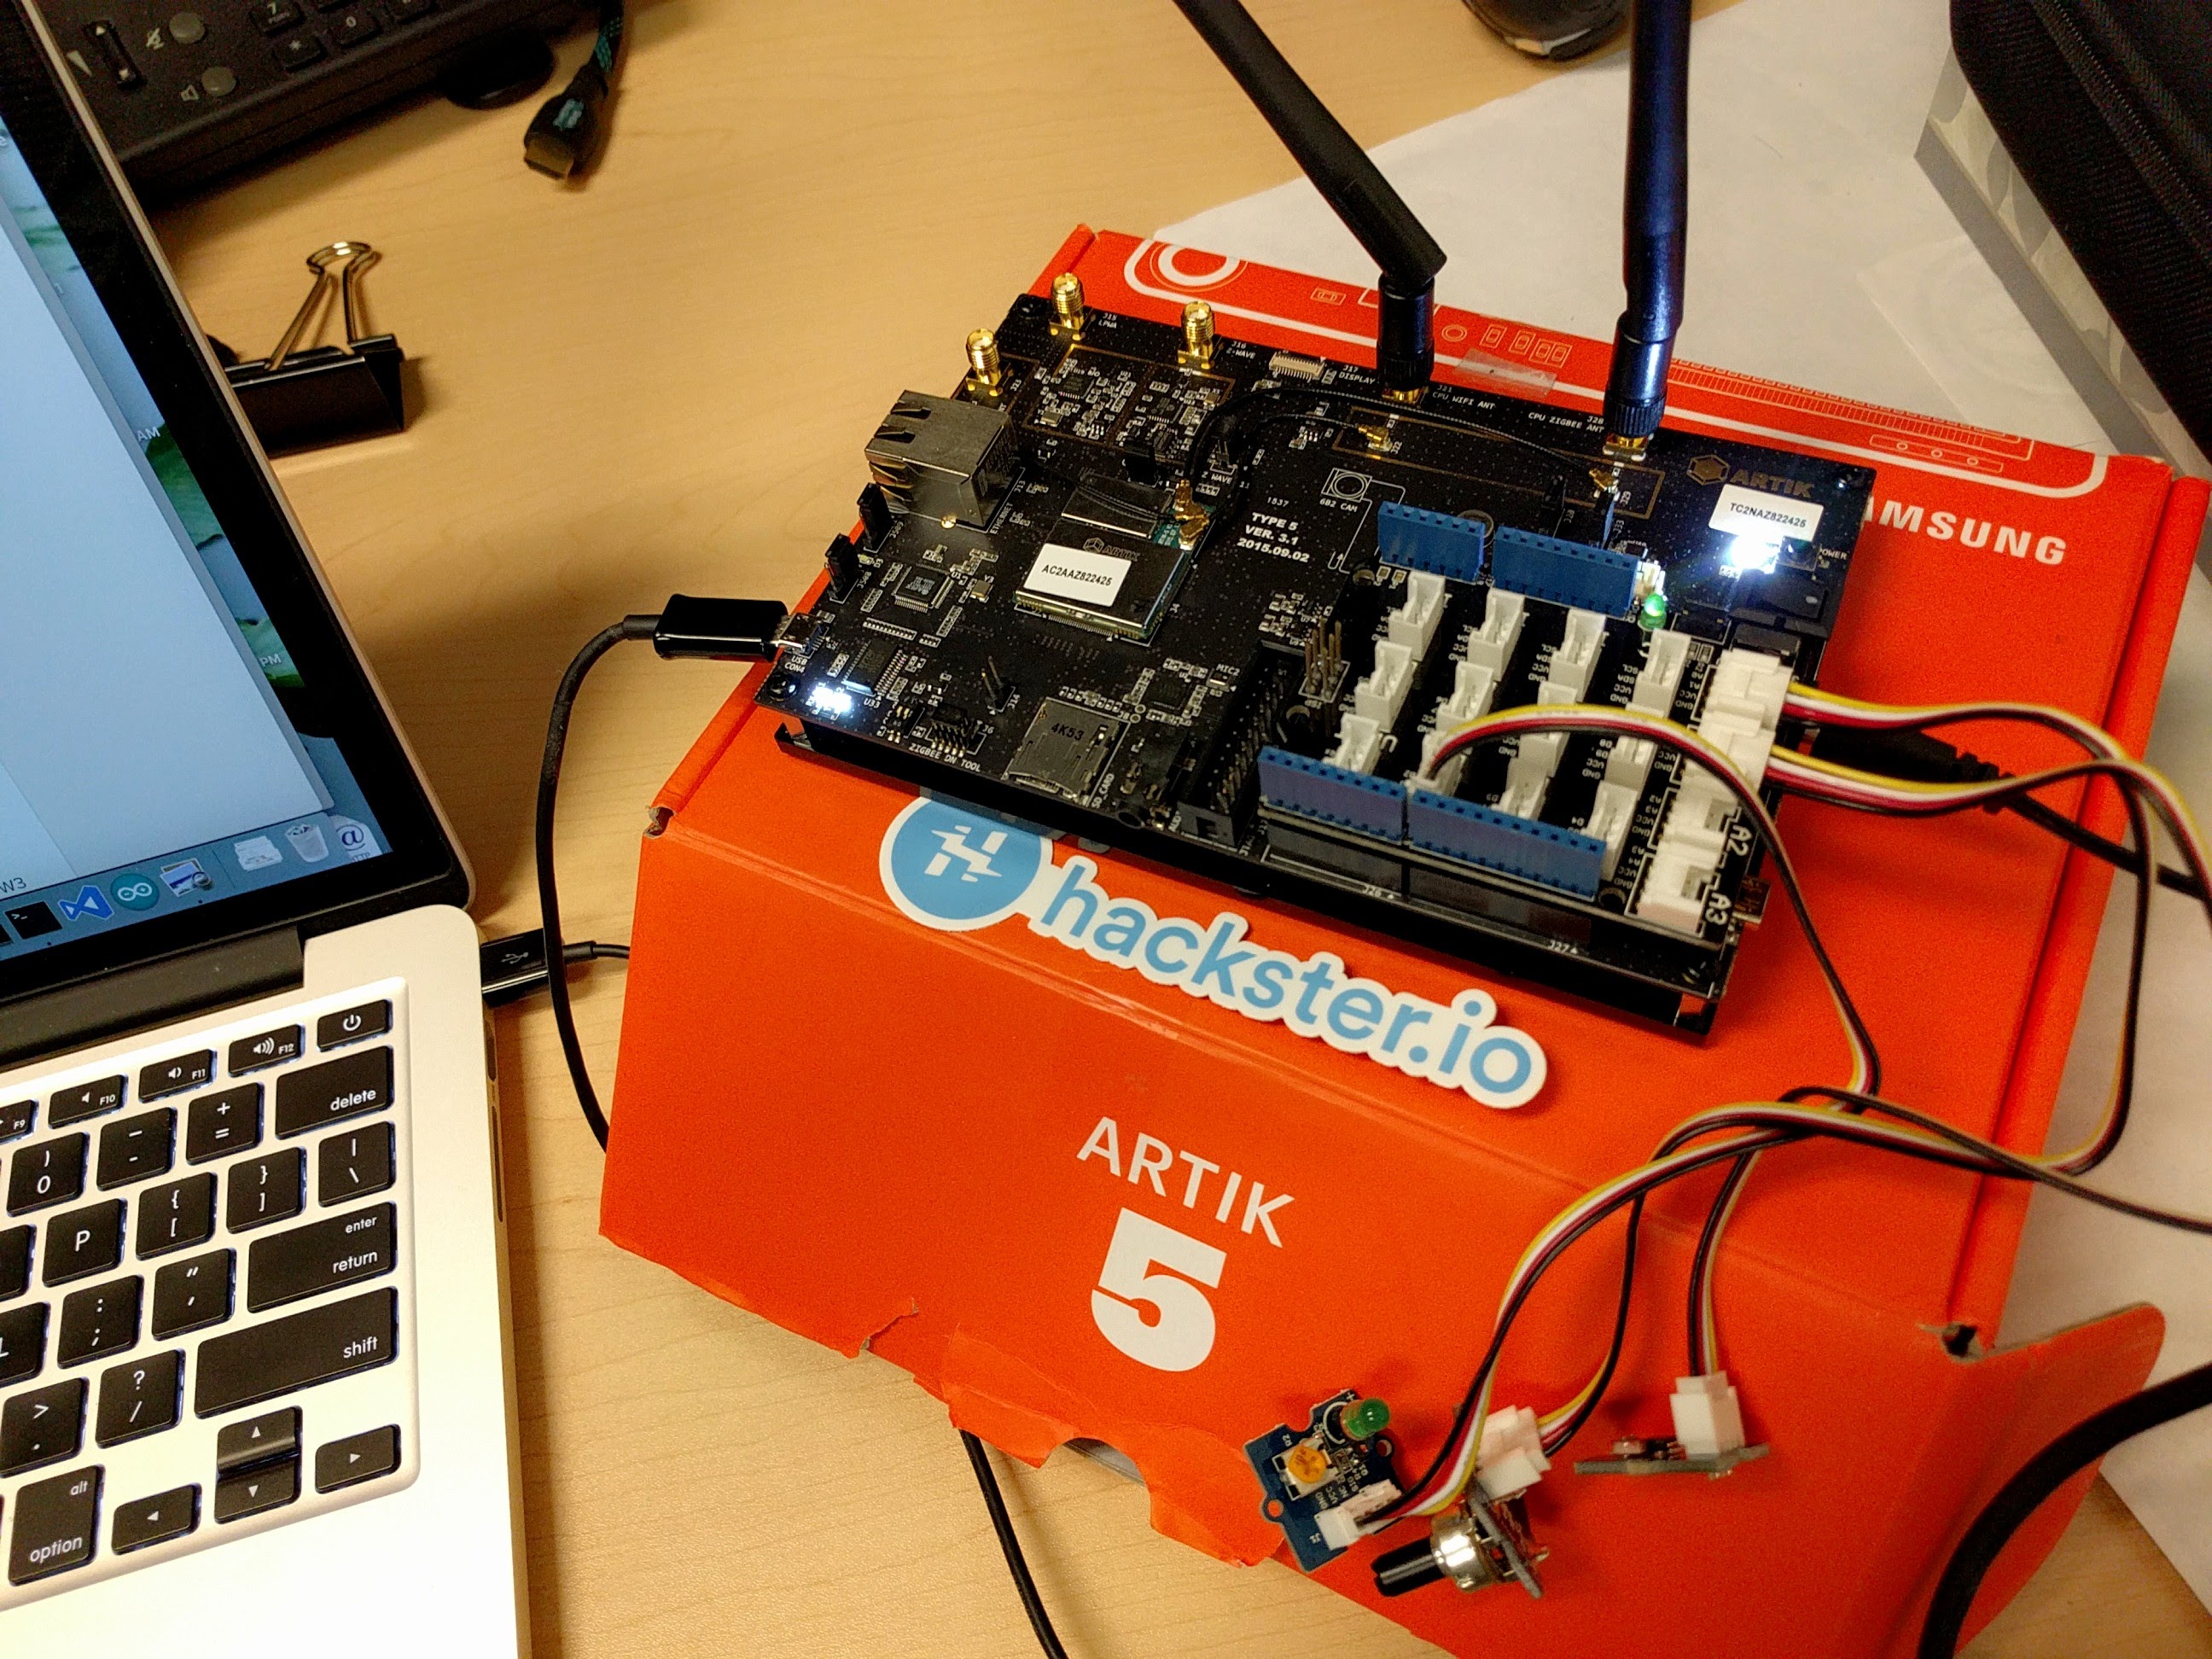
When I first got this board, I was amazed by the antennas and a lot of communication options on this board, there's ethernet, usb, wifi, zigbee, zwave, bluetooth, sigfox (I even have to google this). This is a real Internet of Things device. It's still in it's beta form but I want to try out what can I do with this board. It's using Fedora Linux
What you need- Artik Board
- Grove Arduino Shield
- Grove LED
- Grove Light Sensor
- Grove Rotary Angle Sensor
- Speakers
- IFTTT account
- Twitter account
How to power it up. Use this link
https://developer.artik.io/documentation/getting-started-beta/powering-up.html
I used the getting started guide from the Samsung website. Since I have a mac, I used this link
https://developer.artik.io/documentation/getting-started-beta/communicating-mac.html
I opened the terminal window
$ screen /dev/tty.usbserial-XXXXXXXX 115200
where XXXXXXX is the usbserial like tty.usbserial-AI02ZWTO
then the screen would turn blank.... I don't know why it's blank but it got me nervous.
well, after reading the instructions, I have to reset the board by pressing the "SW3 POWER" switch. It didn't make sense to me at first because lights were 'on' already when I powered it. Ok, Lesson 1: follow instructions.
It will prompt your for login.
After that you're ready to go.
Connecting to WIFIFirst things first, I need my internet. That's basic need.
I used instructions here.
https://developer.artik.io/documentation/developer-guide/configuring-wifi-on-artik-10.html
$ wpa_cli scan_results
$ wpa_passphrase "SSID" "PASSWORD" >> /etc/wpa_supplicant/wpa_supplicant.conf
$ systemctl restart wpa_supplicant
$ dhclient wlan0
$ ifconfig
Note: "SSID" and "PASSWORD" is your network ssid and password.
after it connects, find wlan0 in ifconfig and find your ip address. This is important for Node-Red later on.
The instructions also shows you how to have Artik automatically reconnect to your wifi. A little bit confusing if you're new to linux, but it's ok.
Let's get to the bling blingI want to use the GPIO pins on this thing. I read some instructions here
https://developer.artik.io/documentation/tutorials/blink-an-led.html
I was thinking to myself, what's the easiest way to accomplish this?
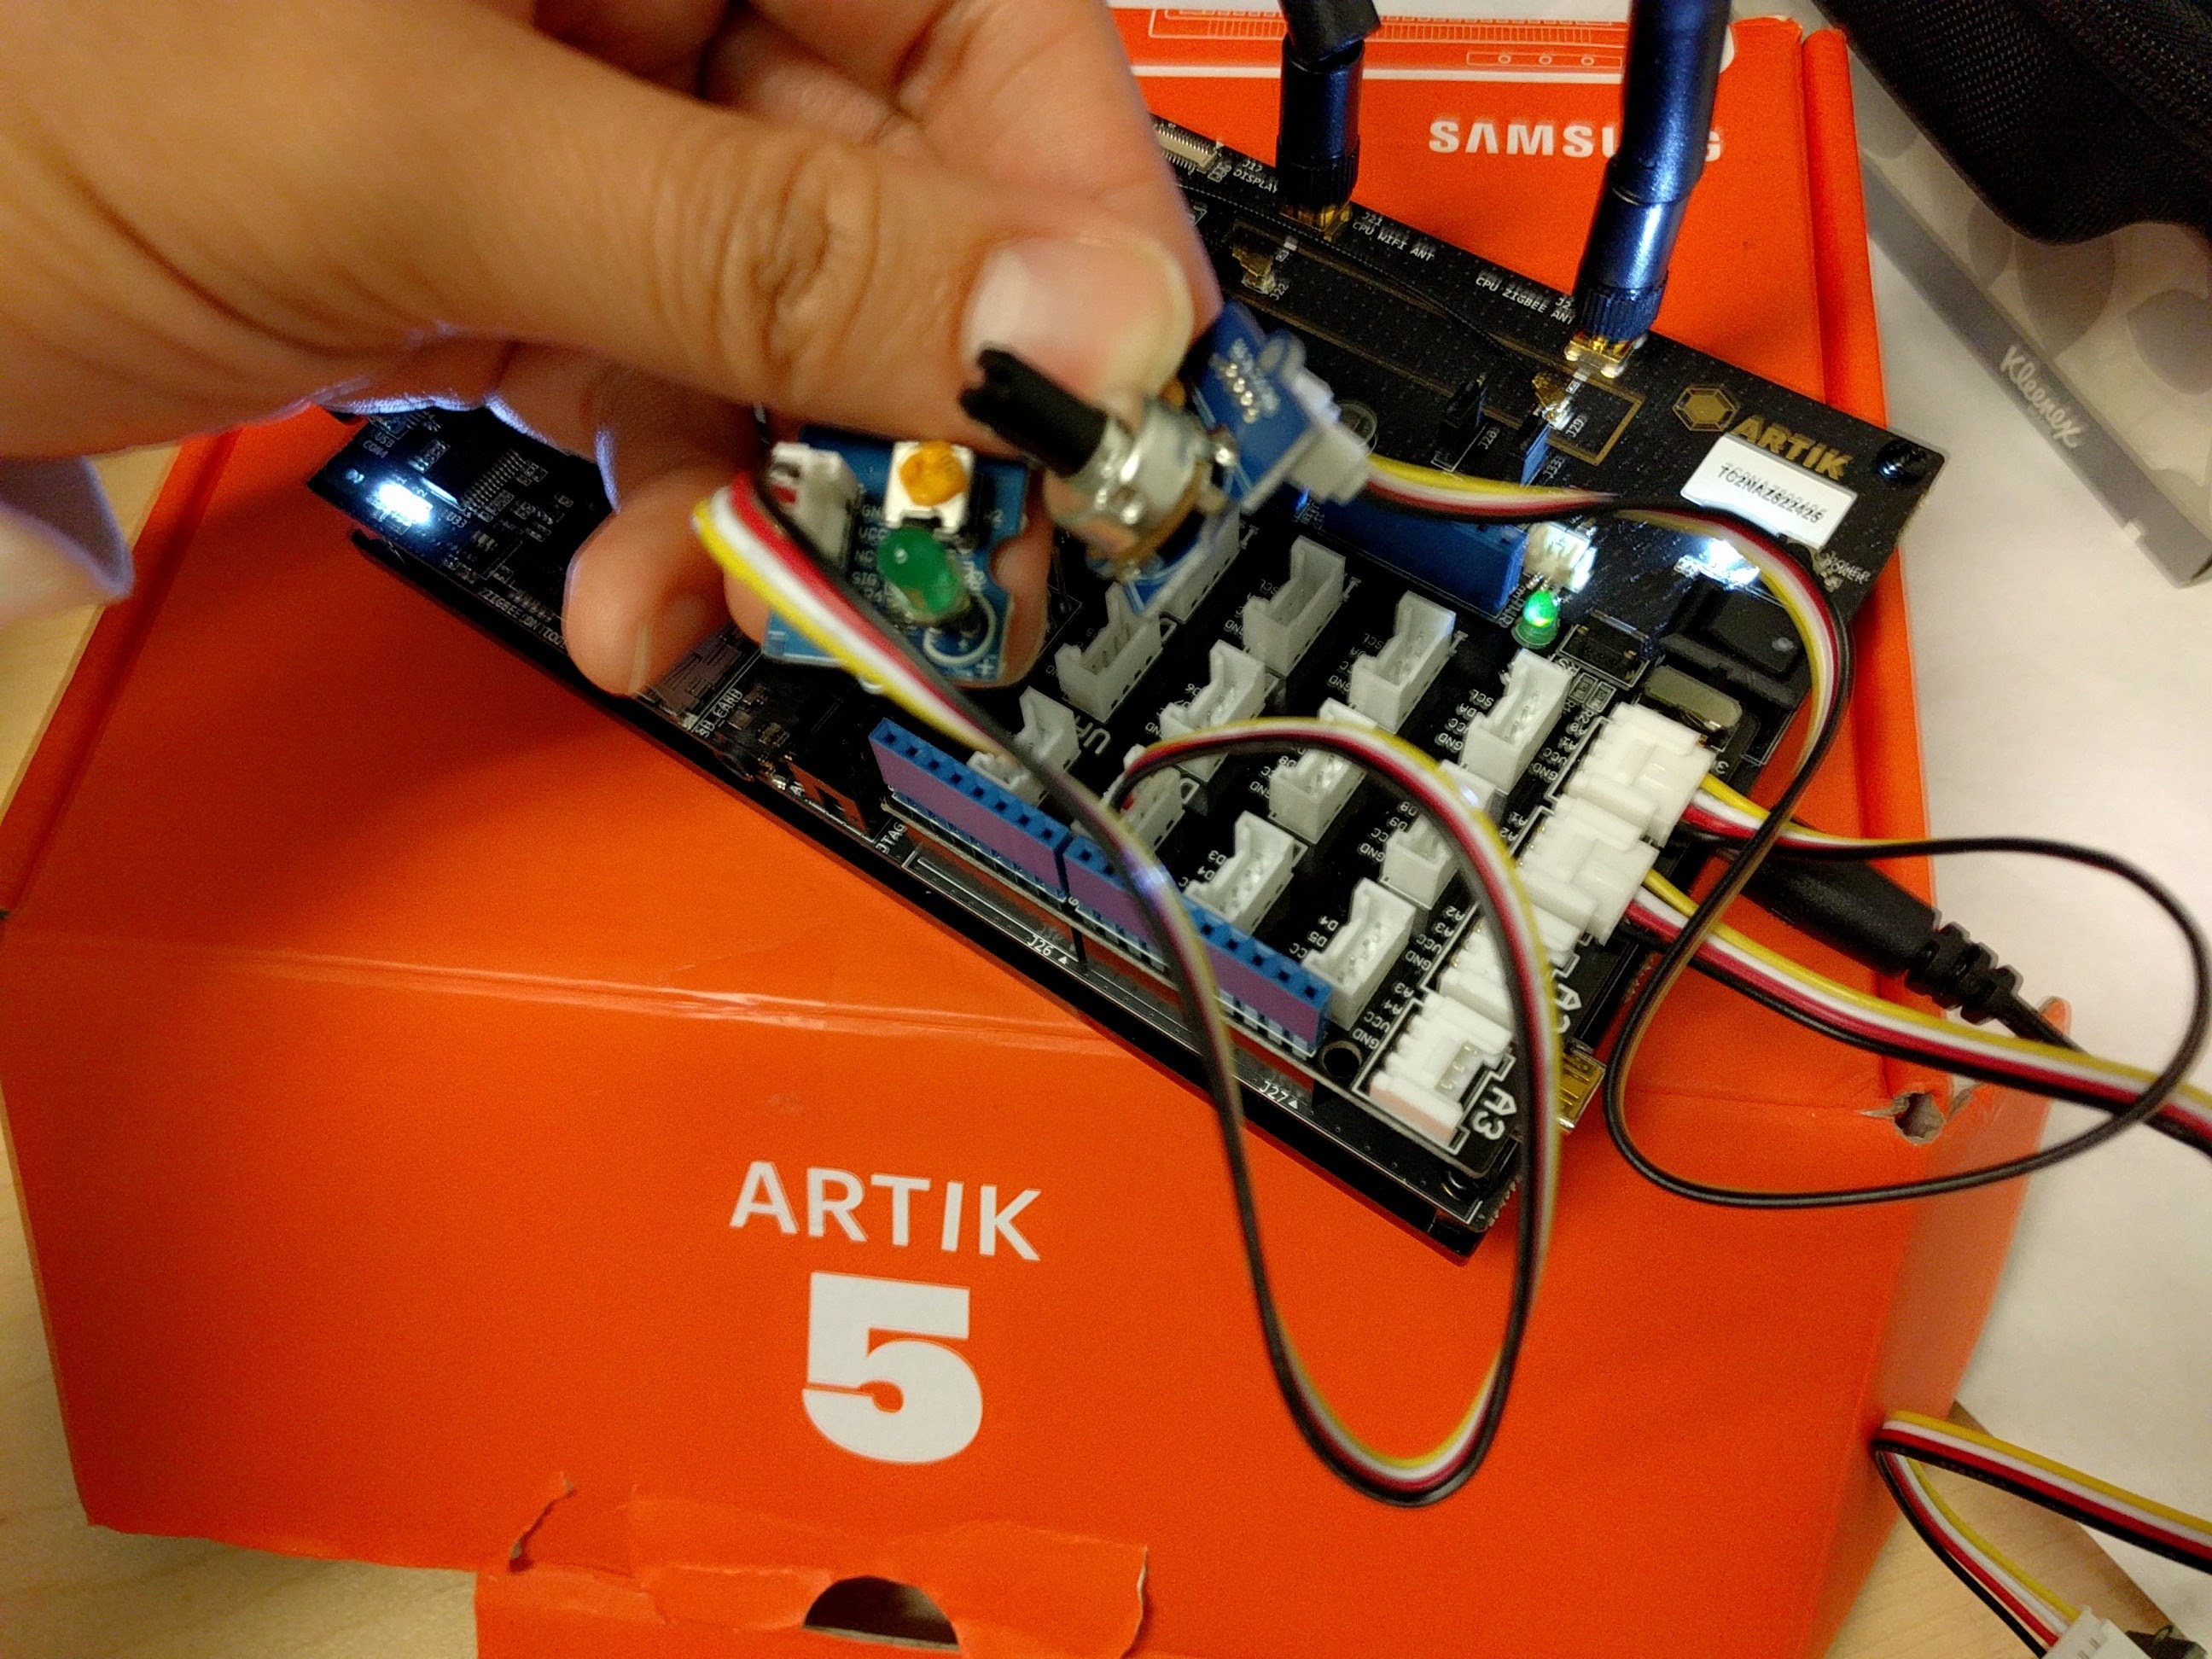
We'll it got an Arduino, I wonder if an Grove Arduino Shield would work.
Got the Grove LED attached to Grove Arduino Shield. I attached it to D2.
But where is D2?
I found the mapping here
https://developer.artik.io/documentation/developer-guide/gpio-mapping.html
J26[2]GPIO ----- > 121 (GPX0[0])
I need to use the number 121 in my command line.
Based from the instructions, I need to use this command
$ echo 121 > /sys/class/gpio/export
$ echo out > /sys/class/gpio/gpio121/direction
$ echo 1 > /sys/class/gpio/gpio121/value
$ echo 0 > /sys/class/gpio/gpio121/value
The last two commands is to turn on and off the Grove LED. That was easy.
Now, how do I read input? How can I use Grove sensors for this?
Idea came up, use Analog sensors like Rotary Angle and Light Sensor. I attached the Rotary Angle to A0 and Light Sensor to A1.
I did some research about it, it looks like we can just easy read the voltage values
$ cat /sys/devices/126c0000.adc/iio:device0/in_voltage0_raw
this is to read voltage from device 0
$ cat /sys/devices/126c0000.adc/iio:device0/in_voltage1_raw
this is to read voltage from device 1
I turn the angle sensor, run the command, got a value. I turned it again, got a different value. That will work for me.
I got Internet, I got Input, I got Output. Let's start programming.
Text-To-SpeechI found out that this thing has audio out. What's the best use of it? Well, make it talk to me. so I installed eSpeak.
$ dnf install espeak
To test it, I do this
$ espeak "hello, welcome to the world of Artik"
Well, make sure you're headphones or speakers are connected. You'll hear something.
If you learned something that might help you in the future, thanks for adding respect and following me.
NodeJSI'm a web developer, NodeJS is something I enjoy using because of npm. There's so much libraries, framework out there I can easily install and experiment, see if it works. Once, I found out that NodeJS can be installed on this Artik board; I wiggled my fingers, it's time for action.
First, update..
$ dnf update $ dnf install node $ dnf install npm $ npm install -g node-red
I heard about Node-Red last year at an AT&T event, they mentioned it because the m2x flow platform is using it. It originated from IBM, IBM Bluemix uses it. I found out I can also install it in my Raspberry Pi. Then with Artik board. Oh my. That's cool. You gotta check this out.
I got interested because it's visual programming. I describe it as MIT Scratch for grown-ups. I like it because I can connect, disconnect nodes, put something in between, add debug nodes and at the same time document my work. The flow is good documentation of code. It's easier to explain to non-technical people.
It's easy to start it up.
$ node-red
Remember I told you to save your ip address. Yeah, you will need that to connect to node-red from your browser in your laptop.
Go to your browser and put this url
http://<ipaddress>:1880
Let's keep the ideas "flowing" shall we.
GPIO in Node-RedIf you're new to Node-Red, I recommend watching this 5 minute clip from Rodric Yates
Gives you an idea of how to put things together. Connect the nodes.
First, I want to initialize my gpio pins once the program starts (remember that 121 stuff up there)
Add 3 nodes, Inject Node, Exec Node, Debug Node.
Here's the code snippet
[{"id":"9b43a6d1.64bc58","type":"inject","z":"6e8e18c6.9171e8","name":"Initalization","topic":"","payload":"","payloadType":"date","repeat":"","crontab":"","once":true,"x":126.5,"y":52,"wires":[["3799b726.c86648"]]},{"id":"3799b726.c86648","type":"exec","z":"6e8e18c6.9171e8","command":"echo 121 > /sys/class/gpio/export;echo out > /sys/class/gpio/gpio121/direction","addpay":false,"append":"","useSpawn":"","name":"Initializing","x":316.5,"y":53.5,"wires":[["4c6cd0ed.b3933"],["4c6cd0ed.b3933"],["4c6cd0ed.b3933"]]},{"id":"4c6cd0ed.b3933","type":"debug","z":"6e8e18c6.9171e8","name":"Result","active":true,"console":"false","complete":"payload","x":518.5,"y":46,"wires":[]}]
Go to the Hamburger menu -> Import -> Clipboard
Paste this code over there, it will create 3 nodes.
Initialization Node ---- make sure you click inject once from start. so it will automatically run once you deploy. Of course it would error out if it's already initialized, but it doesn't matter, we just want it initialized so we won't forget.
Exec Node ---- that's for executing a command line.
here's what I'm executing
$ echo 121 > /sys/class/gpio/export;echo out > /sys/class/gpio/gpio121/direction
Does it look familar? Of course... remember 121.
The Output Node is for debugging... I just want to see the errors.
Turn on LED
2 Nodes: Inject Node, Exec Node.
Inject Node to push on
Exec Node to execute this
echo 1 > /sys/class/gpio/gpio121/value
Turn off LED
Same as turning it on except I want to run
echo 0 > /sys/class/gpio/gpio121/value
How about Analog Inputs?
Same thing. Exec Node with this command
/sys/devices/126c0000.adc/iio:device0/in_voltage0_raw
The data would be in msg.payload
What is message payload? That's how nodes transfer data from one another. Message has properties. msg.payload is mostly used for data.
To test it a little bit, I created a Function Node and add this code with 2 outputs
var num = msg.payload.replace("\n", "");
//console.log(num);
if (msg.payload > 1000) {
   return [ msg, null ];
} else {
   return [ null, msg ];
}
Looks something like this
if the payload which is the voltage from analog input is greater than 1000, light it up.
You can import this code from clipboard
[{"id":"1d114875.e2eeb8","type":"inject","z":"6e8e18c6.9171e8","name":"Trigger","topic":"","payload":"true","payloadType":"bool","repeat":"","crontab":"","once":false,"x":142.5,"y":114,"wires":[["9372327.f6c8dd"]]},{"id":"fbc235c4.043dc8","type":"exec","z":"6e8e18c6.9171e8","command":"echo 1 > /sys/class/gpio/gpio121/value","addpay":false,"append":"","useSpawn":"","name":"On","x":605.5,"y":246.5,"wires":[[],[],[]]},{"id":"290490e4.d6fb7","type":"exec","z":"6e8e18c6.9171e8","command":"echo 0 > /sys/class/gpio/gpio121/value","addpay":false,"append":"","useSpawn":"","name":"Off","x":727.5,"y":365.5,"wires":[[],[],[]]},{"id":"229204d9.dd6dfc","type":"inject","z":"6e8e18c6.9171e8","name":"Turn Off LED","topic":"","payload":"","payloadType":"date","repeat":"","crontab":"","once":false,"x":340.5,"y":335,"wires":[["290490e4.d6fb7"]]},{"id":"9372327.f6c8dd","type":"file in","z":"6e8e18c6.9171e8","name":"A0","filename":"/sys/devices/126c0000.adc/iio:device0/in_voltage0_raw","format":"utf8","x":198.5,"y":174,"wires":[["fcd38612.032c78","5a64f55d.a59b0c"]]},{"id":"fcd38612.032c78","type":"function","z":"6e8e18c6.9171e8","name":"On","func":"var num = msg.payload.replace(\"\\n\", \"\");\n//console.log(num);\nif (msg.payload > 1000) {\n return [ msg, null ];\n} else {\n return [ null, msg ];\n}","outputs":"2","noerr":0,"x":370.5,"y":188,"wires":[["fbc235c4.043dc8","b7403874.48bfc8"],["290490e4.d6fb7","148674e8.eb798b"]]},{"id":"5a64f55d.a59b0c","type":"debug","z":"6e8e18c6.9171e8","name":"A0 Contents","active":true,"console":"false","complete":"payload","x":393.5,"y":134,"wires":[]},{"id":"148674e8.eb798b","type":"debug","z":"6e8e18c6.9171e8","name":"Off Log","active":true,"console":"false","complete":"payload","x":618.5,"y":302,"wires":[]},{"id":"b7403874.48bfc8","type":"debug","z":"6e8e18c6.9171e8","name":"On Log","active":true,"console":"false","complete":"payload","x":613.5,"y":196,"wires":[]},{"id":"abf350ee.540cb","type":"inject","z":"6e8e18c6.9171e8","name":"Turn On LED","topic":"","payload":"","payloadType":"date","repeat":"","crontab":"","once":false,"x":357.5,"y":286,"wires":[["fbc235c4.043dc8"]]},{"id":"7bda491.f8425b8","type":"file in","z":"6e8e18c6.9171e8","name":"A1","filename":"/sys/devices/126c0000.adc/iio:device0/in_voltage1_raw","format":"utf8","x":182,"y":235,"wires":[["fcd38612.032c78","2edbc0bf.d1244"]]},{"id":"2edbc0bf.d1244","type":"debug","z":"6e8e18c6.9171e8","name":"A0 Contents","active":true,"console":"false","complete":"payload","x":372,"y":243,"wires":[]},{"id":"7b0da857.84f258","type":"inject","z":"6e8e18c6.9171e8","name":"","topic":"","payload":"","payloadType":"date","repeat":"","crontab":"","once":false,"x":132.5,"y":306,"wires":[["7bda491.f8425b8"]]}]
Press the trigger button to activate
View debug logs if you're confused.
TwitterWhat else can we do on this thing? There's a twitter node. The video already shows you how to connect it to twitter. Just reference that. All I really want is to get my direct messages and pass it to another node.
At the end of the day, I want Artik to read my twitter messages,light up the LED when it received one and notify me via IFTTT and send me a message on my Android wear.
The speak Node is just exec Node that just calls espeak and includes the payload to command line. Speak Node connects to Off Node to turn off the LED.
IFTTTHow about notifications? I want to be notified when I receive the tweet message. What's the easiest way to do this? IFTTT of course, I use it everyday. I found out that there's a maker channel for IFTTT which also have the Hackster.io link there to share your experience.
I created a recipe for you. Let me know if it taste good.
https://ifttt.com/recipes/391176-nodered-send-notification-to-my-watch
I specified my event name as 'message_tweet'
Then all you have to do is to create an http Node with URL, and also http response node. Here's the pattern for URL
https://maker.ifttt.com/trigger/message_tweet/with/key/<key here>
Here's the whole flow.
If you got interested in NodeJS, IFTTT, Node-Red or Artik 5 because of this project and want to learn more, please add respect and follow me.


Comments