

Hardware components | ||||||
_ztBMuBhMHo.jpg?auto=compress%2Cformat&w=48&h=48&fit=fill&bg=ffffff) |
| × | 1 | |||
 |
| × | 1 | |||
Software apps and online services | ||||||
| ||||||
 |
| |||||
ESP8266 is a low-cost WiFi module that belongs to ESP's family which you can use it to control your electronics projects anywhere in the world. It has an in-built microcontroller and a 1MB flash allowing it to connect to a WiFi. The TCP/IP protocol stack allows the module to communicate with WiFi signals. The maximum working voltage of the module is 3.3v so you cant supply 5v as it will fry the module.
Let's take an example of controlling an LED light using ESP8266 by smartphone. The ESP8266 acts as an interpreter between the LED and the smartphone. Since we are using the Blynk app to control the LED further explanations will be based on it.
Look at this image, the ESP8266 is connected to the nearby WiFi hotspot that allows it to access the internet and sends data to the Blynk server along with authentication code. An authentication code is then sent to the app that has the same authentication code and then, the app receives the data to create a secure connection between the app and the ESP8266.
The data(instructions to control LED) from the Blynk app is sent to the Blynk server along with the authentication code and since the ESP8266 has already the same authentication code which is connected with the Blynk server, the server identifies the matching code and data is sent to the corresponding ESP8266. Then the ESP8266 microcontroller turns ON the LED.
ESP8266:Pinoutpin 1 _____ Rx -- connect it to Rx of Arduino
pin 2_____GPIO 0--connect it to ground while uploading the code to arduino IDE
pin 3_____GPIO 2,
pin 4_____ GND--connect it to ground
pin 5_____Tx--connect it to Tx of Arduino
pin 6_____CH_PD(EN) -- connect it to 3.3v
pin 7_____RST(reset)--(not necessary) connect it to 3.3v for normal operation
and 0v(GND) for reset
pin 8____Vcc--supply 3.3v from Arduino or from an external source
Schematics and connectionArduino UNO is used in this project. Remove the ATmega328P microcontroller from board before starting the project.
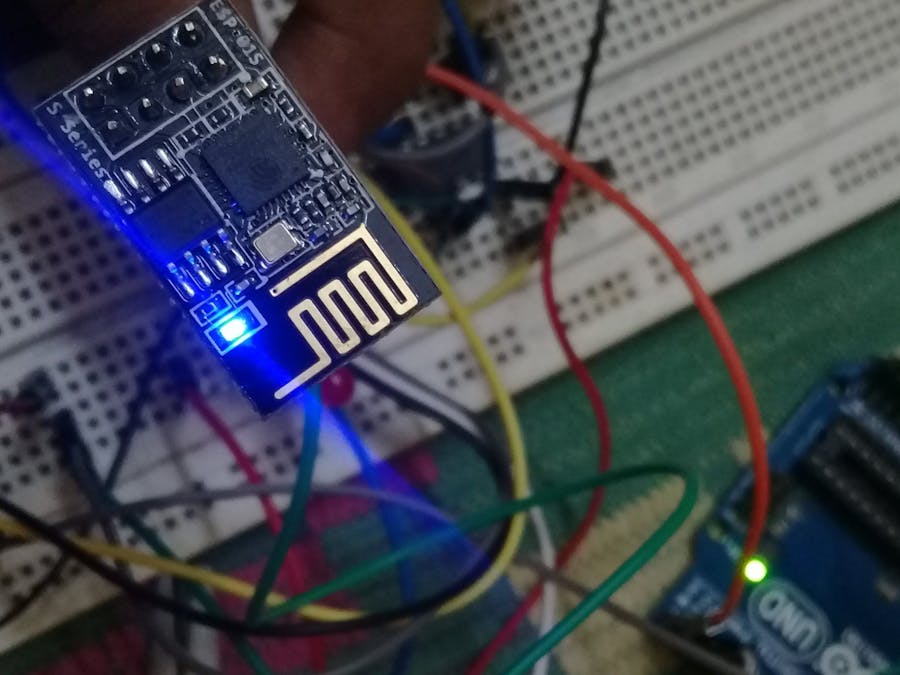
NOTE:- Remove the GPIO 0 to GND connection when the blue LED in ESP8266 stops blinking (after uploading the code).
Now connect it according to the circuit diagram.
Go to playstore and search for the Blynk app.
Download the app and open it.
Now, tap on "New Project."
Then, enter a name to the project and choose the device as "ESP8266".
Now save it by tapping "Create" button.
From the settings, add a button to the blank area so that you can control the LED by tapping it.
Click on the "bolt" symbol at the top.
Then scroll down until you see the heading "auth token."
Auth token is an authentication code that I have said before. It is to create a secure connection from Blynk app to the ESP8266 by the web server and also to identify the device while it is to be communicated.
Now choose any methods under auth tokens to save the auth code. The auth code should be entered in the program code later.
Setting up the Arduino IDE for programming ESP8266Before programming the ESP8266 in Arduino IDE you have to change the board manager to ESP8266.
If you haven't made any projects on ESP8266 before, you have to follow these steps on the website (given below link) to install ESP8266 board manager on Arduino IDE.
https://randomnerdtutorials.com/how-to-install-esp8266-board-arduino-ide/
If you had finished installing the board manager or already had installed it then choose the board manager type as "Generic ESP8266 Module."
To communicate your ESP8266 with the Blynk app, you have to add a Blynk library to your arduino IDE folder. For that, you need to download the library file from the link below:
https://github.com/blynkkk/blynk-library/releases
Once you have downloaded it, extract the file and copy the folders. Then open your Arduino folder and click on libraries folder. Right click and click on paste button. You have successfully installed the Blynk libraries.
Now copy the code given below and upload it to the board.
Learn to control an external LED via esp8266 (link below)
https://www.hackster.io/Niv_the_anonymous/esp8266-control-an-external-led-over-internet-7a5986


Comments