Suicide is a tragedy
Our hope for this project is to help families with concerns for suicide’s or domestic disputes, keep firearms in their home with an extra layer of security. Many families have firearms and could benefit from a secondary locking system controlled by an App remotely. So we have designed and created version 1.0 of our lock and app system.
The Center' for Disease Control claim's, “[t]he two major component causes of firearm injury deaths in 2014 were suicide (63.7%) and homicide (32.8%).”
This system will help with suicide prevention in the sense that no person can open the safe without reaching out to another person. This extra step can encourage and enforce house rules such as, calling the individual requesting the safe to be open, having the ability to control the safe remotely, and do all of this on your cell phone or computer. If you talk to the individual requesting the safe be opened and you feel they are at risk you have the ability to talk to them and help them make the choice of life!
American Foundation for Suicide Prevention. afsp.org
How it works:
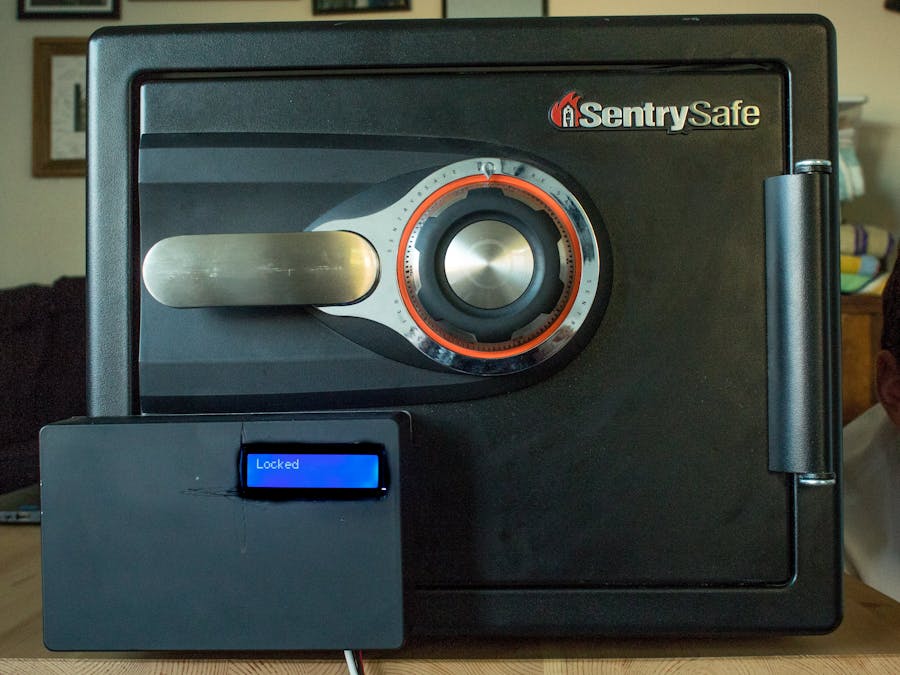
The system uses a magnetic lock manipulated by the app. Each person allowed in the household to use the firearms would have an account. When they were in need of the firearm they would use the app to request the safe be opened. The "unlock" option will be accessible only by those receiving the request. Never to the user that is requesting. This way there is no option to simply log into the app and press the unlock button without alerting another user. You must send a request and a different user must "unlock" the safe. The lock also has an anti-tamper feature, if someone tries to remove the lock from the safe an alert is emailed to the users via the web app.
Hardware in Detail:
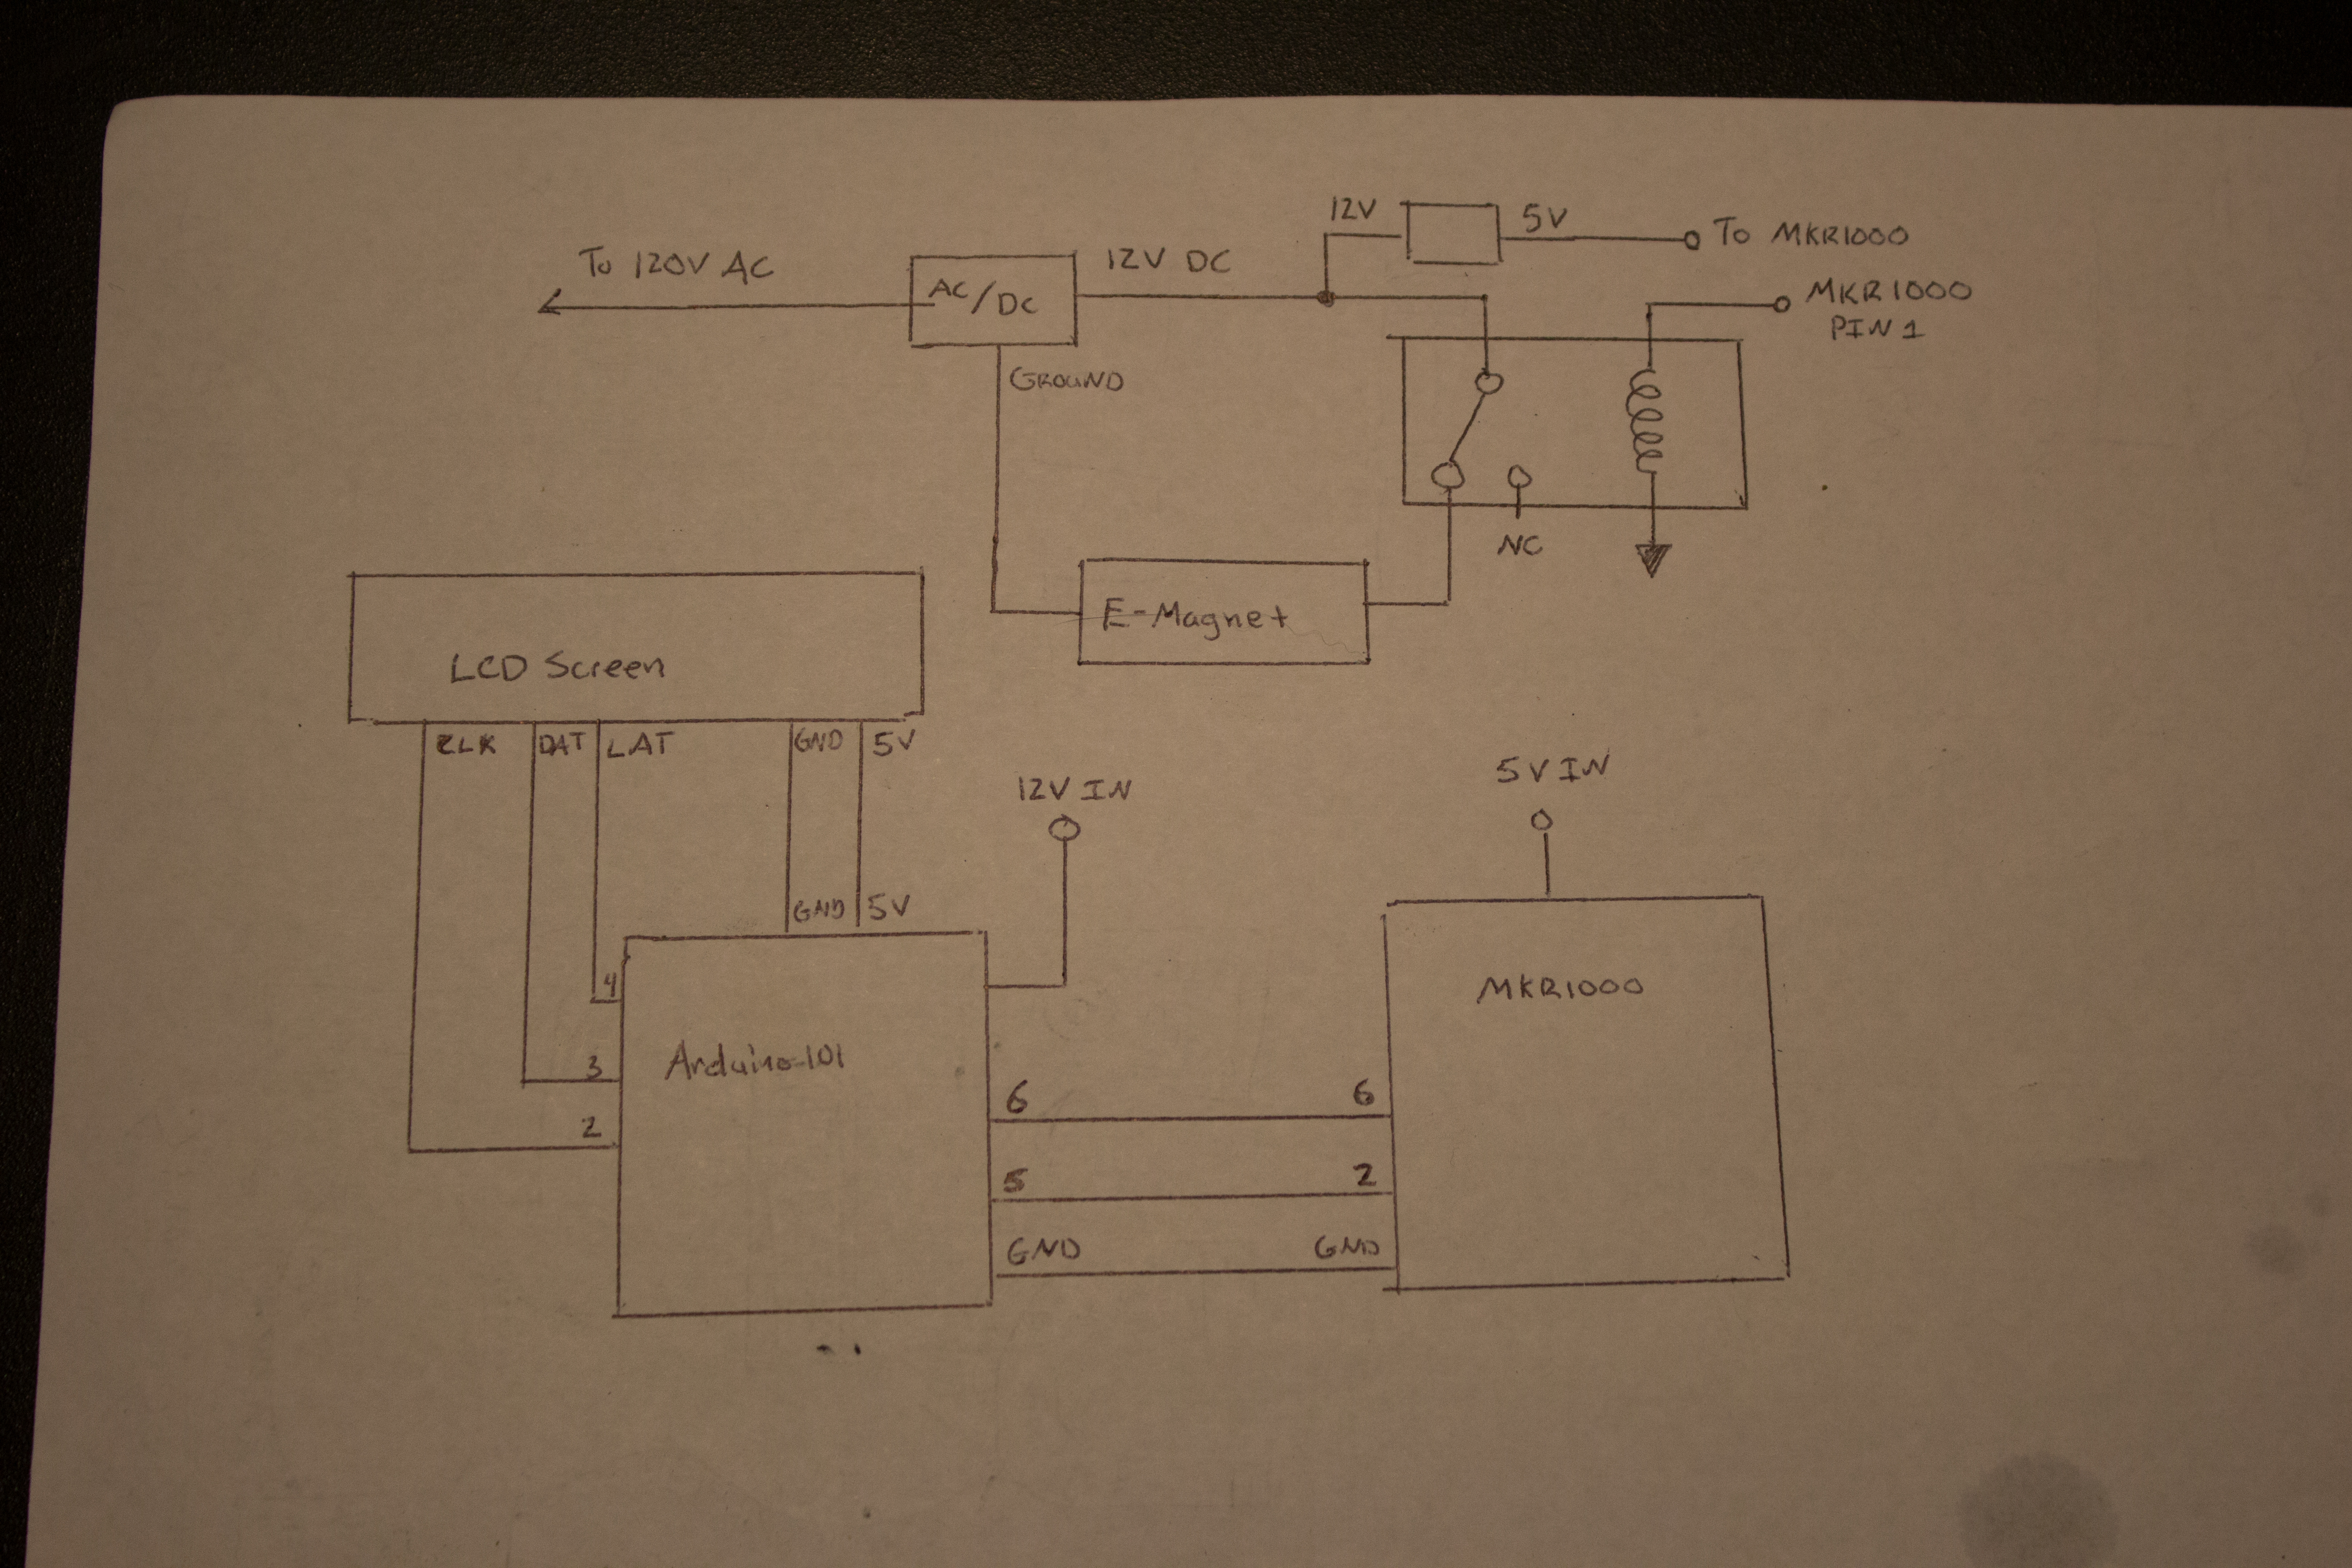
The main hardware components of this device are the following; Aduino 101, Arduio MKR1000, MKR1000 Relay Shield, LCD Screen, Switchable Magnets, Electro-Magnet, and a Project Box.
The Arduino 101 is used because it has built in accelerometers which we use to monitor tampering with the safe lock. We are also using the Arduino 101 to control the LCD Screen, which displays the state of the locking device, "LOCKED" or "UNLOCKED". The LCD screen simply shows the lock status as well as alarms when the accelerometers eperience excessive movement. The Adruino MKR1000 makes requests for lock status to the server and then decides whether or not to open the electro magnet based on whether or not a request has been granted by another user. The Relay Shield allows the arduino to control when the elctro magnet has power, which is how the safe can be locked or unlocked.
There are three magnets used in this project; two switchable magnets that strongly secure the device to the front of a safe, and one electro magnet that holds the door closed when prompted to do so by the Arduino. The switchable magnets ensure that the device cannot be removed.
Last but not least we have a metal seamless project box to hold all of the electronics and magnets. This project box does not have any screws on the outside to prevent any tampering.
Software in Detail:
The software is written in ASP.NETCore C# on Visual Studio 2017. The Web App receives requests from the locking device and responds with which state the lock should be in (locked or unlocked). The web app also receives alarm updates from the device and emails out connected users right away.
The front end of the app is accessible from any internet device at www.cowincrafted.com feel free to check it out. Once logged in users will be able to make and approve requests. Once a user makes a request, they are not able to approve requests until the lock goes through a cycle. When a request is made, an email is sent out to the other users. All emails are sent using an HTTP request to SendGrid, an email sending service.
Working on the project:
1 / 2 • Using a drill press to customize the project box.
1 / 2 • Installing the electro magnetic lock and switchable permanent magnets.
Working on the programming and building the app.
1 / 2 • Demonstration of the switchable permanent magnets on the safe door.
1 / 5 • Register on the app to create an account.


_gktVFakxRp.jpg?auto=compress%2Cformat&w=40&h=40&fit=min&dpr=2)


_baVEVgguW1.jpg?auto=compress%2Cformat&w=48&h=48&fit=fill&bg=ffffff)


_gktVFakxRp.jpg?auto=compress%2Cformat&w=60&h=60&fit=min&dpr=2)


Comments