IntroductionNow a days virtual environment is considered as a means of efficient human interaction. This is defined by the diversified field of application. The range of applications include phobia therapy, military simulation, medical training etc.., The progressive advancements in the field of electronics have led to a still more widening of the spectrum of human computer interaction. The user interface approach of using keyboard, mouse, pen are not catching up to the race. The use of hand gestures as a input method providing human computer interaction. This will be useful in controlling gaming applications using hand gestures.
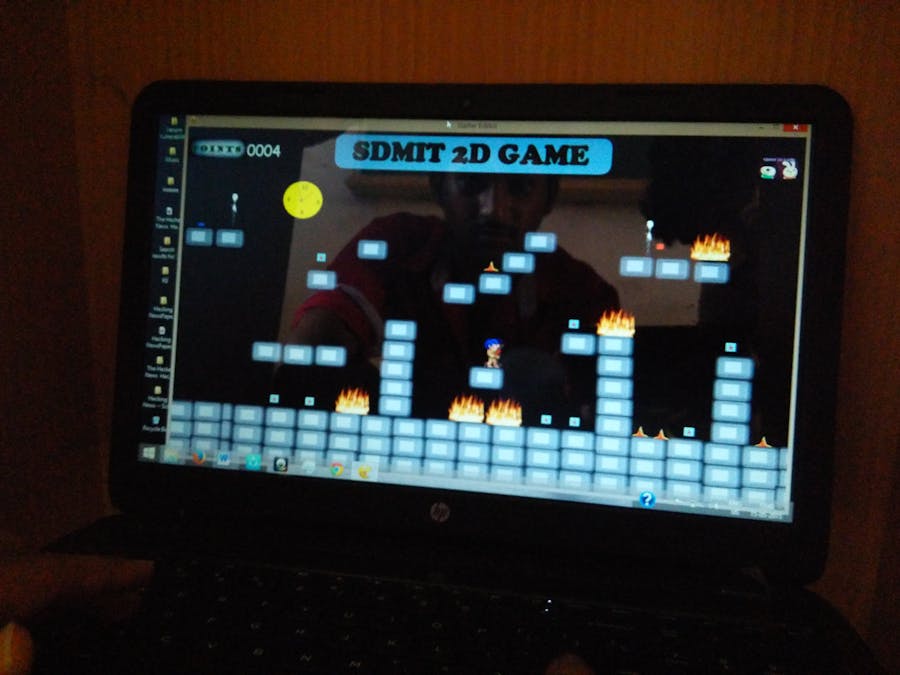
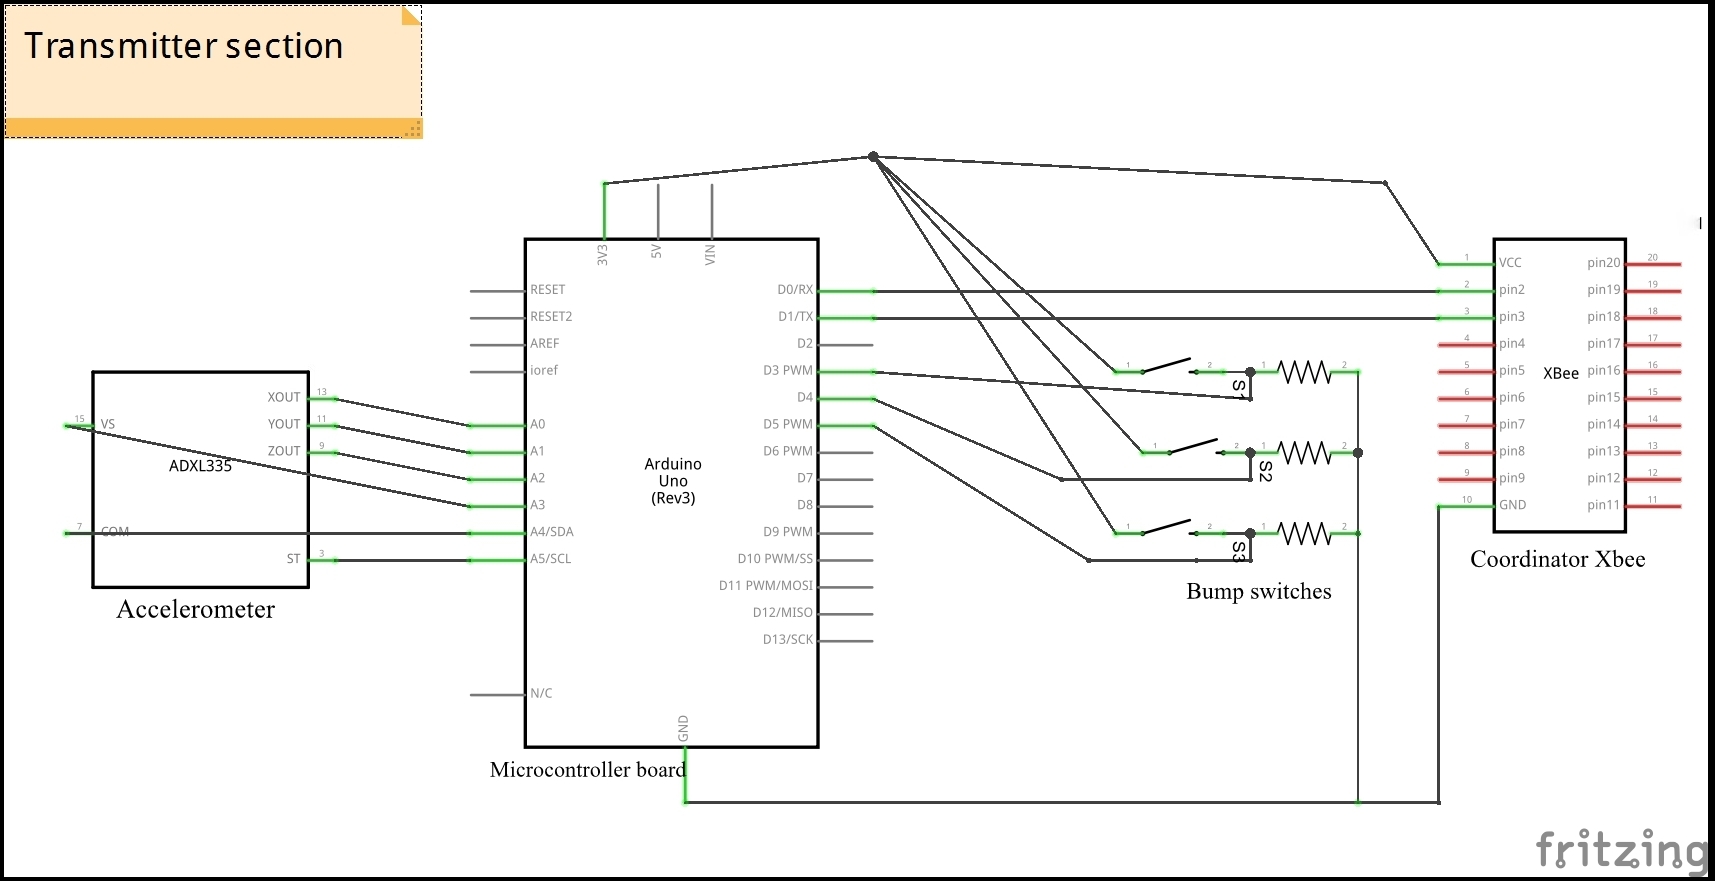
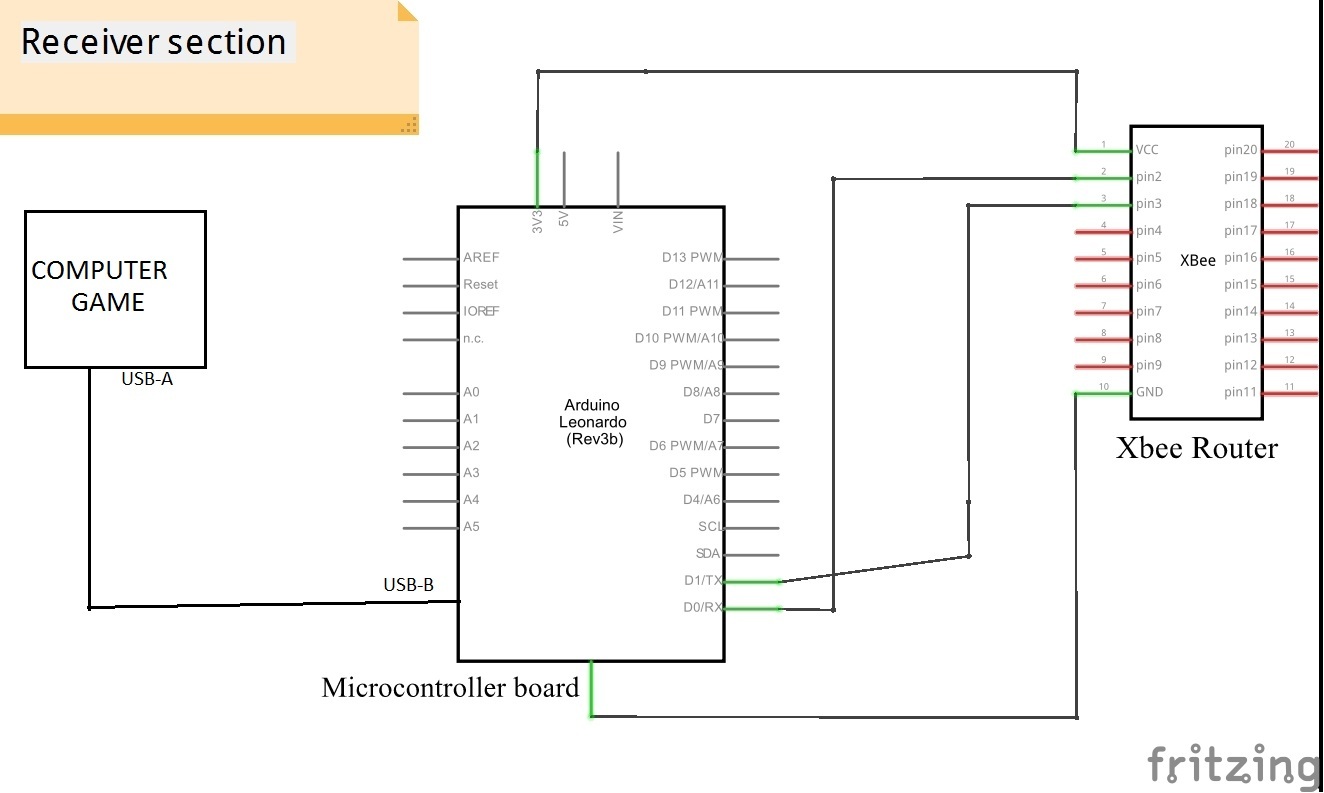
MethodologyA game controller is a device used with games or entertainment systems to provide input to a video game, typically to control an object or character in the game. A controller is usually connected to a game console or computer by means of a wire or cord, although, since the mid-2000s, wireless controllers have become widespread. Input devices that have been classified as game controllers include keyboards, mice, gamepads, joysticks, etc. Special purpose devices, such as steering wheels for driving games and light guns for shooting games, are also game controllers. Game controllers have been designed and improved over the years to be as user friendly as possible. The Microsoft Xbox controller, with its shoulder triggers that mimic actual triggers such as those found on guns, has become popular for shooting games. Some controllers are designed to be deliberately best for one type of game, such as steering wheels for driving games, or dance pads for dancing games. One of the first video game controllers was a simple dial and single button, used to control the game Tennis for Two. Since then, controllers have evolved to include directional pads, multiple buttons, joysticks, motion sticks, touch screens, and a plethora of other features detection, analog In our project we are going to implement accelerometer based game controller using xbee for wireless capability.
- A game controller is a device used with games or entertainment systems to provide input to a video game, typically to control an object or character in the game. A controller is usually connected to a game console or computer by means of a wire or cord, although, since the mid-2000s, wireless controllers have become widespread. Input devices that have been classified as game controllers include keyboards, mice, gamepads, joysticks, etc. Special purpose devices, such as steering wheels for driving games and light guns for shooting games, are also game controllers. Game controllers have been designed and improved over the years to be as user friendly as possible. The Microsoft Xbox controller, with its shoulder triggers that mimic actual triggers such as those found on guns, has become popular for shooting games. Some controllers are designed to be deliberately best for one type of game, such as steering wheels for driving games, or dance pads for dancing games. One of the first video game controllers was a simple dial and single button, used to control the game Tennis for Two. Since then, controllers have evolved to include directional pads, multiple buttons, joysticks, motion sticks, touch screens, and a plethora of other features detection, analog In our project we are going to implement accelerometer based game controller using xbee for wireless capability.
I have included all the information in attachment (Cad/enclosuxbees it has all the information from
Etc
Thank you ! :)


_ztBMuBhMHo.jpg?auto=compress%2Cformat&w=48&h=48&fit=fill&bg=ffffff)


_3u05Tpwasz.png?auto=compress%2Cformat&w=40&h=40&fit=fillmax&bg=fff&dpr=2)
Comments