

Hardware components | ||||||
 |
| × | 1 | |||
 |
| × | 1 | |||
 |
| × | 1 | |||
Software apps and online services | ||||||
| ||||||
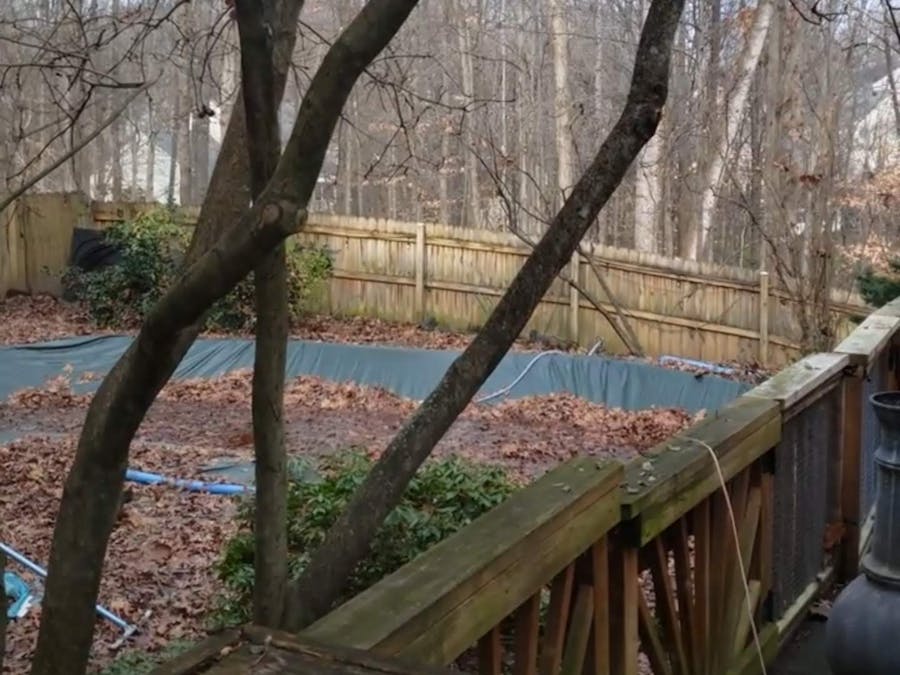
Summer is over and it's time to close the pool. The old pool cover bit the dust and has found it's way into the local landfill. Our new, cheap replacement pool cover will collect water and leaves over the winter, so it will need a pool cover pump. Now, I could buy one for $40 to $50 (USD), that would run on 120VAC and most likely won't be automatic. I would need to go out in the rain, plug in the pump and hope I didn't burn out the motor if it doesn't have an auto shut off, go back out in the rain and unplug it for a while, then repeat these steps until it stopped raining. OR I could just keep using my solar heater pump! Since it's a low voltage pump (12VDC), I can keep the power supply indoors, away from the weather. The Omega2+ controller is in a weather proof project box, it stays outside. I just need to tweak my bash scripts and we're in business. (Here's all of the components I used in the solar water heater project. https://www.hackster.io/xenophod/solar-pool-heater-554894 )
I took about 25 feet of speaker wire and attached it to the power supply. It's soft and flexible so I can keep the 12VDC power supply indoors and close the sliding glass door on the wire without having any issues. Other than removing the PVC Heating Coils, the only other changes I made were in the software.I stopped using the bash script that turned the pump on and off every couple of minutes as the pool cover wouldn't have water in it all winter. I needed an "on demand" option. I wrote a script that would turn on the pump, wait 20 minutes, turn off the pump then exit. If there was still standing water on the cover, I'd run it again. If the water was all gone, it longest it would run is 20 minutes, it could probably run an hour without hurting the pump too much. To start the pump I needed to log into the terminal, then create a screen session for easier background execution and control over the script once launched. I created a script that would automatically create the screen session in detached mode while running the script in that screen session. So all I would need to do was log in, and run that script then log out. I used an Android App called SSH Button to further simplify this process. Now, all I needed to do was push a button and BAM, the pump was on for 20 minutes. I created two more SSH Buttons, one to just turn on the pump, indefinitely and one to turn the pump off, immediately. This worked well. If I noticed water on the cover before I left for work, I would push the button for "20 minutes". If it was the weekend, I would use the "on" button and keep an eye on it. Here's a video of SSH button:
Now, the rest of my house has Kasa, Geeni and Philips Hue lights and outlets, all controlled by Google Home, aka Google Assistant. I regularly yell, "Hey Google, Turn on my living room lights.", "Hey Google, turn off my bedroom lights." or "Hey Google, turn on the reading lamp." So I naturally wanted to yell for Google to turn on my pump.I tired a few tutorials on how to get custom voice requests to interact with IoT devices, but they all seemed complicated or required me to use some unknown cloud service so I abandoned those options. Then, one day, I was on Adafruit's Discord server when I saw the adafruit-io channel. I thought, "What is this?" "Adafruit.IO is a cloud service - that just means we run it for you and you don't have to manage it. You can connect to it over the Internet. It's meant primarily for storing and then retrieving data but it can do a lot more than just that!"
I had self hosted and used Sparkfun's now defunct "Phant" logging server running on Node.js: https://github.com/sparkfun/phant for nothing more than logging server temps, but I imagined I could use it for some automation. Adafruit IO (sometimes shortened to AIO) seems to be a more robust implementation of what Phant wanted to be. I think Amazon has a good MQTT implementation as well, but I don't think it's free. AIO is really easy too. To start, I created an account and then I followed the Python examples: https://learn.adafruit.com/welcome-to-adafruit-io/python-and-adafruit-io-2
Since I'm using Windows 10 on my laptop and needed to create bash scripts, I installed Ubuntu from the Windows Store: https://www.microsoft.com/en-us/p/ubuntu/9nblggh4msv6?activetab=pivot:overviewtab I love having a Linux shell on my windows laptop. ANYWAY, I followed the steps on getting Python3, installed pip3 and getting the adafruit-io libraries installed. I also cloned the example scripts from their GitHub: https://github.com/adafruit/io-client-python.git. Within minutes, I had the Python script, ~/io-client-python/examples/mqtt/mqtt_groups_pubsub.py sending random data to my feeds. The Dashboard is beautiful and responsive. I quickly created a dashboard to visualize this test data using gauges.
I saw that AIO also connects to IFTTT, which also connects to Google Assistant. By the end of the afternoon, I had working prototype code that toggled an AIO switch from off to "on" when I said "Hey google, turn on the pump", after 10 seconds, the script toggled with switch back to "off".
https://ifttt.com/applets/92831279d-toggle-aio-switch-on-via-google-assistant
Later that evening, I updated the Omega2+ to the latest firmware, installed Python3, pip3 and installed the Python libraries for AIO. I copied over my prototype code and started filling in the commands.The script listens, every 5 seconds, to the feed for the toggle switch, when it's ON it runs a script, when it's OFF it runs a script. Easy enough, but I don't want the script to just keep turning on the pump for 20 minutes every 5 seconds, or sending a message to the relay board to turn off every 5 seconds, so my scripts write a temp file. When OFF, the temp file is gone. If the temp file doesn't exist, the OFF script exits without doing anything. When ON is called, it checks to see if the temp file exist, if it doesn't, it creates the temp file and keeps going, (if it sees that the temp file exists, it exits without doing anything.) Once the ON script creates the temp file, it goes on to created a screen session, then it exits (and gets run every 5 seconds, only to see the temp file and exits). The screen session runs a script that starts the pump, waits 20 minutes, stops the pump, sends the OFF message to AIO to the toggle switch (MQTT), deletes the temp file, then destroys the screen session. If the condition for OFF is run before ON has finished it's 20 minute run, OFF checks for the temp file, finds it and starts shutting the pump off, deletes the temp file, then destroys the screen session which kills the running "ON" script inside of it (which is probably just sleeping anyway). I can toggle the pump On of Off using the AIO Dashboard, Google Assistant or any other hardware device that can "speak" MQTT. I have an Amazon DASH button that I can probably use too.
Here's an example of everything working:
Since it's snowing right now, I adapted the script to write a message to an OLED instead of turning on/off a relay to turn on a pump, since, you know, the pump is all frozen, because... snow....
(EDIT)
Snow, Schmo! The script on the Omega2+ died so what I thought was a frozen pool of water, was just a dead listener. Here's the working pump, IN THE
I suppose I could use the existence of the screen session instead of the temp file. Maybe I'll make that change at a later date. But for now, when I say "Hey Google, turn on the pump." It says "Done" then the pump starts. It's even faster than the SSH Button, since it's not logging into the terminal and running a command. It's like magic! Now I wish it would rain some more so I can use it!Other project ideas for Omega2+ and AIO: A) Converting the pool cover pump back into a solar heater, but this time with temp sensors! I can visualize the water temps using the dashboard gauges. B) Something with the chicken coop, an automatic door and feeder? I feel the possibilities are endless.
UPDATED: Ignore all the other code and schematic, just use the code marked as updated.


Comments