

Hardware components | ||||||
_ztBMuBhMHo.jpg?auto=compress%2Cformat&w=48&h=48&fit=fill&bg=ffffff) |
| × | 1 | |||
| × | 1 | ||||
 |
| × | 1 | |||
Software apps and online services | ||||||
 |
| |||||
 |
| |||||
Hand tools and fabrication machines | ||||||
 |
| |||||
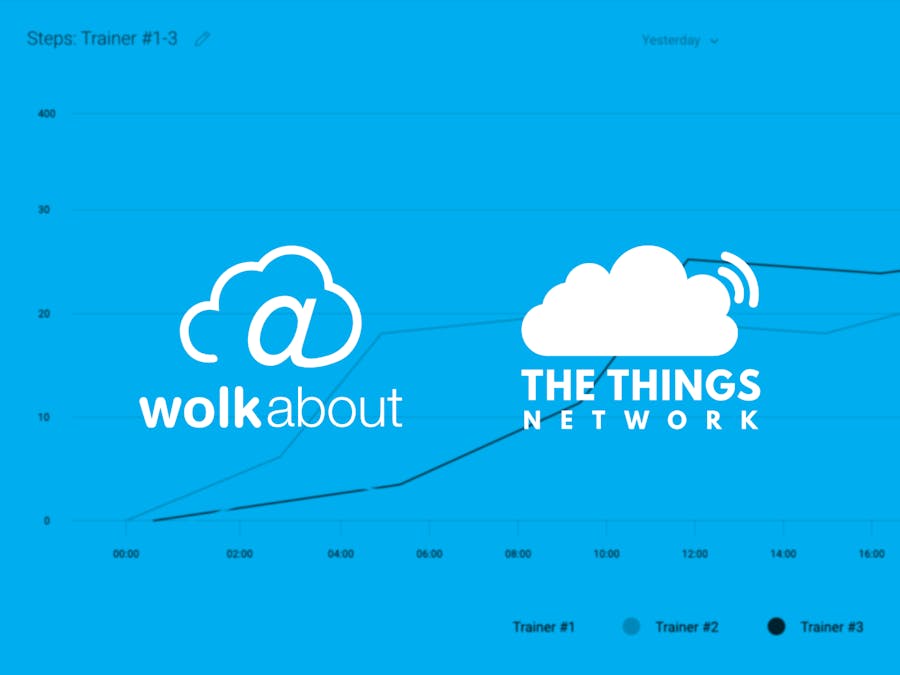
The LoRaWAN protocol continues to grow through The Things Network, creating an expanding community network worldwide. WolkAbout has created a way to integrate its WolkAbout IoT Platform with The Things Network, providing a way to visualize device data and generate real-time analytics.
We used some hardware we had handy and made an example that publishes temperature readings to TTN. Check out the source code and instructions on this GitHub repository. Use whatever hardware available, the important part is that you can access the Device EUI of your device.
Log into your TTN account and open the console to add a new application. Enter an Application ID and a Description for the application and click Add application.
Next, select Administration from the application menu and select Tenant Configuration tab.
Here, define variables to identify the integration: TTN_AccessKey, TTN_ApplicationEUI, TTN_ApplicationID.
Enter the values for these variables based on your TTN Application
Then switch to the Access keys tab and add a new access key with the expiration date.
Then copy the access token and open your TTN application.
Navigate to Integrations tab to add an HTTP Integration.
Enter a Process ID and select an Access Key, and for URL use:
https://api-demo.wolkabout.com/api/incomingLoraPaste the access token into the Authorization field and click Add integration.
Now that TTN and WolkAbout IoT Platform have a way to communicate, let's register a device on TTN through WolkAbout IoT Platform. From the Application menu, select Device Management from the navigational menu and change to the Device type management tab. Click the + button and select the option to create a device type.
Enter a Device template name and optionally a description. Leave Provisioning flow on Standard and for Protocol select LoRa TTN.
Our example has a single temperature sensor so we will define it in the template like so
Now we can Save our template and click Create device. Here enter a Device name and insert your APP_KEY (Device EUI). Check the Create Default Semantic checkbox and click Save.
You will get a message about a successful device creation and if you switch over to TTN, you should see a newly registered device with the Device ID you chose. At the bottom of the device page there is a section Example Code that contains credentials used to register your device on TTN.
Copy them into your sketch and upload to your device. The device should now be sending data, but we need to interpret it first by setting up Payload Formats. Go to the Payload Formats tab on your TTN application and enter the following snippet as the decoder:
function Decoder(bytes, port) {
 // Decode an uplink message from a buffer
 // (array) of bytes to an object of fields.
 var decoded = {};
 var type = bytes[0];
 switch (type) {
   case 1:
     decoded.T = bytes[1] + bytes[2]/100;
     break;
   default:
     decoded.T = bytes[0];
 }
 return decoded;
}
The first byte determines our self-defined device type to distinguish different devices. The second byte contains the whole number of the temperature reading and the third byte contains the decimal part of the temperature value.
Test the payload by entering for example 01112B. The output will be
{
 "T": 17.43
}
And that is exactly the format WolkAbout IoT Platform is expecting to receive. Save these changes and switch over to WolkAbout IoT Platform so we can create a way to meaningfully display this data. Choose Visualisation and Monitoring from the Application menu and click Add dashboard and enter the device name as the scope.
Enter a Dashboard name and click Save. Now click + Add widget and add a new Reading widget like so
And you are now displaying the formatted data being sent from your device through TTN.
Let's take it a step further and make a chart for our device data, click the Charts tab from the navigational menu and add a new line chart. Enter the name of the report and choose Temperature for type, the device as the scope, choose the Temperature feed for and click Create.
You are now able to monitor how your device data changed over time.
Select Rule Engine from the Application menu and add a new rule.
Enter a Rule name and Description and change Rule status to ON.
Let's say we want to check if Value is lower than or equal to a Static value of 15 and if it is we want to send an email. Copy the details in the screenshot below.
Finally, click Save and we can test the rule switching over to the device on TTN and simulating uplink with a value like 010C11 that should trigger our rule and send us an e-mail.
This is a simple tutorial how to easily connect your LoRa device to the cloud using The Things Network and WolkAbout IoT Platform. Feel free to explore additional WolkAbout IoT Platform features such as alarms, configurations and so on. You can mix and match WolkAbout IoT Platform features that best suit your use case. To find our more about WolkAbout IoT Platform and its features visit our website.


Comments