

Hardware components | ||||||
 |
| × | 1 | |||
Software apps and online services | ||||||
 |
| |||||
 |
| |||||
How to connect a device to WolkAbout IoT Platform?
By using WolkConnect - an open-source library that manages all the communication with WolkAbout IoT Platform and exposes it in an easy to use API.
WolkConnect library is intended to be used as a dependency in firmware with existing business logic on devices with IP connectivity. Providing WolkConnect library with IP connectivity from the Hardware Abstraction Layer is the user's responsibility.
WolkConnect library's functionality is split through the API into three distinct parts:
- Connection management - Connecting to and disconnecting from WolkAbout IoT Platform, and a keep-alive mechanism to maintain the connection.
- Data handling - Send sensor readings, alarm events and the status of the device's actuators
- Device management - Change the device's configuration options and perform device software/firmware update.
This post intends to showcase the process of connecting an Arduino device to WolkAbout IoT Platform and publishing a single sensor reading through the use of WolkConnect-Arduino.
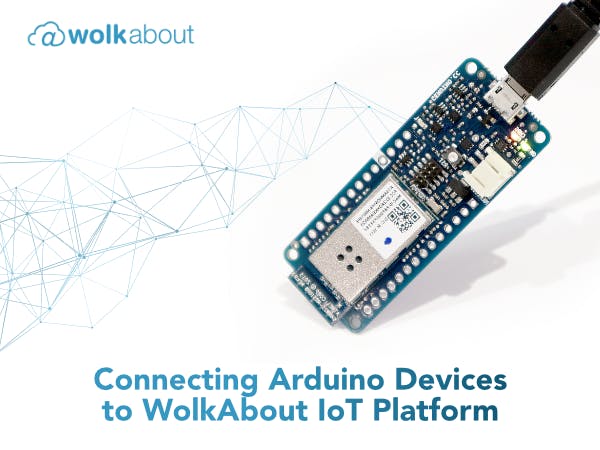
We used the Arduino-MRK1000 as example hardware for this showcase as it already has built-in WiFi connectivity, an essential part for any Internet of Things project. Other Arduino boards and different WiFi chips can easily be used instead, as the library is device-agnostic.
Example Usage- Install library
Let's begin with including the WolkConnect-Arduino library into Arduino IDE. Adding a library to Arduino IDE is achieved from the menu bar with Sketch->Includelibrary->ManageLibraries... and searching for WolkConnect and clicking on "Install" button.
- Create sketch
Connect your board and create a new sketch in Arduino IDE. Copy the code from the Simple example attachment into the sketch and start by editing in your WiFi credentials:
const char* ssid = "wifi_ssid";
const char* wifi_pass = "wifi_password";- Getting device credentials
The other thing that is necessary to edit in this example is device credentials used to identify a device on WolkAbout IoT Platform. To obtain this information, go to the Demo instance and register an account. After you've logged in, go to Device Management in the Application menu, then switch over to the Device Type Management tab. A device type is simply a description of what kind of data the device sends, where it sends it, and in what form. To speed up the process of creating the device and getting the credentials needed, create a device by using the provided Simple example device type.
The gif presents the choice of creating a device from uploading a type. Now we can click "Create Device" to create a device from this device type.
A new form will be presented with the Simple example device type pre-selected. Now fill in a device name, eg. Arduino-MKR1000 and, optionally, the device key. Select MQTT as the Connectivity Type and check the "Create default semantic" checkbox.
When you click "Save" button, a popup containing device credentials will display.
It is important to save this information somehow, perhaps by using the "Send to my email" option, or simply copy-pasting this information into our sketch:
const char *device_key = "device_key";
const char *device_password = "device_password";
That is all the customisation necessary for this example, but if you are using a different WiFI chip, please refer to the setup required for it.
- Connecting the device and visualising data
If you compile and upload this sketch to our board, the device will connect to the Platform and publish a single temperature reading, but you need to create a way to display this information.
On the Platform, select "Visualisation and Monitoring" from the Application menu and click the "+ Add dashboard" button to create a new dashboard from scratch.
Enter a name and choose the scope that fits your device, and then click "Create dashboard". Now click the "+ Add widget" button to create a widget and select "Reading". Here, select Temperature from the Arduino-MKR1000 and click "Save".
Now we're displaying the information received from our Arduino-MKR1000 board.
- Conclusion
You connected your IP enabled Arduino board to WolkAbout IoT Platform and visualised device data published from your board. The features of WolkAbout IoT Platform that were used in this showcase are thoroughly explained in our user guides.
This was an example to show how simple it is to connect your Arduino device to the cloud, for more advanced features of WolkConnect-Arduino library visit the full feature set example.


Comments