The following serial terminal programs are required for SSL_Client_Demo example test, download and install from below links.
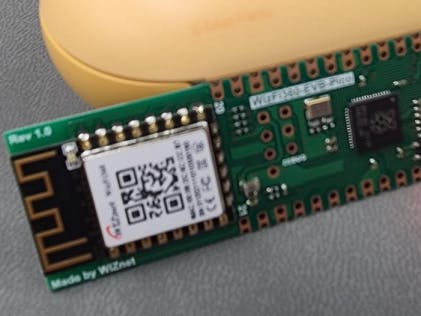
Step 2: Prepare hardware- Connect WizFi360-EVB-Pico to desktop or laptop using 5 pin micro USB cable.
To test the SSL_Client_Demo example, minor settings shall be done in code.
- Setup SSID information in 'socket_startup.c' in 'WizFi360-EVB-Pico-C/examples/SSL_Client_Demo/' directory.
Setup the SSID infomation.
/* SSID */
#define SSID            ""
#define PASSWORD ""- Setup network configuration such as IP and PORT in 'iot_demo.c' which is the SSL_Client_Demo example in 'WizFi360-EVB-Pico-C/examples/SSL_Client_Demo/' directory.
Setup IP and PORT settings to suit your network environment.
/* TCP */
#define TARGET_PORT 443
static uint8_t g_ssl_target_ip[4] = {192, 168, 2, 101};After completing the SSL_Client_Demo example configuration, click 'build' in the status bar at the bottom of Visual Studio Code or press the 'F7' button on the keyboard to build.
- After completing the SSL_Client_Demo example configuration, click 'build' in the status bar at the bottom of Visual Studio Code or press the 'F7' button on the keyboard to build.
When the build is completed, 'ssl_client_demo.uf2' is generated in 'WizFi360-EVB-Pico-C/build/examples/SSL_Client_Demo/' directory.
- When the build is completed, 'ssl_client_demo.uf2' is generated in 'WizFi360-EVB-Pico-C/build/examples/SSL_Client_Demo/' directory.
- Create SSL server using openSSL by executing the following command. If the SSL server is created normally, the SSL server's IP is the current IP of your desktop or laptop.
/* Setup the SSL server */
// create the private key
genrsa -des3 -out [key name].key 2048
// create the CSR(required for certificate signing request)
req -new -key [key name].key -out [csr name].csr
// create the certificate
x509 -req -days [days] -in [csr name].csr -signkey [key name].key -out [crt name].crt

// e.g.
genrsa -des3 -out server.key 2048
req -new -key server.key -out server.csr
x509 -req -days 365 -in server.csr -signkey server.key -out server.crt

/* Run the SSL server */
s_server -accept [port] -cert [crt name].crt -key [key name].key

// e.g.
s_server -accept 443 -cert server.crt -key server.key- While pressing the BOOTSEL button of WizFi360-EVB-Pico power on or reset the board, the USB mass storage 'RPI-RP2' is automatically mounted.
Drag and drop 'ssl_client_demo.uf2' onto the USB mass storage device 'RPI-RP2'.
- Drag and drop 'ssl_client_demo.uf2' onto the USB mass storage device 'RPI-RP2'.
If the SSL_Client_Demo example works normally on WizFi360-EVB-Pico, you can see the TCP Data in openssl.
- If the SSL_Client_Demo example works normally on WizFi360-EVB-Pico, you can see the TCP Data in openssl.


Comments