

Hardware components | ||||||
 |
| × | 1 | |||
| × | 1 | ||||
Software apps and online services | ||||||
 |
| |||||
 |
| |||||
| ||||||
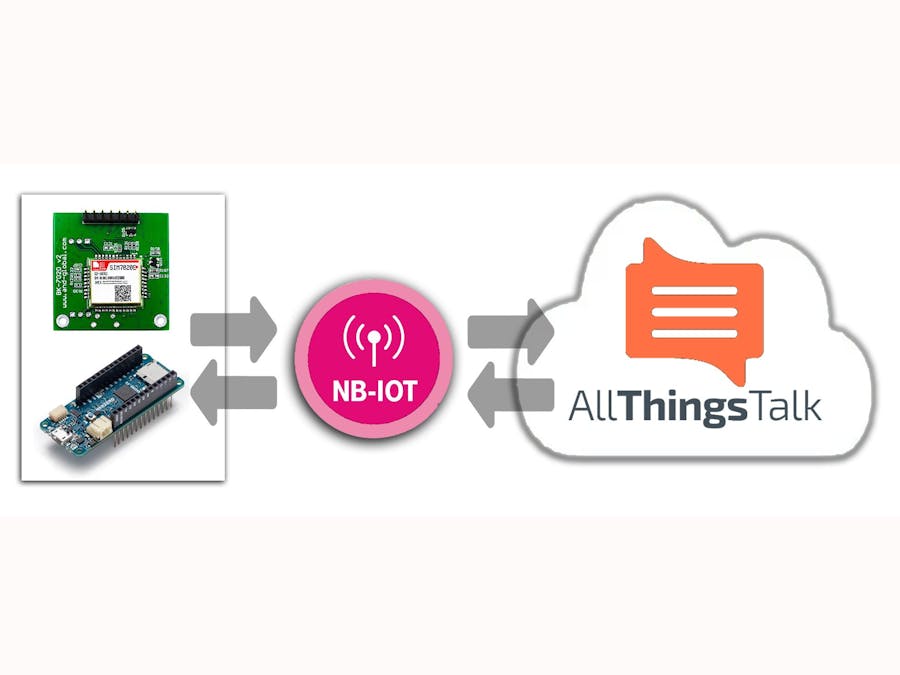
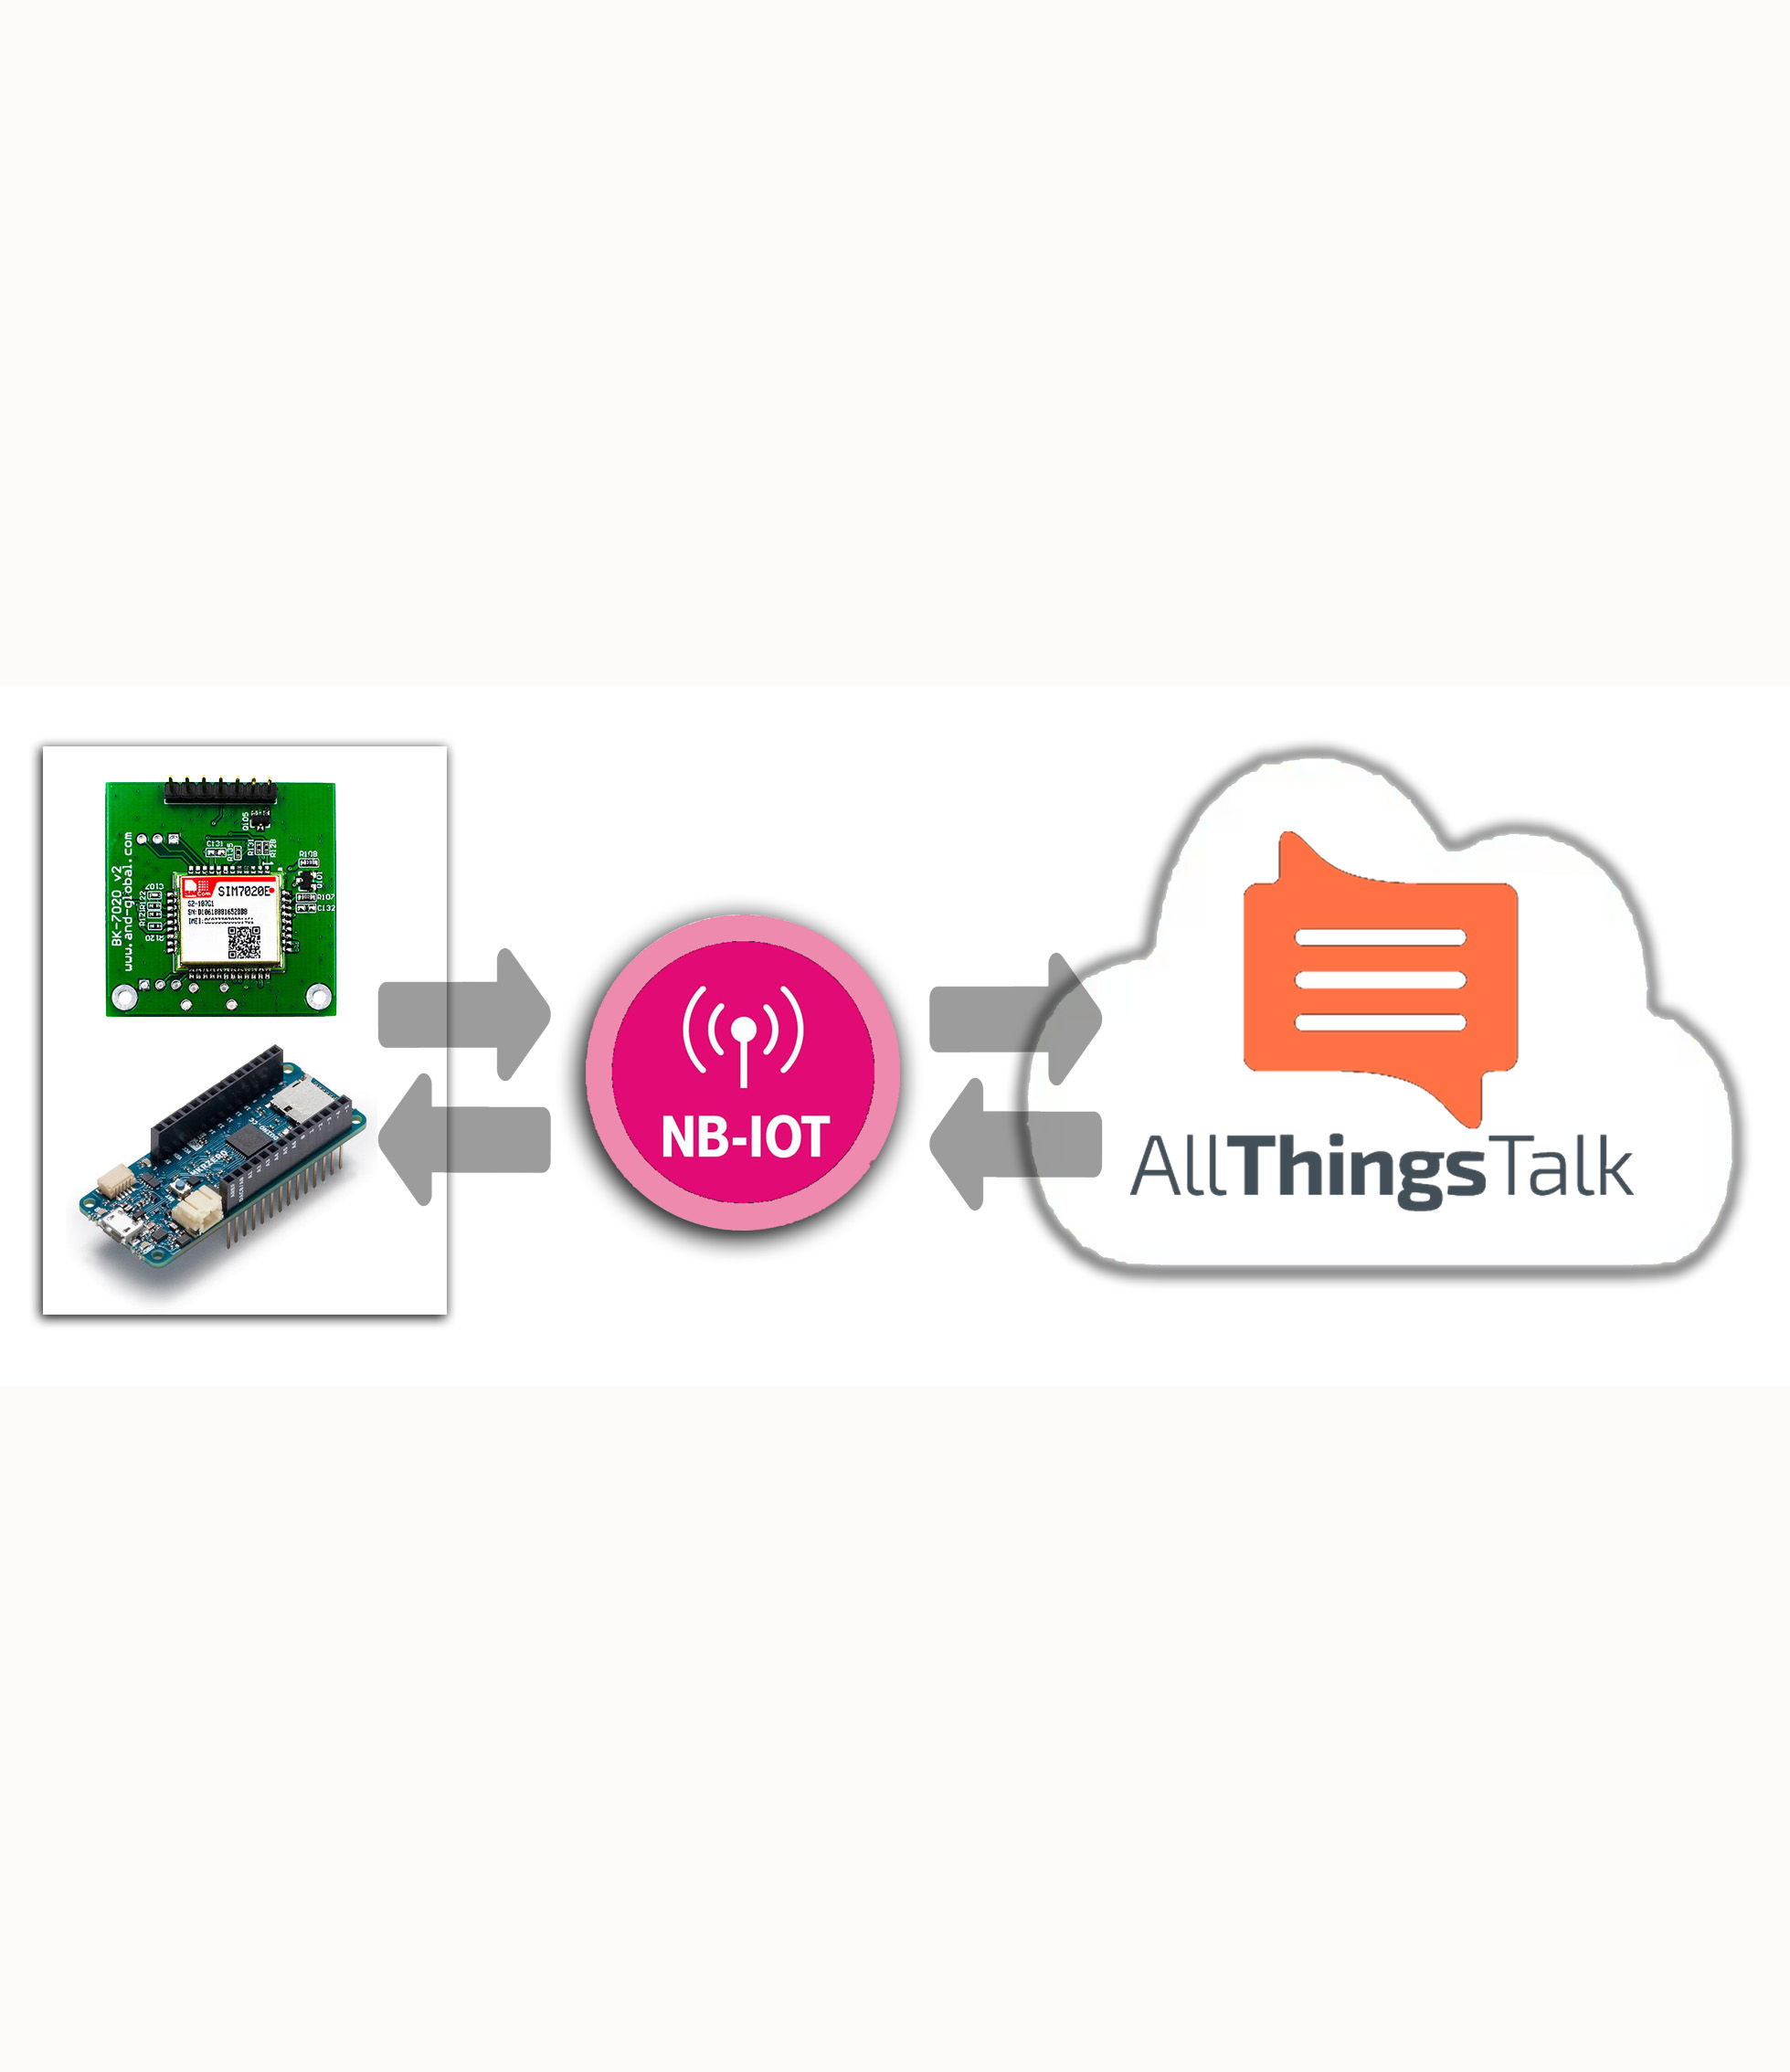
This demo is an example of how to connect an Arduino MKR and a NB-IoT breakout board (SIM7020E) via a service provider (T-Mobile) to a cloud API (AllThingsTalk). Demo is very basic and shows the minimum requirements to send data over to the cloud.
Arduino MKR SetupThis setup is very simple. The Arduino MKR uses the serial port to talk to the SIM7020E modem. Connect power (3V in this case!), Gnd, RX/TX and DTR/PWR to the Arduino.
Check the SIM7020 HW guide and SIM7020 AT command guide at the following website: simcom.com.
Info: PWRKEY (PowerPin) has to cycle through a high-low-high state after Vdd is powered up, DTR (SleepPin) is kept low - is used to wake up the modem from sleep in case you need this.
Sketch CodeThe sketch makes use of some functions for sending AT command scripts to the SIM7020. The #include file contains the scripts (const Array *Char) and you can extend them if your like. The scripts command returns a status value : 1 = OK, 0 = ERROR, -1 = TIMEOUT. It's up to the programmer to act on these status. There is also a transparent mode, where you can send AT command manually via the Arduino serial monitor. For this demo code, the following sequence is done:
- Initiate serial ports : Serial1 = standard Arduino serial on 13/14.
- Power sequence the Sim7020 via PWR-Pin
- Read Imei and other Module details.
- Connect to the T-Mobile network (ID 20416)
- Setup NB-IoT and access point ( cdp.iot.t-mobile.nl\ cq 172.27.131.100)
- Open UDP socket to T-Mobile's CDP on port 15683
- Loop: Send 2 RandomInteger values every minute
Two integers are analog values *100, represented by 8 hexadecimal characters. In this example case, they are random (noise) numbers, read from the unconnected A0 and A1 port.
REMARK: In this code example there is no anticipation build in for errors, i.e. retry or re-configure the socket. It's straightforward.
T-Mobile SetupFirst, you need a service provider that supports NB-IoT in your region. This could be T-Mobile as it serves early access to this LTE sideband technology, and has a connected device platform (CDP) setup with an API or online interface, interesting forum, and a startup guide that is all focused on early adopters and startups. Do the following steps:
- Get a T-Mobile demo SIM card online from one of its supporting partners
- Sign up: make an account for UDP data
- Register the Imei of your hardware modem device (Imei: use Simcom AT command AT+GSN or copy it from the label).
REMARK: If you get an error message registering your Imei, try another browser! The support of the T-Mobile website has some limitations it seems. - Set up the callBack URL to forward your data to ATT (https://api.allthingstalk.io/proxy/network/tmobilenl)
If you like, you can follow also the T-Mobile examples for Beeceptor (simple end-point) of PostMan (API interfacing for managing your devices and subscriptions).
AllThingsTalk (ATT) SetupSetup an account on AllThingsTalk. See pictures below on the setup. In your environment, you have a standard playground (or your create a new ground). In the ground, add a device by selecting "Your Own NB-IoT Device," give it a name, then select the provider (T-Mobile), and register the iMei info.
This initiates a device with empty assets. Assets are the sensors/actuator properties of the device, reflecting in the data that is sent over as the payload. Now create two assets as a sensor (as we send over two integer data), with a number as profile (we implement the numbers later), and save.
Our Arduino device will send over payload data as two integers, represented by 4 byte values binary data <sensor1high, sensor1low, sensor2high, sensor2low> ),
i.e. AT+CSOSEND=0, 8, "01A3021C" -> integer1: 01A3x, integer2 021Cx
Under Settings -> Payload Formats, we can define how ATT needs to implement this payload data (see picture below).
Use the ABCL to convert custom binary data to your representation:
{
 "sense": [
   {
     "asset": "Analog01",
     "value": {
       "byte": 0,
       "bytelength": 2,
       "type": "integer",
       "calculation": "val / 100"
     }
   },
   {
     "asset": "Analog02",
     "value": {
       "byte": 2,
       "bytelength": 2,
       "type": "integer",
       "calculation": "val / 100"
     }
   }
 ]
}
Here we define the 4 byte payload to be split out over the two 2-byte analog asset values, including the divide by 100 to make it 2-decimal values.
In the example above : integer1: 01A3x = 419d = 4.19 as represented analog value.
Last but not least in the ATT Dashboard: to keep your historical data, turn on Settings -> DataStorage
Send DataFire up your Arduino, load the sketch, and watch the serial monitor. Once you see the following AT sequence, data is sent over:
ATZ
OK
AT+CFUN=0
+CPIN: NOT READY
OK
AT+CREG=2
OK
AT*MCGDEFCONT="IP","cdp.iot.t-mobile.nl"
OK
AT+CFUN=1
OK
AT+CBAND=8
OK
AT+COPS=1,2,"20416"              -> CONNECT TO T-MOBILE NETWORK
+CPIN: READY
+CREG: 2
+CREG: 5,"0405","00517C66",9     -> CONFIRMED 9 = NBioT
OK
AT+CGCONTRDP
OK
AT+CSQ                           -> SIGNAL QUALITY
+CSQ: 17,0
OK
AT+CSOC=1,2,1                    -> DEFINE UDS SOCKET
+CSOC: 0
OK
AT+CSOCON=0,15683,"172.27.131.100"     -> OPEN SOCKET PORT 15683
OK
AT+CSOSEND=0,8,"01A3021C"              -> DATA IS SEND, 8char, 4 bytes in HEX
OK
In the T-Mobile project dashboard, you can see the last payload sent. Project -> Details -> Devices-List
In the ATT dashboard you should see data coming in under 'life data' of your device:
Under debug, you can see the payload data and the parsing. If parsing goes wrong, you can see it here.
To Be Done- Actuator data send to device
- MQTT forwarding


Comments