Danny van den Brande
Published © CC BY-SA

Arduino - Photo Resistor Example - KY-018

Hello World! 
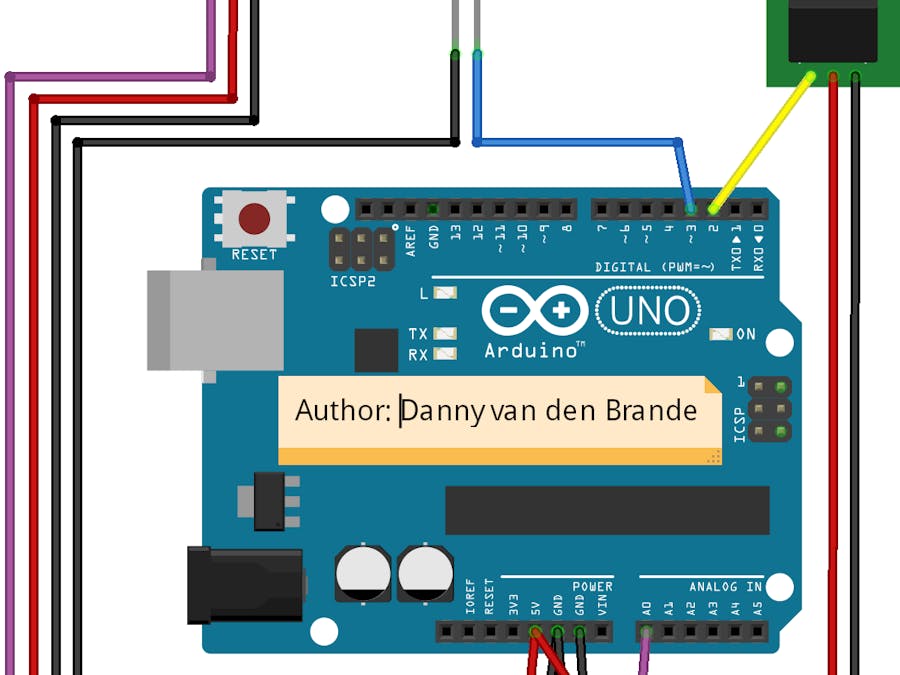
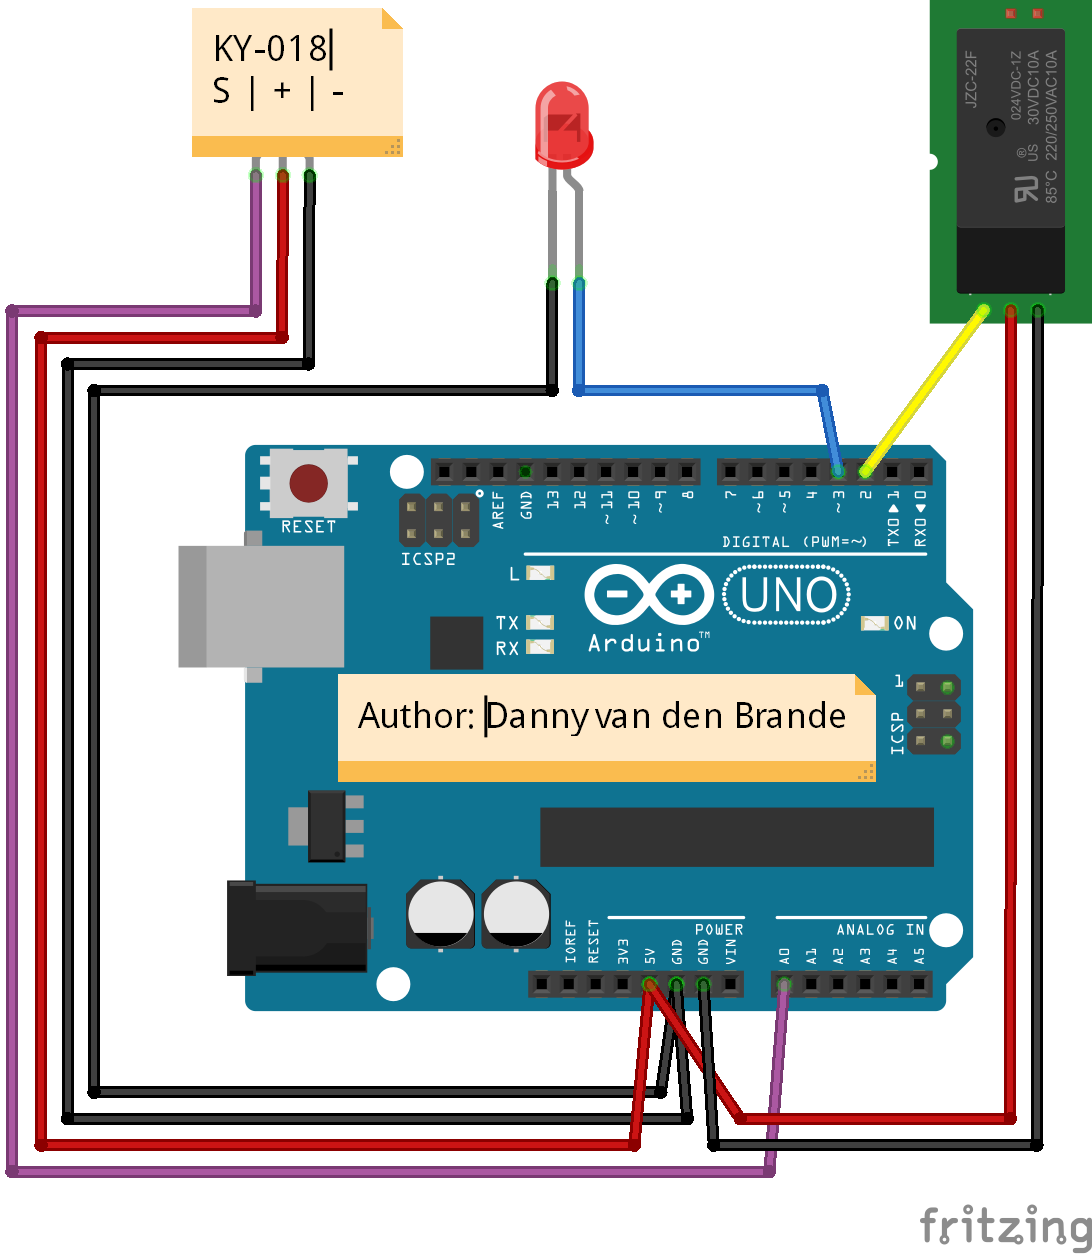
I made another example for one of my sensors. Now we are using the KY-018 Photoresistor Sensor as a switch.

BeginnerProtip1 hour4,876
Arduino - Photo Resistor Example - KY-018

Things used in this project

Hardware components

Arduino UNO
Arduino UNO
×1
KY-019 1 channel Relay
×1
LED (generic)
LED (generic)
×1
KY-018 Photoresistor sensor.
×1
Lamp + socket and power cable
×1

Story

Read more

Schematics

Schematic

Code

KY-018_Photo_Resistor_Example.ino

Arduino
In this example we use the Photoresistor as a switch.
/*
Author: Danny van den Brande, Arduinosensors.nl. BlueCore Tech.
In this example we use the Photoresistor as a switch.
Its just some basic code, you can adjust the value at the if statement between 0 and 1023.
 */
int Relay = 2;
int BlueLed = 3;
int Sensor = A0;
int sensorValue;

void setup() {
  pinMode(BlueLed, OUTPUT);
  pinMode(Relay, OUTPUT);
  pinMode(Sensor, INPUT);
  Serial.begin(9600);

}

void loop() {
  sensorValue = analogRead(Sensor);
  if(analogRead(1)>200 && analogRead(1)< 1023)
  {
    digitalWrite (BlueLed, LOW);
    digitalWrite (Relay, LOW);
    Serial.println(sensorValue, DEC);
  }
  else
  {
    digitalWrite (BlueLed, HIGH);
    digitalWrite (Relay, HIGH);
    Serial.println(sensorValue, DEC);
  }
  
}

Credits

Danny van den Brande

Danny van den Brande

36 projects • 108 followers
"Hello world."

Comments