

Hardware components | ||||||
_ztBMuBhMHo.jpg?auto=compress%2Cformat&w=48&h=48&fit=fill&bg=ffffff) |
| × | 1 | |||
 |
| × | 1 | |||
| × | 1 | ||||
 |
| × | 1 | |||
| × | 1 | ||||
Hello world! Here I am again. Today I made 2 Different Schematics and 2 codes.
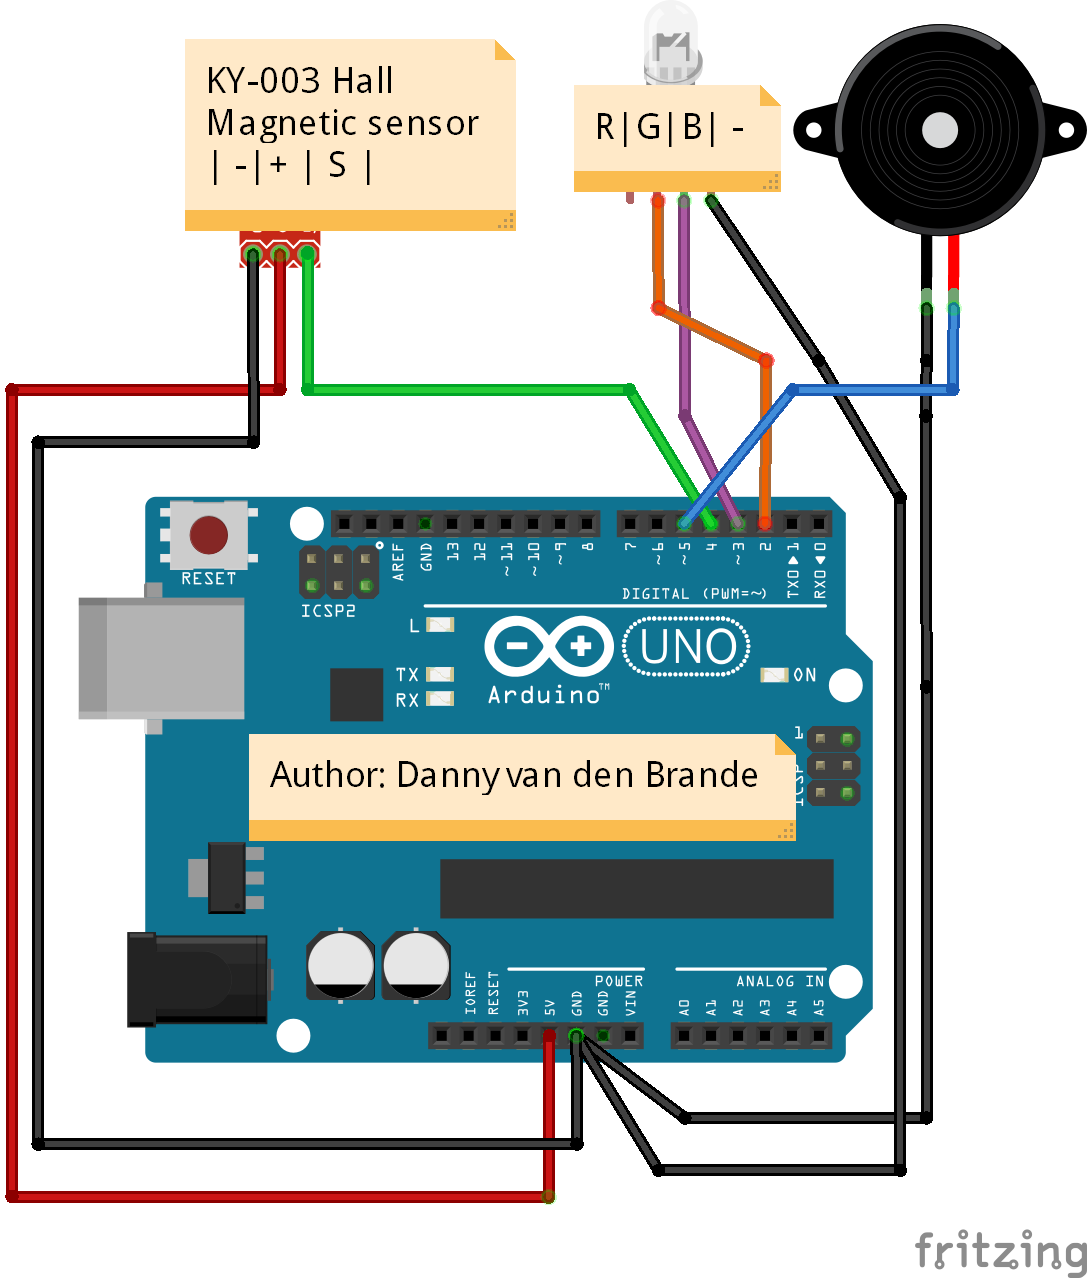
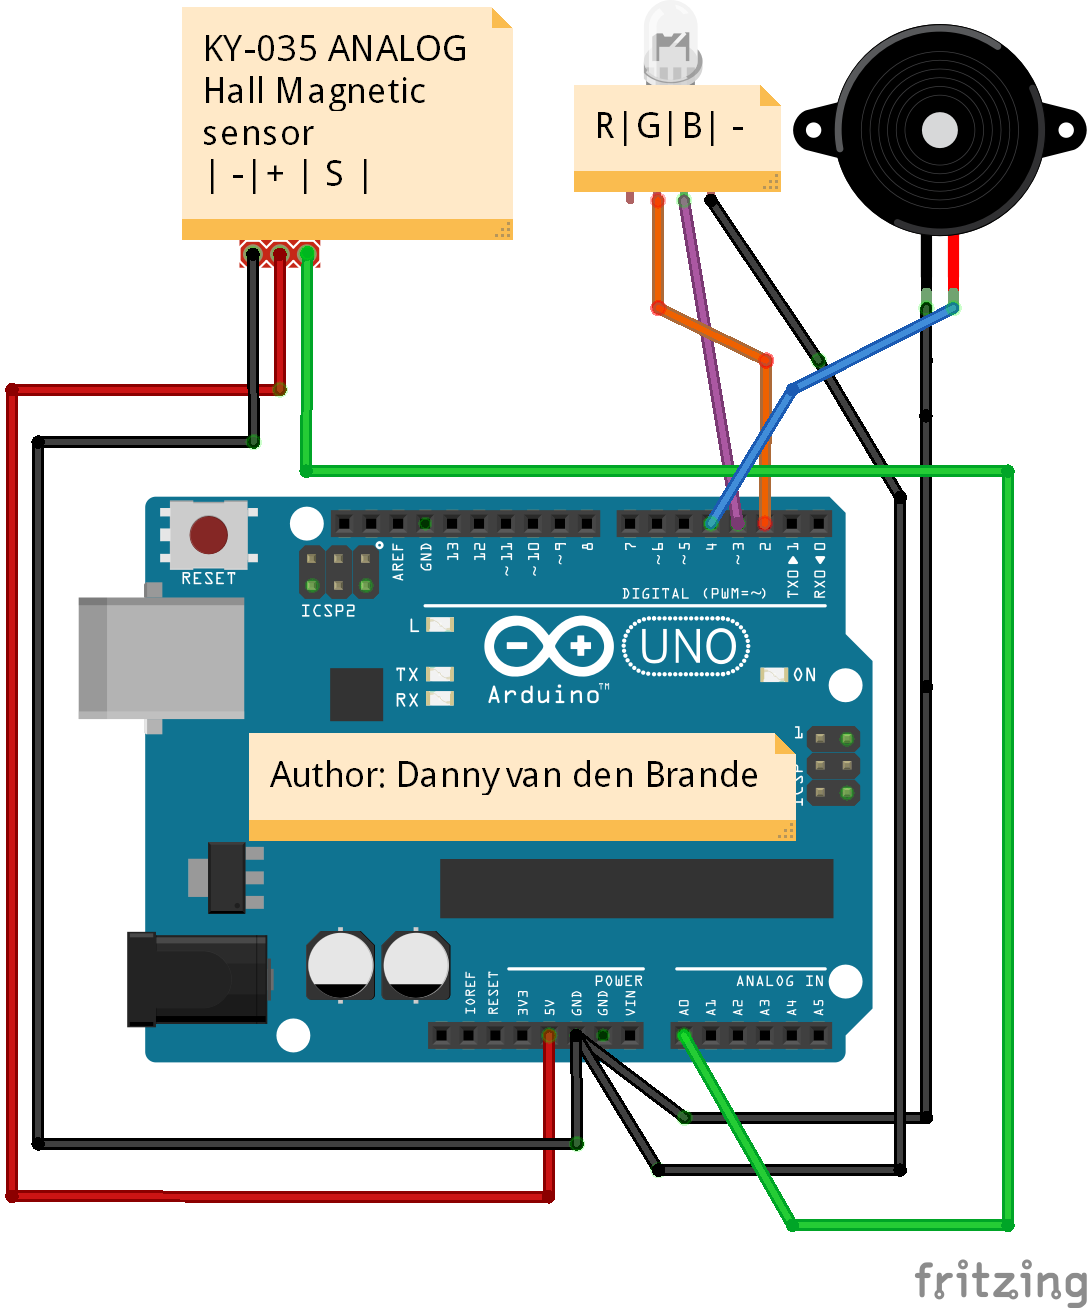
Don't be confused even if they look a lot like each other. The only difference is: 1 sensor, the KY-003 uses a digital Input, and the KY-035 a Analog input. Therefore there are 2 schematics because they use different codes.
So you can choose which one you want to use, the KY-003 Or the KY-035. Follow the next step for the schematics code and parts list.
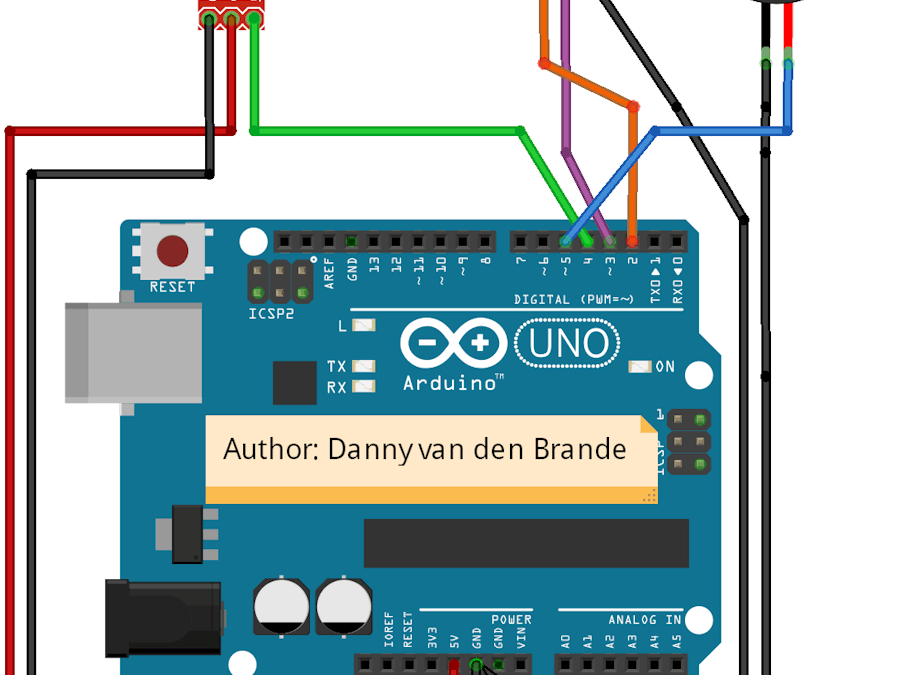
Step 1: Schematics Codes & parts List.Parts list:
- Arduino Uno, I used the RobotDyn Uno as I always do.
- 3 Color RGB KY-016
- Buzzer.
- A magnet of any kind. Small/big doesn't matter.
(If a small magnet doesn't work with the KY-035. You need to change values in the code, with the KY-003 code any magnet will work right away.)
Good Luck!

Comments