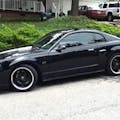
Owning a racecar isn't easy....2000 Chevrolet Camaro Z/28, aka racecar
One of the most important things to know about a performance car (or any car really) is the temperature of the various driveline components. Things you'd want to know the temperature of are the engine oil, coolant, transmission, and differential. The ones that matter the most though are the engine oil and transmission, as these are the most expensive and important parts of the car's performance.
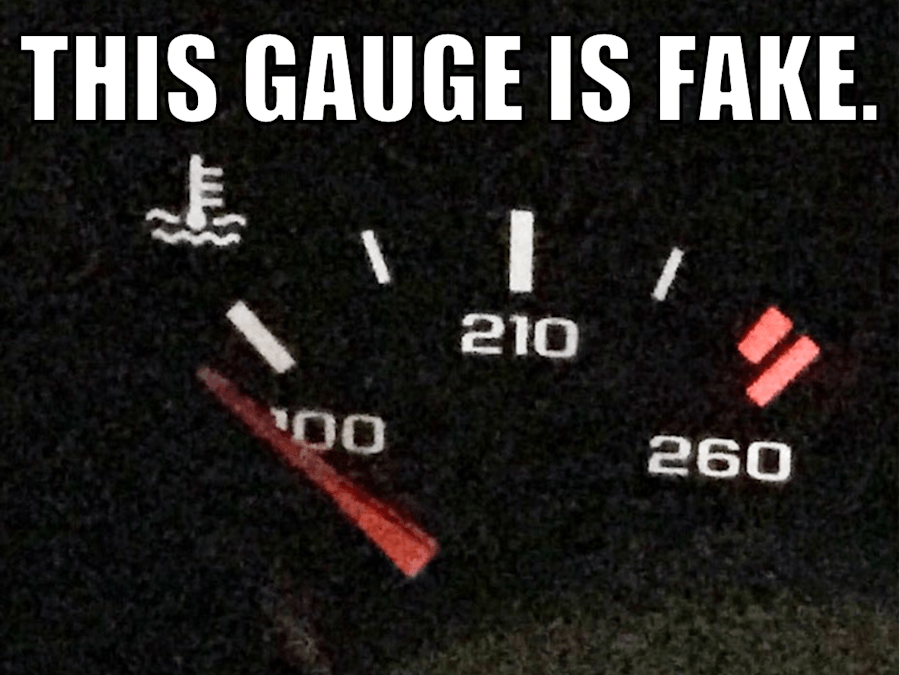
Unfortunately, most manufacturers don't put these vital temperature measurements into the gauge cluster for the driver to see. On most cars, you'll only get a coolant temperature gauge, which doesn't accurately reflect the real temperatures of the engine or transmission. Not only that, but many of these gauges are also fake! Because temperature can easily fluctuate, manufacturers program the temperature gauges to react a certain way. Usually they increase at a set pace on warm up, just hover around the middle while driving, and then start increasing even more if there is an overheating condition. Basically, they're only there to tell you if your car is overheating by a dangerous amount.
Temp gauge in my Camaro. It is fake and just hovers around 210, even though I have a 160 degree thermostat.
Even worse, aftermarket temperature gauges and sensors can cost hundreds of dollars and may require extensive wiring and modification. Here's a popular brand's cost for the aftermarket temperature gauge and sensor that I would need for my car, and it only has one sensor, meaning it can only measure one component at a time.
You'll also need a gauge cluster mount.
Luckily, the Particle Photon has come to the rescue! With simply two Particle Photons ($40), some long one-wire temperature sensors ($16 for 5), and some QuikSteel ($5) you can have a fully functional temperature monitoring system for a fraction of the price!
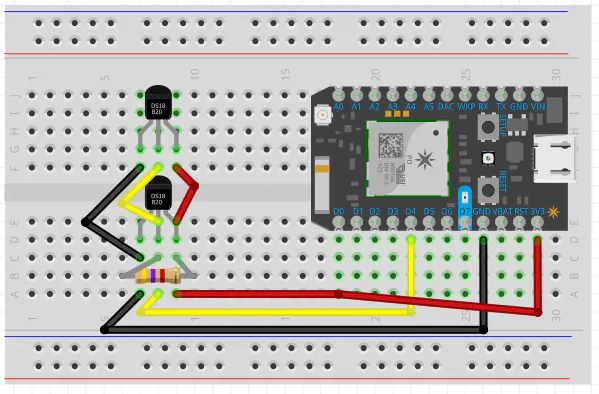
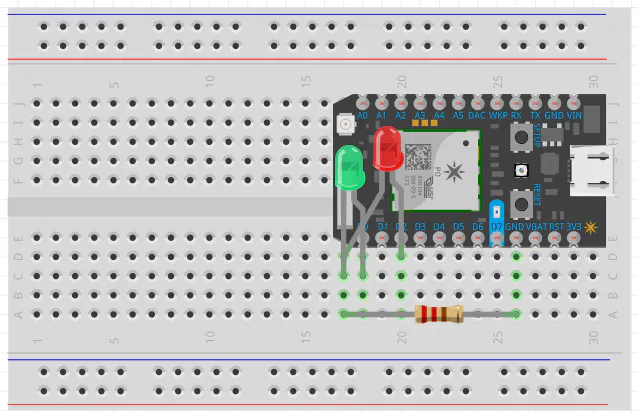
Set-UpTo set up this project, you'll need everything in my hardware list along with a power source (most likely a cigarette lighter adapter). Use the codes provided (read through them to make the necessary additions and changes you'll need) and the schematics to build the circuits. Since the wires coming from the temperature sensor are fragile and fibrous, I soldered them to some stronger wires and used electrical tape to insulate the wires.
In order to set up the temperature sensors, you're also going to need access under the car or into the engine bay and a way to transfer the wires back into the cabin. On my car it was as simple as removing the center console, running the wires through the rubber insulator on the gear shift, and then they were outside. I then used a product called "SteelStik" to attach the sensors to the (cleaned) sides of the oil pan and bellhousing. SteelStik sets quickly, but it's best to give it several hours. All you do is cut the amount you want, kneed it up with your fingers, and attach the sensor with it. Once it had set for about an hour, I pulled the wires up into the cabin and made sure they weren't hanging down too much. If you have issues, zip ties and duct tape are your friend.
Once inside, you can hook-up the sensors to the particles and maneuver/tuck the wires how you please so that they're as unintrusive as possible. Just a heads up, this is the part where having a wi-fi hotspot car or transmitter is useful, if you don't have that you can enable your phone to be a hotspot. Don't worry, this temperature data doesn't update often and only uses a very small amount of data. Set your particles up to use this hot-spot and bring your laptop with you to flash them once you're done.
Before I tucked up everything. Hint: The back of the breadboards have sticky sides on them.
I took about a 30 minute drive onto the highway with the particles. What I found out is that the particles take a little while to reach equilibrium with the real temperatures of the engine and transmission. So for me, when both the engine and transmission were consistently above 110 F they were warmed up. It might be different for your car and how good of a measuring point you have. The transmission took some time because I had to sit a stoplight for a little while in the beginning and I wasn't able to travel very fast until about 15 minutes in. The measurements lagged a bit behind the real temperatures, but that's to be expected with surface measurement and cooling airflow underneath the car.
Overall if I had to give some hindsight advice, using an IR thermometer after a long drive and finding the hottest points prior to mounting the sensors might improve the rate of heat transfer. I knew those areas were warm from feel experience, but it's possible they weren't the warmest areas. In addition, while I did use the Particle app itself to log temp data, using If This Then That (IFTTT) to automatically record the data would be easier.


Comments