

Hardware components | ||||||
 |
| × | 1 | |||
 |
| × | 1 | |||
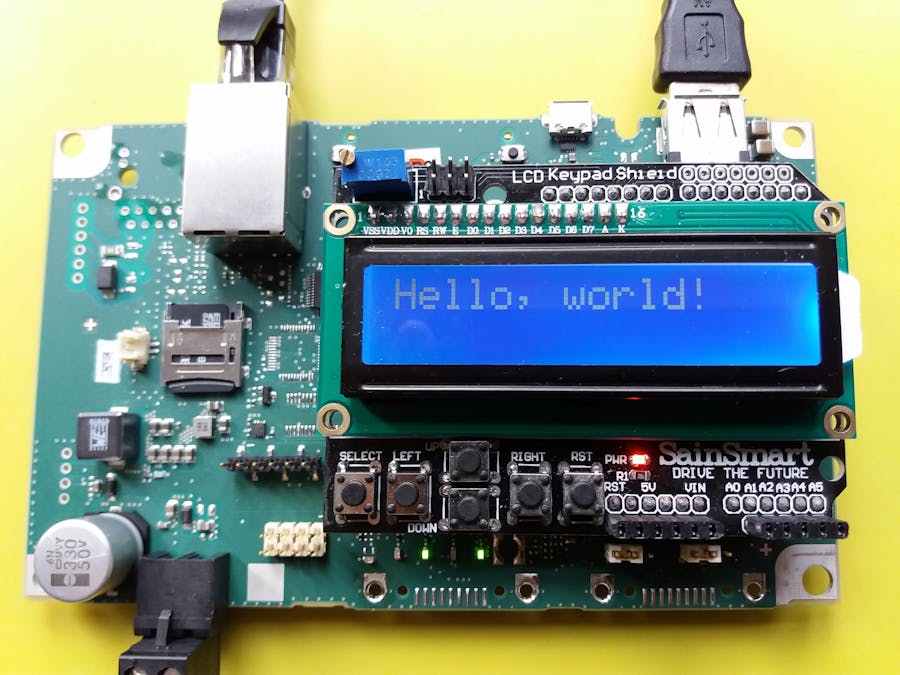
The Hitachi type LCD displays are used in many designs. They work with an Arduino sketch on the IOT2020. If you're building a C++ project, this driver class can help.
The full source code is attached. It contains an example that uses the SainSmart LCD shield - because I happen to have that one. It works with the typical one and two row LCD displays. Check that the pins you're passing to the init() method match the ones of your design. If you are able to use your display on the Arduino UNO, use the same pin numbers here (I don't use the RW pin, so no need to pass that one).
Methodsvoid init( uint32_t u_rs, uint32_t u_enable, uint32_t u_d0,
uint32_t u_d1, uint32_t u_d2,
uint32_t u_d3)
void begin(uint32_t cols, uint32_t lines, uint32_t dotsize)
void setCursor(uint32_t col, uint32_t row)
void print(const std::string& input)
#include <iostream>
using namespace std;
#include "mraa.hpp"
#include "Lcd.h"
using namespace mraa;
using namespace lcd_hitachi;
int main(void) {
	cout << "Hello IOT2000." << endl;
	Lcd* lcd = new Lcd();
	lcd->init(8, 9, 4, 5, 6, 7);
	lcd->begin(16,2, 0);
	lcd->setCursor(0,0); // move to the beginning of the first line
	lcd->print("Hello, world!");
	delete lcd;
	return MRAA_SUCCESS;
}
The library that is used as the inspiration for this work has the following license (full version in the attached source). Please adhere to this:
GNU Lesser General Public License
Copyright (C) 2006-2008 Hans-Christoph Steiner. All rights reserved.
Copyright (c) 2010 Arduino LLC. All right reserved.
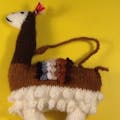
Here you can see such an LCD display built into a 3d printed cover designed by Frederick Vandenbosch:
Have fun!
Edit: updated to use a separate source file for the driver .h and .cpp - the version 1.0.0 of the Siemens Eclipse plugin supported a single source file. This is fixed in 1.1.0


Comments