Hardware components | ||||||
 |
| × | 1 | |||
 |
| × | 1 | |||
Software apps and online services | ||||||
 |
| |||||
 |
| |||||
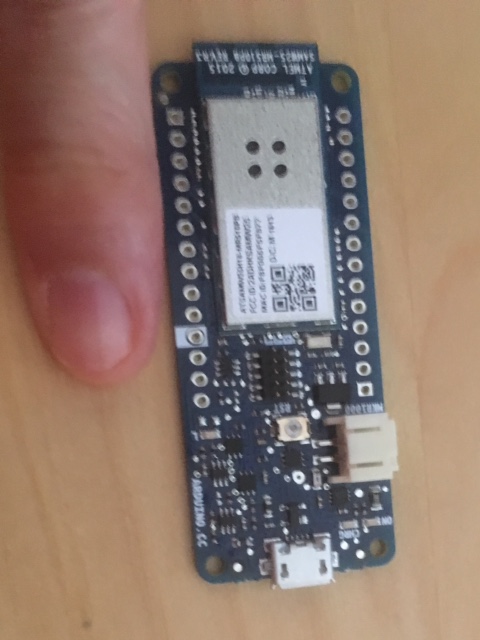
The idea is to test the power and the possibilities with the Arduino MKR1000 and also the tool "Evothing Studio" in order to make a quick app for a smart phone, in this case iPhone SE. It began during the events in Bogota with the HacksterLive team.
Using the Serial Monitor in Arduino IDE, it monitors the set up and status.
Here some screen shoots of the app:
MRR1000
ArduinoIt uses the libs SPI and Wifi101 availables in Arduino IDE. The main idea is to set up a WiFi connection and monitoring the status using the "serial monitor", as option there is the code to make a analog read in port A1
#include <SPI.h>
#include <WiFi101.h>

// Setup  WIFI
char ssid[] = "xx";       //  your network SSID (name)
char pass[] = "xx";   // your network password
int status = WL_IDLE_STATUS;
WiFiServer server(80);
//int keyIndex = 0;           // your network key Index number (needed only for WEP)

//Setup your inputs and/or outputs
int ledPin = 6;

//Setup general variables
int val = 0;
int val_AnalogIn_A = 0;
int var = 0;

//Main setup section
void setup() {
  Serial.begin(9600);      // initialize serial communication
  delay(5000);

  //Setup start
  Serial.println("Setup Start, wait...");

  //setup input and output pins, this case is for Arduino MKR1000
  pinMode(ledPin, OUTPUT);
  pinMode(A1, INPUT);
  pinMode(A2, INPUT);


  // attempt to connect to Wifi network:
  while ( status != WL_CONNECTED) {
    Serial.print("Attempting to connect to Network named: ");
    Serial.println(ssid);                   // print the network name (SSID);

    // Connect to WPA/WPA2 network. Change this line if using open or WEP network:
    status = WiFi.begin(ssid, pass);
    // wait 10 seconds for connection:
    delay(10000);
  }
  server.begin();                           // start the web server on port 80
  printWifiStatus();                        // you're connected now, so print out the status
}


void loop(void) {

  //in case you have sensors connected to Analog Input (A1 and A2) here will be read and send to the serial monitor.
  read_Analog_input();

  // Check if module is still connected to WiFi.
  if (WiFi.status() != WL_CONNECTED) {
    while (WiFi.status() != WL_CONNECTED) {

    }
  }

  WiFiClient client = server.available();

  if (client) {

    Serial.println("Client connected.");

    while (client.connected()) {
      if (client.available()) {
        char command = client.read();
        if (command == 'H') {
          digitalWrite(ledPin, HIGH);
          Serial.println("LED is now on.");
        }
        else if (command == 'L') {
          digitalWrite(ledPin, LOW);
          Serial.println("LED is now off.");
        }
      }
    }
    Serial.println("Client disconnected.");
    client.stop();
  }

}


void printWifiStatus() {
  // print the SSID of the network you're attached to:
  Serial.print("SSID: ");
  Serial.println(WiFi.SSID());

  // print your WiFi shield's IP address:
  IPAddress ip = WiFi.localIP();
  Serial.print("IP Address: ");
  Serial.println(ip);

  // print the received signal strength:
  long rssi = WiFi.RSSI();
  Serial.print("signal strength (RSSI):");
  Serial.println("it means:");
  Serial.println("-30 dBm Amazing");
  Serial.println("-67 dBm Very Good");
  Serial.println("-70 dBm Okay");
  Serial.println("-80 dBm Not Good");
  Serial.print(rssi);
  Serial.println(" dBm, now we have!!!");
  // print where to go in a browser:
  Serial.print("To see the app in action, use IP-Address in your Phone app GUI: ");

  Serial.println(ip);
  delay(10000);


}

void read_Analog_input()
{
  while(var < 10)
  {
    if (var == 0)
    {
      Serial.println("In case to have sensors here are printed the Values in Analog Input");
    }
  // do something repetitive x times
  val_AnalogIn_A = analogRead(A1);
  Serial.print("Analog In A1 :");
  Serial.println(val_AnalogIn_A);
  delay(100);
  var++;
  }
}


Comments