

Note: I reference this tutorial as pre-work for all of my projects built with the Intel Edison and breakout board.
In this tutorial you will learn how to get an Edison and the bare bones breakout board combo ready to connect sensors and upload code. Everything in this tutorial is fairly generic to any Edison build. Since the breakout board only has one 3.3V power output, as part of the hardware config section I also show how to build your own "power strip" for sensors you will connect to the Edison.
Several other helpful getting started guides and documentation for the Edison:
https://communities.intel.com/docs/DOC-23878
https://software.intel.com/en-us/iot/library/edison-getting-started
http://download.intel.com/support/edison/sb/edisonbreakout_hg_331190006.pdf
Here's a condensed list of tasks to complete:
- Solder header pins and assemble
- Erase Edison
- Flash firmware
- Configure login and wifi
- Connect Edison to Intel XDK IoT Edition
Breakout Board
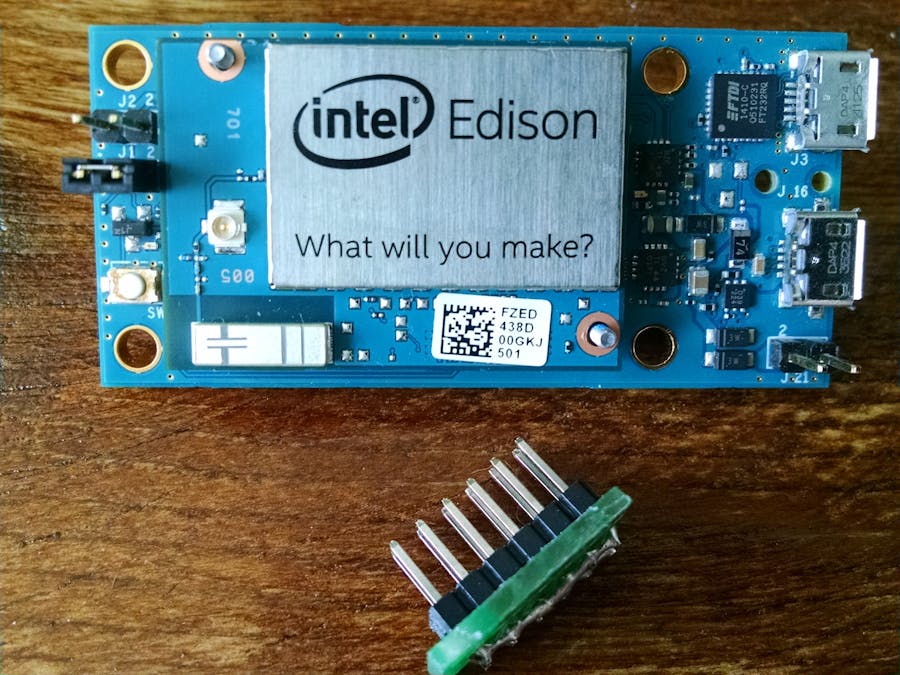
The breakout board requires soldering connection headers to the board. For a good introduction to soldering, view SparkFun's step-by-step soldering tutorial. Solder each pin individually and make sure the solder doesn't touch the other pins. Also make sure to clip any extra length from the pins to make room for the Edison chip.
This is the back of the breakout board with pins attached. Notice the numbers along the sides of the pins. These will help you identify the proper pins to connect your sensors. They are laid out in a matrix: J17-J20 vertically and 1-14 horizontally.
It's beyond the scope of this tutorial, but you will need to reference the Edison's pinout guides to map the pin numbers to the mraa number. The reference can be found on Intel's site: http://iotdk.intel.com/docs/master/mraa/edison.html
Now all that's left to do for hardware is mount the Edison chip onto the board. Align the holes in the corners of the chip to the posts on the breakout board. Press down evenly on the chip until you feel the connector fit into the socket. For more information on how to mount the Edison chip on the breakout board and power it up, see Intel's Getting Started Guide.
DIY Power Strip (optional)
This is an optional step, but if you plan to connect multiple sensors to your Edison, you will have to power them somehow. The Edison breakout board has a 3.3V power output, but only one. To allow for more sensors, I built this hack of a "power strip" to extend the power. This trick obviously is not a good idea for sensors that take a lot of power. However, for low-power draw sensors you will be limited by the number of Edison's available sensor connections before power becomes exhausted. With all of this under consideration, use at your own risk to avoid under powering sensors.
Use a Dremel or other cutting tool capable of making fairly precise cuts (failed attempt by me in the picture below). Cut out a 2 x 6+/- section of prototype board.
Using a soldering iron, create 2 strips of solder along each column of header pins. You essentially want to create a "+" column and a "-" column of pins. Power from the Edison's pins J19-3 (ground) and J20-2 (power) can be extended to the power strip via board jumper cables; keeping the ground connections on one column and the power connections on the other column.
Erase EdisonPlug in the Edison using two USB B-to-A to micro cables. Technically you could just use one cable for this step, but 2 cables are required to access the Edison over a USB serial connection so setting up both connections right now is good practice. For illustrated instructions, view the hardware setup section Intel's Getting Started guide.
Remove All Files
1. Use the terminal utility of choice, bring up a command line on your computer.
2. In the terminal, navigate to the location where your computer mounts drives. For mac this is Volumes.
cd /Volumes
3. Remove both regular and hidden files from the Edison volume.
remove all regular files...
rm -rf Edison/*
remove all hidden files...
rm -rf Edison/\.*
there will be approximately 4-5 hidden files ( start with a ".") that can't be removed, this is ok.
!WARNING! - Be careful with the rm -rf command! When directed to the wrong location (for example, not at the Edison volume) you could wipe out a good bit of your laptop.
Re-Format Partition
For good measure, use your computer's disk utility to erase the Edison's disk and repartition as FAT32. This step is not necessarily essential but is good practice to potential prevent disk issues later on.
The Edison is now ready to get a new image.
Flash FirmwareThe Edison OS Image
In the past, flashing the firmware on an Edison was complicated. Luckily now Intel has simplified the process and extended the capabilities of a utility originally used for flashing phone firmware to the Edison. First though, we need to download the files for the Edison OS we intend to flash.
Download the Edison OS image of your choice here, and unzip the file.
Note on image versions: Newer versions are too big for older Edison partitions. You really need a bigger root partition to use more recent versions. Luckily 25.5-15 flash and later does the re-partition for you. I haven't tested other versions to see if they also repartition, so proceed at your own risk. The page linked to above has the latest version as well as another link to view previous image versions.
Phone Flash Tool Lite
Now that we have an image to flash, we can use the Phone Flash Tool Lite utility to perform the firmware flash.
1. Download the Phone Flash Tool Lite app. Install and launch.
2. Browse to the directory of the image version you downloaded (example: edison-image-ww20.5-15). Select the file FlashEdison.json file from the image folder. This will populate the "browse" path as well as the "Flash file" field.
3. From the "configuration" dropdown, select "CDC" if you are using a Mac or Linux. Select "RNDIS" for Windows.
4. Disconnect both USB cables from the Edison. (yes, disconnect them)
5. !IMPORTANT! In Phone Flash Tool Like push the "Start Flash" button...AND then re-connect the bottom USB port. The Flash Tool will also give you visual instructions for how to do this an when.
6. Wait for the flash complete.
For an illustrated walkthrough for flashing Edison firmware with the Phone Flash Tool Lite, refer to the Intel Phone Flash Tool Lite download page.
Configure Login and WiFi1st Login
Since your Edison doesn't have wifi setup yet, you need to first login through USB.
1. Make sure both USB cables are plugged in.
2. In your terminal, list your connection options in order to find the USB connection.
ls /dev/tty.*
You should see a connection something like ".usbserial-EDISONID" in the list.
3. Use the usbserial ID to create a connection over USB at 115200 baud rate.
screen /dev/tty.usbserial-ABCD1234 115200
4. Note: You may need to hit "Enter" a few times to bring up the login on Edison. You should see the Yocto Poky Linux version listed as well as a login prompt.
5. Login to Edison. The default user is "root"
There is no default password and you will be logged in after hitting "Enter" for the user name.
Configure
The first thing to do is configure the Edison hostname, set a root password, and configure the wifi. All of these tasks are completed in the configure_edison setup wizard.
From your terminal, start the Edison configuration wizard. Follow the wizard's instructions to set hostname, root password, and wifi configuration.
configure_edison --setup
One last step: To use the Intel XDK IoT Edition IDE you first have to tell the Edison to allow your computer to connect.
Use the xdk-whitelist --add command to add your computer's IP address as an allowed connection.
xdk-whitelist --add <your.ip.address>
You can now logout of the Edison terminal.
Setup Intel XDK IoT Edition IDEYou can use any IDE you would like to program your Edison, but the Intel XDK IoT Edition is built for Intel's IoT devices and makes connecting to and deploying code straightforward.
1. Download and install the Intel XDK IoT Edition software.
2. Launch XDK and create a user when prompted.
3. Start a new project using the built in templates. We won't do anything with the project itself, rather it's just a placeholder as we connect the Edison to the XDK.
4. Scan for Edisons on your network the "IoT Device:" dropdown. Select your Edison from the list.
Troubleshooting: Select rescan if you do not see your device. If scanning doesn't work, a. double check your Edison is powered on, b. That it's wifi is configured correctly, and c. you have added your computer's IP address using the xdk-whitelist command.
5. After you select your device and the connection is made successfully, the XDK will go through the process of installing it's daemon on your Edison. This is to facilitate code uploads, ect. For reference, the daemon will be installed in /home/root. Follow the prompts to install the XDK daemon.
6. Once the daemon finishes installing, reconnect to the Edison. You should now see a window prompting you for your root password.
AND....
You are now ready to connect sensors and upload your applications to your Edison!


Comments