

I used some steel pipe, square doug fir post, some metal clothes rail, and some burgundy nylon cord.
You can find Dimensions here http://goo.gl/i94SNM
The head on the real one is 150 mm square so I divided that by the size of the wood I had which was 3.5" (88 mm). 150/88 is 1.7 so I divided the other dimensions by 1.7 such that everything would be proportional to the real one.
Check out the video here:
Step 1: Making the headI used the miter saw to cut the head to length, then I took it to the tablesaw and with the blade set at 45 degrees I then cut of the corners, not shown in the video I went back and cut it bigger.
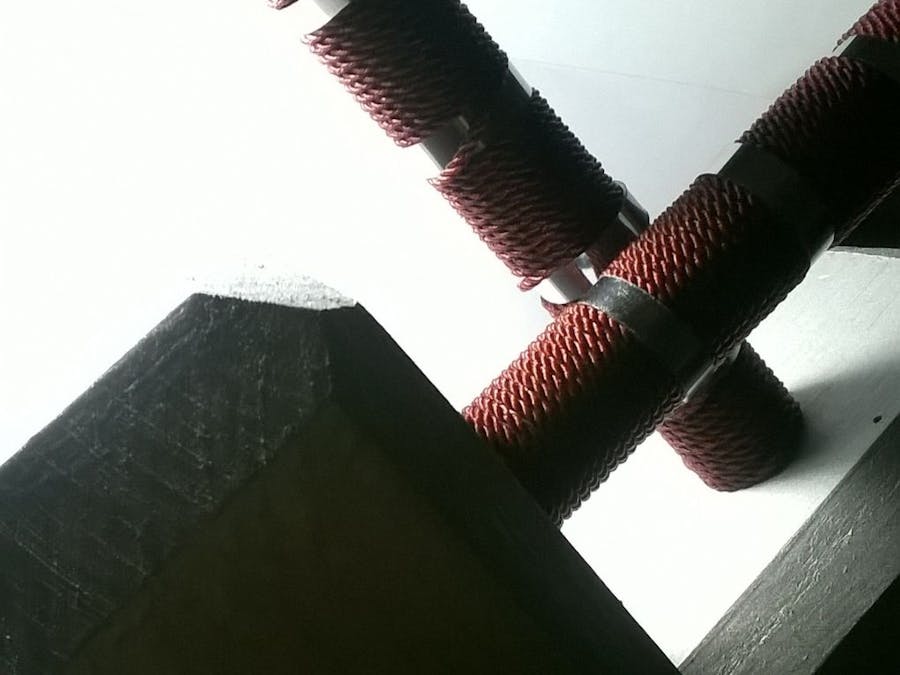
Step 2: Finishing the head and cutting the handle and handle ringsThen back over to the miter saw and I cut the ends at 45 degrees. I then cut the pipe to size and sanded the end down. I also cut sections of metal clothes rail about 8-12 mm wide.
Step 3: Painting the head and attaching it.I drilled the hole with a Forsner bit after painting one side so that there would be no paint to drip down the hole. I painted the whole head in galvanized silver metal paint and especially liked how it was easy to paint - it looks really good. Then I hammered the handle into the head and checked to see if it was square.
Step 4: Finishing up - wrapping the handleI wrapped the handle in the nylon cord and, every 10 or so wraps, added a metal ring that wrapped over it. I carried on wrapping some black electrical tape at the end to finish off. If you wanted to, you could use an old belt or buy a cheap one and add a strap to the handle creating an even more realistic look.
Thanks for reading. Have fun!
Comments