

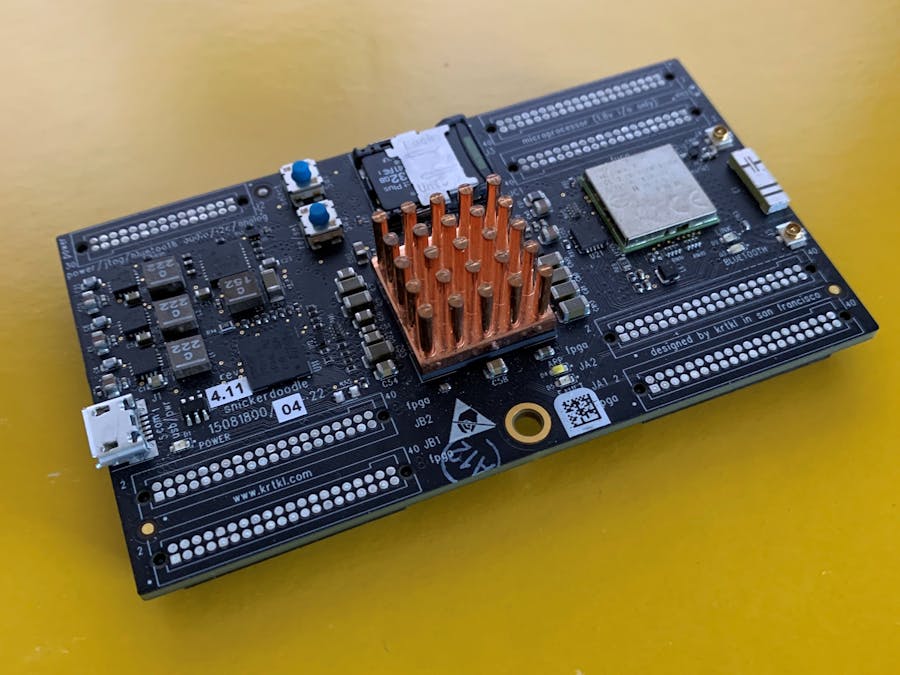
Hardware components | ||||||
 |
| × | 1 | |||
 |
| × | 1 | |||
 |
| × | 1 | |||
Software apps and online services | ||||||
| ||||||
| ||||||
| ||||||
| ||||||
A huge advantage of the Zynq-7000 is the fact that it has hardened ARM Cortex-A grade CPUs integrated in the device. A framework that takes full advantage of this heterogeneous architecture is the Open Asymmetrical Multi-Processing Project, or OpenAMP, framework. OpenAMP allows two different cores running different operating systems to interact with each other, and have shared memory resources.
OpenAMP provides Life Cycle Management and Inter-Processor Communication for your Zynq-700 device. OpenAMP also provides a standalone library that is usable with RTOS and baremetal software environments. Lastly, the framework is compatible with upstream linux remoteproc, rpmsg and VirtIO components.
ResourcesI highly recommend you have these pulled up in different tabs for easy reference.
UG1144- Petalinux Tools Documentation
UG1186 - LibMetal and OpenAMPUser Guide
https://www.xilinx.com/support/documentation/sw_manuals/xilinx2019_2/ug1186-zynq-openamp-gsg.pdf
Krtkl Download Center
https://krtkl.com/resources/downloads/
GoalsI love learning new technologies, and one of my main goals for this tutorial is to make learning Xilinx hardware, software, and the whole embedded ecosystem as easy as possible.
This project will use a linux domain to pass information to a standalone/baremetal domain. The standalone domain will then echo back that information to the linux domain, and display it back to the user. This is a very simple echo test application that I hope will inspire you, and get you started on more advanced projects!
Set-upSnickerDoodle Black Board Drivers
Plug in your board to to your laptop, and check your device manager to make sure you do not need to update any drivers.
If you see a yellow triangle with a question mark, this means you may need to update your drivers. Go to the Krtkl website for instructions how to update your drivers. https://krtkl.com/uploads/snickerdoodle-firmware-user-guide.pdf
Proper SD Card Partitions
Have an SD card that has been properly partitioned according to UG1144 pg 66. If you have never done this before, here is a link to an article that will help! https://www.nayab.xyz/linux-tools/partitioning-using-fdisk.html
SnickerDoodle Board Files
Also, make sure to have your SnickerDoodle board files unzipped somewhere you can access them. If you do not have the board files, access them on the Krtkl website. https://krtkl.com/resources/downloads/
Petalinux and Linux Host Versions
Make sure that the linux host version of linux is compatible with the linux version you are using on your host machine. For example, if you are using petalinux 2019.2, it is only compatible with Ubuntu 16.04.5, 16.04.6, 18.04.1, 18.04.02 (64-bit).
Hardware - VivadoOpen Vivado and type this command in the Tcl console.
set_param board.repoPaths <board_file_location>This will source the board files and allow you to choose the SnickerDoodle Black as your board later in the project creation process.
Create and name your new project.
On the next screen, click on RTL Project (check off "Do not specify sources at this time" to save some clicks).
Click on "Boards" and search for SnickerDoodle Black in the search bar. If you sourced the files correctly, you should see the board. Otherwise, go back and make sure you sourced the board files properly.
Click finish, and in the next page, make sure everything is correct before you click finish.
When you enter the Vivado GUI, click on "Create Block Design".
Add the Zynq Processing System to your block design.
Run the block automation (green tab that appears when you add the Zynq Processing System) to apply the board presets to your processing system.
Now, connect the M_AXI_GP0_ACLK to FCLK_CLK0 by clicking and dragging from one pin to the other.
Go into the processing system by double clicking on the block. You need to take out some of the unnecessary ports, S_AXI_ACP and the other clocks.
S_AXI_ACP: Click on "PS-PL Configuration" and uncheck S_AXI_ACP interface as seen below.
Clocks: Go to "Clock Configuration" and uncheck the other FCLKs not being used as seen below.
You're done with the block diagram!
Validate the design to make sure there are no errors with the Zynq block.
Create the HDL Wrapper, and generate the output products.
Generate the bitstream, which will also run synthesis and implementation.
Once the bitstream is done, export the hardware (file > export > export hardware) and include the bitstream.
Go to the tools tab at the top, and click on "Launch Vitis".
You've officially created the hardware for your OpenAMP project!
Software - Vitis and PetalinuxGo into your Vivado directory and create a directory named "workspace". This will be home to your Vitis project.
Open Vitis, and make the previously made "workspace" directory home for your Vitis project.
In the Vitis home screen, create a new platform project.
Select "Create from Hardware Specification" because you created our own hardware in the Vivado step. This hardware file is called an.xsa file, and it is what allows Vitis to create the platform for our application.
Next, when it asks for the.xsa file, go back into your Vivado directory and point it to that directory.
Click finish with all the default options.
I will start referencing UG1144 and UG1186 more frequently here, so please have them pulled up in different tabs because they are great resources for us to use!
Follow the steps found in UG1144 to create your petalinux project. I will also show them here for completeness.
This petalinux-create command creates a project with a given template (Zynq for our case), and a name of your choice.
Change the name in CONFIG_SUBSYSTEM_MACHINE_NAME to zc702.
petalinux-build will take a couple minutes, so please be patient. This step will generate the device tree file, FSBL for booting the device, u-boot to boot the operating system, linux kernel and RootFS.
Go back to your Vitis project and add a linux domain to your platform by clicking on the green plus on the system project.
Add the necessary components, Bif file and Boot Components Directory.
Here are the file locations:
Bif File: <vitis workspace>/export/<project name>/sw/<project name>/boot
Boot Components Directory: <petalinux root>/images/linux
Linux Image Directory: <petalinux root>/images/linux
Now click on the Board Support Package under the standalone domain as seen below.
Click on "Modify BSP Settings" to add the proper libraries for OpenAMP as seen below.
Create a new application on the standalone domain and select OpenAMP echo-test as the template.
Build the application to make sure everything is up to date. Building this application will also create the.elf file that you will need later.
Echo-Test ApplicationGo to page 32 of UG1186 and follow the directions to add the vitis project to your petalinux rootfs. This is to avoid using FTP to transfer your files later, since this project does not use ethernet on the PiSmasher.
Go to the given directory and copy over the elf file from your vitis workspace.
In the <app_name>.bb file, copy over what is given above and replace <myfirmware> with the name of your elf file that you copied over. I will show mine for example.
Go to Filesystem Packages > Petalinux Package Groups > packagegroup-petalinux-openamp and enable all required groups.
{
 reserved-memory {
    #address-cells = <1>;
    #size-cells = <1>;
    ranges;
    rproc_0_reserved:
    rproc@3e000000 {
    no-map;
    reg = <0x3e000000 0x400000>;
   };
   rproc_0_dma: rproc@3e800000 {
    no-map;
    compatible = "shared-dma-pool";
    reg = <0x3e800000 0x100000>;
    };
};
  remoteproc0: remoteproc@0 {
    compatible = "xlnx,zynq_remoteproc";
    firmware = "firmware";
    vring0 = <15>;
    vring1 = <14>;
    memory-region = <&rproc_0_reserved>, <&rproc_0_dma>;
    };
};
Call petalinux-puild to build the application. If you see any errors, check to make sure that there are no typos or syntax errors in your.bb or.dtsi files. If successful, you will have an images directory in your petalinux root directory.
Lastly, go to <petalinux root>/images/linux and you will find the boot.bin and image.ub files.
Copy these two files into the boot partition of your sd card.
Insert your SD card into your SnickerDoodle Black board, and open up a serial connection. Wait for the board to boot.
When prompted, the username and password are both "root".
Run these commands to load and run your echo-test example.
modprobe zynq_remoteproc
echo image_echo_test > /sys/class/remoteproc/remoteproc0/firmware
echo start > /sys/class/remoteproc/remoteproc0/state
echo_test
To unload the application, run this command.
echo stop /sys/class/remoteproc/remoteproc0/stateCongratulations, you've run your first OpenAMP example!
ConclusionIn this tutorial, you have gained experience in a number of Xilinx tools for creating embedded systems application, and how to create an OpenAMP project from the hardware all the way to the application software. Here is a list of some of the topics covered in this tutorial:
- Create an .xsa file in Vivado using the built-in block design creator (IP Integrator).
- Learn what platforms and domains are in Vitis.
- Learn the Vitis workflow.
- Learn Petalinux commands to create your bootable image.
- Pool of resources for Xilinx tools
I hope that you have found this tutorial useful, and I look forward to seeing all the projects you all come up with! Let me know if you found this project useful in the comments below!


Comments