

Hardware components | ||||||
 |
| × | 1 | |||
Software apps and online services | ||||||
| ||||||
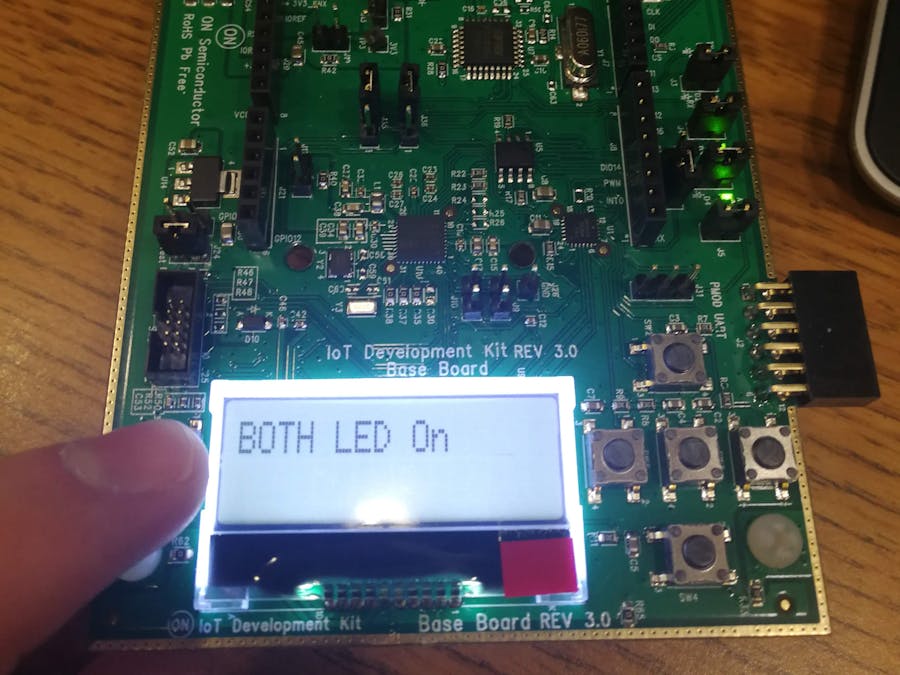
This project will show you how to program the IoT Development Kit from ON Semiconductor by using built in example code. We will program the LED 's on the BB and see a demo of them being On, Off and Flashing.
First you will go to "Examples > Simple > Baseboard Leds (IOXP_LED)." (See Figure 1). After you load this example you might see an Indexing error (Figure 2). If so, Right-Click on the project header on the left and click "Index > Rebuild" (Figure 3).
Next, we will program the device. Plug in the USB A to MINI B cord (Figure 4) into the port on the BB-GEVK (Figure 5). Then open Device Manager and go to "Ports (COM & LPT)" and find the "USB Serial Port (COMx)" (Figure 6). Note what COM port it is in.
If your COM port is not recognized, please download and install drivers from FTDI website, since on the baseboard is located FT232: http://www.ftdichip.com/Drivers/D2XX.htm
To program the device go to "Project > Build All" (Figure 7). Then select the Project Name in the Project Explorer and press the ON Button icon (Figure 8). It was then ask you to select which COM port to program to (Figure 9). Select the COM port found before.
Now a CMD Window will pop up tell you to "Please reset the board". Select the button to the left of the LCD screen that says "RESET SW6" (Figure 10). The device will then begin to program (Figure 11).
Reset the board and the LED Demo should begin! (See below album)


Comments