


Hardware components | ||||||
 |
| × | 2 | |||
| × | 1 | ||||
 |
| × | 1 | |||
 |
| × | 3 | |||
 |
| × | 1 | |||
 |
| × | 1 | |||
| × | 1 | ||||
 |
| × | 1 | |||
 |
| × | 2 | |||
| × | 1 | ||||
Software apps and online services | ||||||
 |
| |||||
 |
| |||||
Hand tools and fabrication machines | ||||||
| ||||||
Why should you make a Niner Pan Cam?
Do you live in a bad area? Do you need someone to watch your kids or pets? You can solve these problems today with the Niner Pan Cam!
Why did we make a Niner Pan Cam?
While brainstorming ideas for this IOT project we thought it would be a cool idea to make a pan camera as a security system. My partner and I both saw many uses for this type of project and plan on using it after the completion of this assignment.
Niner Pan Cam Uses
- Security Camera
- Baby Monitor
- Pet Monitor
- Weather Cam
Niner Pan Cam in Action
Constructing the Niner Pan Cam
Once our materials from Particle arrived we bought a aluminum box to place out camera and wiring in. This made the whole project look more pleasant because all the wiring and both photons are placed inside of the case. Also we super glued the servo gear on a piece of cardboard. We then used rubber bands to place the cardboard onto the bottom of the camera.
Wiring Through the Case
We simply drilled holes on the case to make it easier to store the wires. Three holes were drilled, one for the camera micro USB, and two for the photon micro USB.
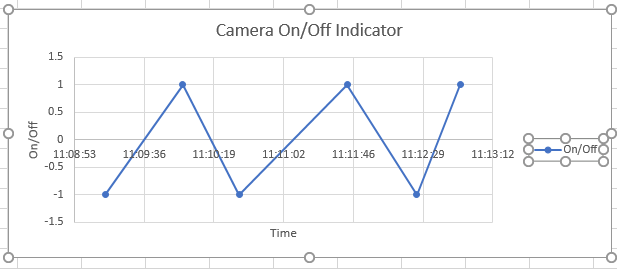
Functionality
Control everything was used to create 5 buttons. These buttons commands were the following; Right, Left, Center, On and Off. This allowed us to control the Niner Pan Cam remotely where through WiFi. All of these commands can be seen in our video posted above, and the code for them will be provided below.
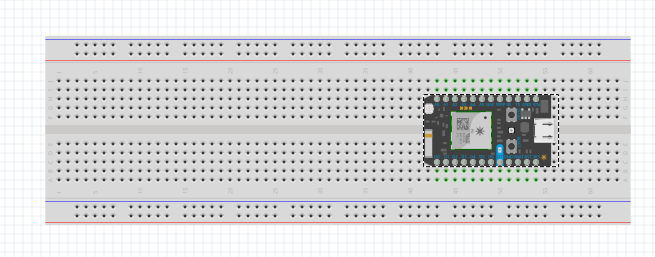
Communicating with both Photons
We didn't need both photons to complete this project but an LED indicator did help us find use in the second one. The LED simply lights up on the D7 pin when the camera is on. This LED shows up on both photons. This can be seen in action in the video above.


Comments