


Hardware components | ||||||
 |
| × | 1 | |||
Software apps and online services | ||||||
 |
| |||||
| ||||||
Half of humanity now lives in cities, and within two decades, nearly 60 per cent of the world's people will be urban dwellers. Urban growth is most rapid in the developing world, where cities gain an average of 5 million residents every month. The exploding urban population growth creates unprecedented challenges, with one of the most severe environmental concerns being air pollution. We plan on creating an Air Quality Box, that will be a compact portable solution for monitoring Air quality as well as various other parameters like Temperature, Humidity, Dust Concentration, and Pressure, that can be accessed via Cloud.
We even want to go a step further ahead and integrate the functionality of Fire Detection as well as detecting levels of different gases present in the air, thereby making it completely sufficient for the purpose of monitoring air quality. This coupled with integrated cloud connectivity, will make data collection easier and hence readily available for analysis of multiple stations and data levels to determine pollution source across various cities and pockets in cities.
Download Arduino 1.5.7 and then the latest SDK of LinkIT (I have 1.1.17). This will install all drivers needed and then you can try running a sample project from SDK to check if all is working well.
LinkIT ONE does not involve any major setting up, if you've installed the compatible softwares and drivers. Simply connect the board to your laptop and see if it's recognized and try out any example to check if it's working fine.
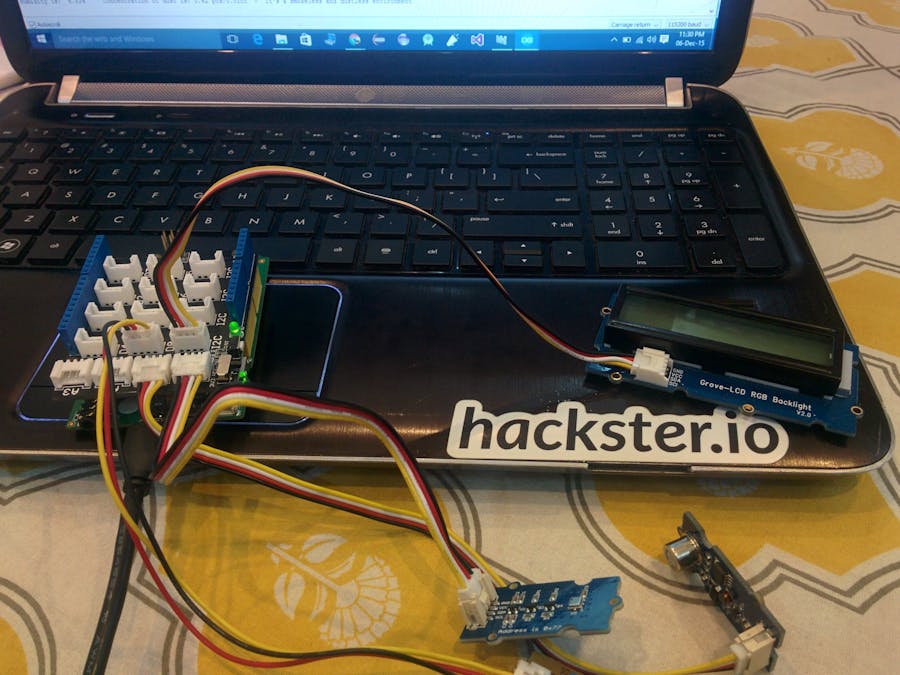
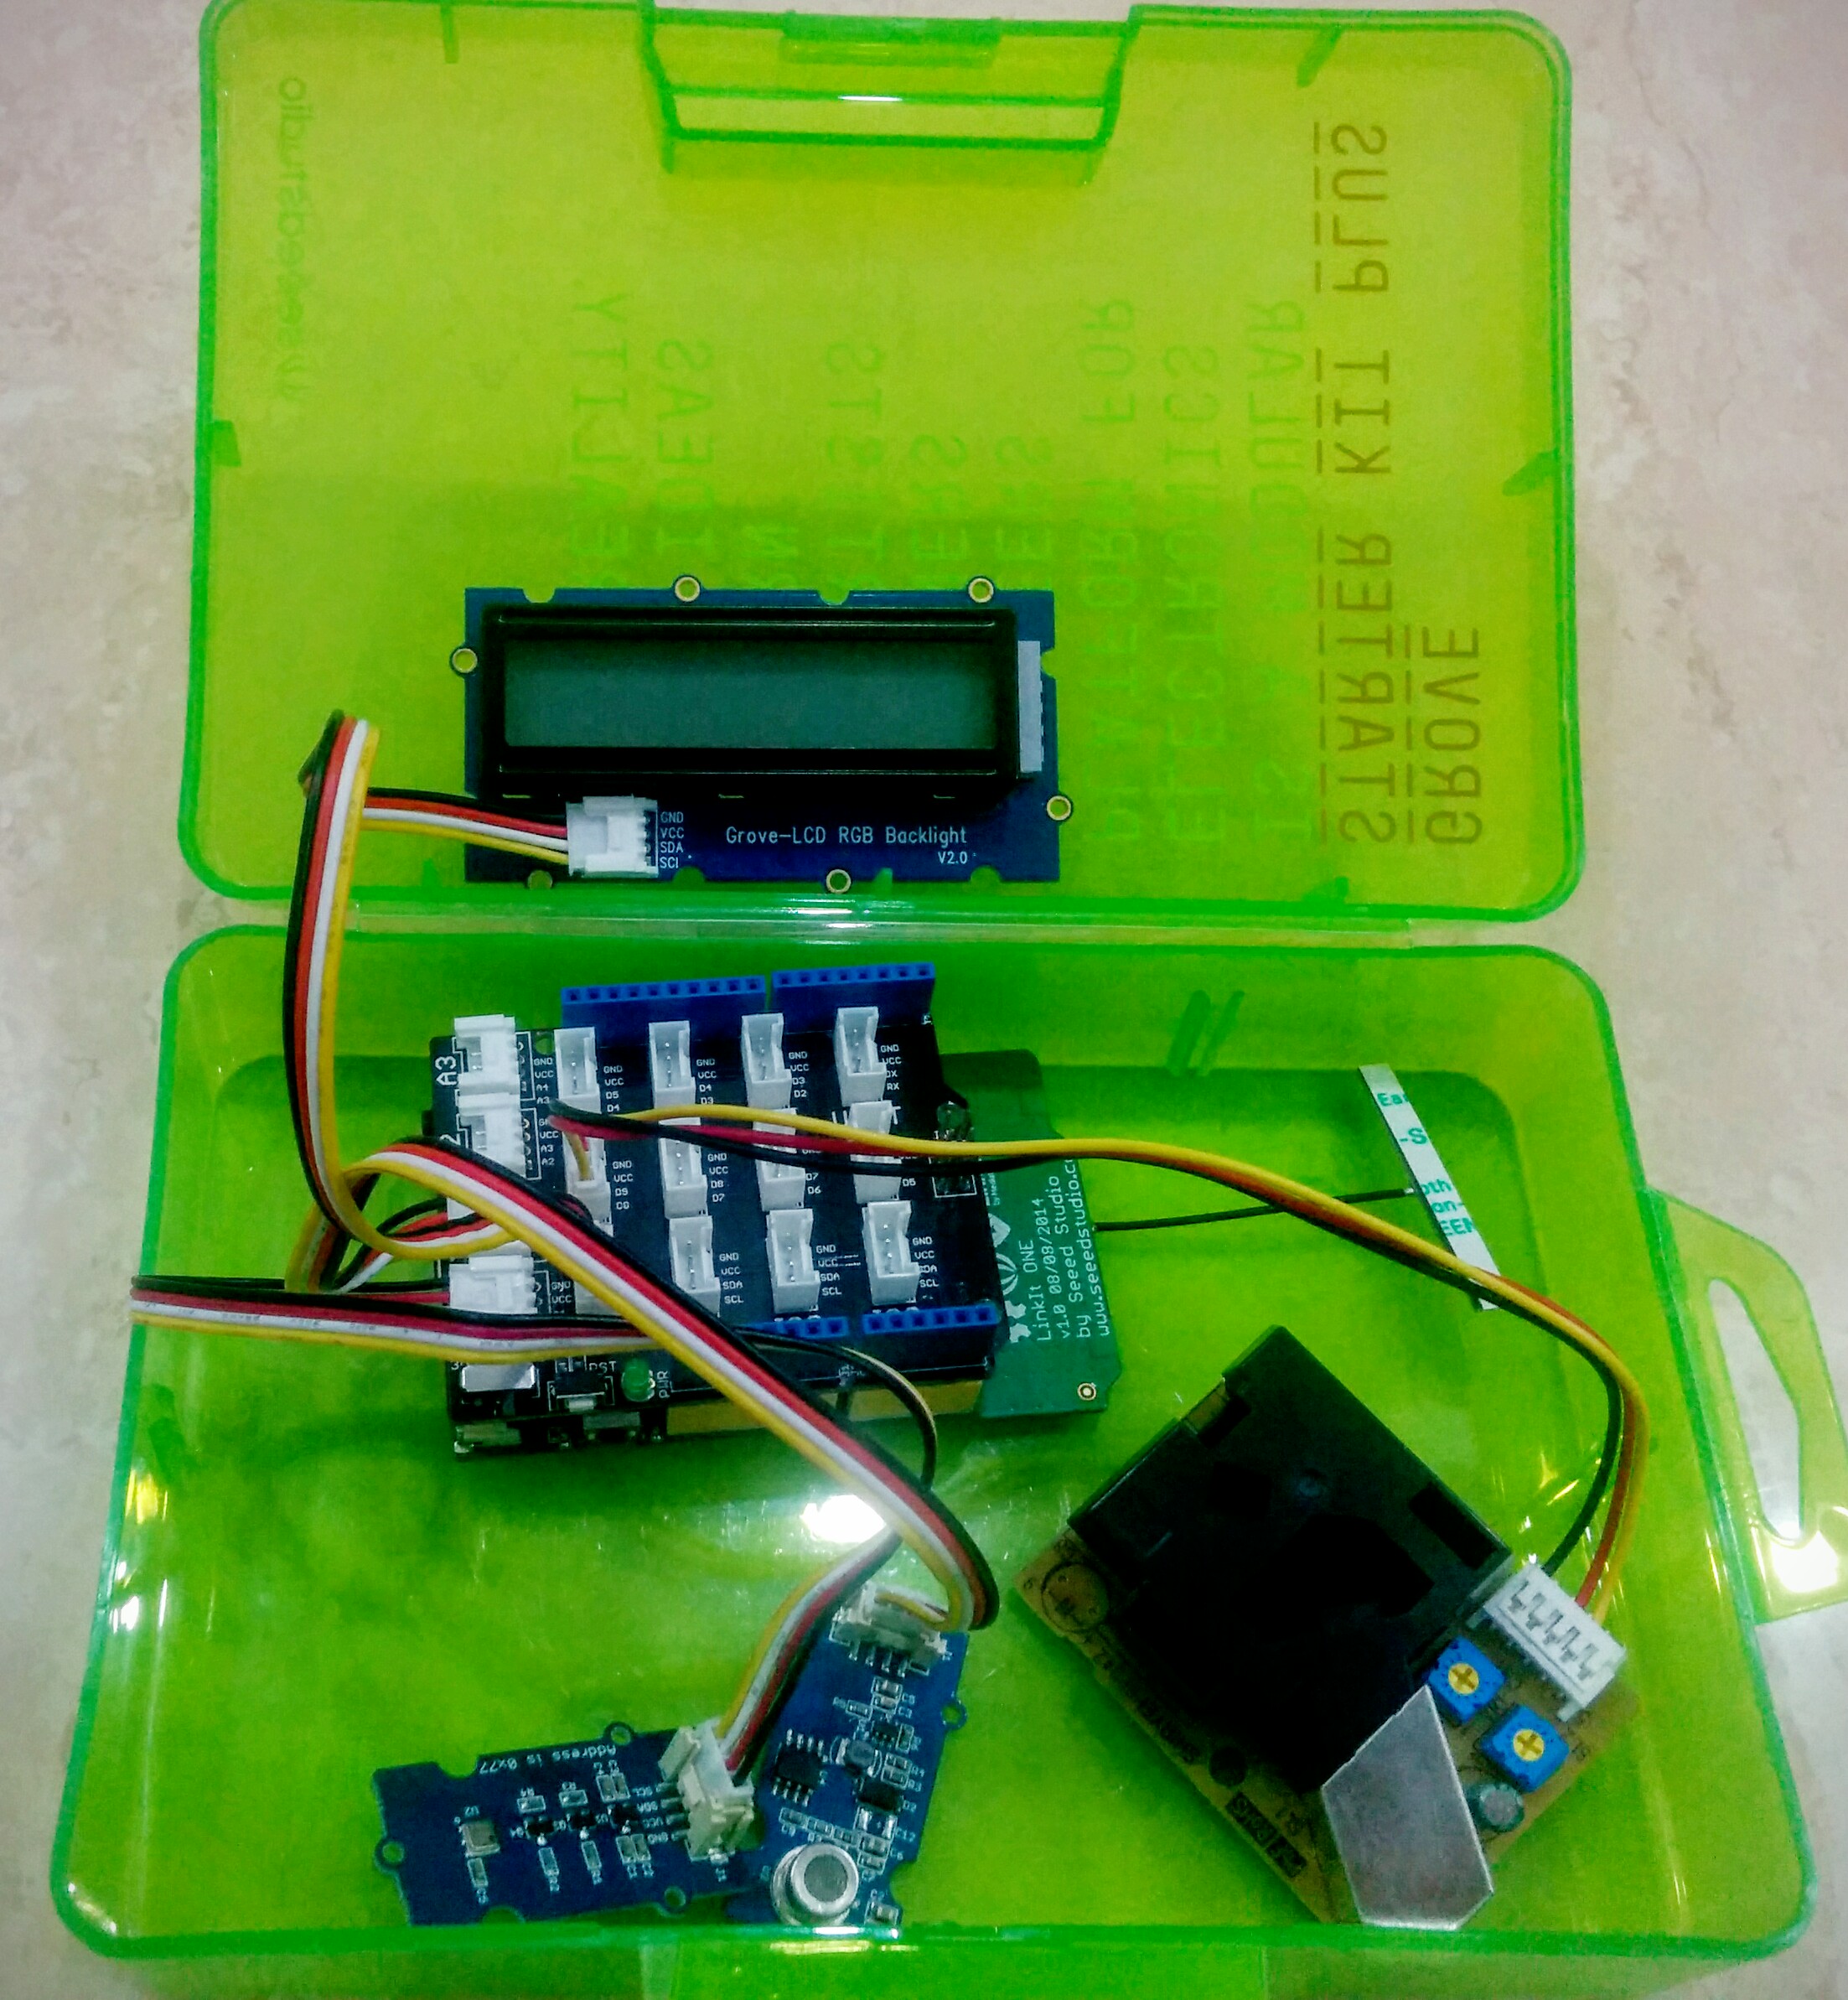
NOTE: Since this is a portable solution it can be easily be placed inside a small box/container and kept anywhere. For now we have used the Seeed Grove Kit Box for this purpose.
With all that done, make the connections and copy the code, edit it based on your WiFi settings,i.e SSID and Key and upload it on to the Arduino IDE.
NOTE: You can also store the key and SSID parameters of your WiFi in a separate file called WiFi.txt, store it inside the LinkIT ONE's storage and instruct the board to retrieve the credentials from there. The code for the same is out of scope from this project.
STEP 3: TESTING THE CODEOpen Serial Monitor and you'd be able to see a lot of different readings being displayed, namely - Humidity, Pressure, Dust concentration, and Air Quality. The LCD screen will display the Temperature in color coded format, i.e. In case of a relatively cool or cold temperature it'll display the temperature reading in Blue color and if hot, then in Red color.
For more information regarding how to setup the colored display in detail, refer to this - https://www.hackster.io/rishabhbanga/grove-starter-kit-with-intel-galileo-gen-1-getting-started-4dd5f1?ref=user&ref_id=9845&offset=3.
Next step is to integrate cloud connectivity and display all the present data being shown in Serial Monitor on the cloud, so that data can be accessible all the time and from any place.
For this purpose I'd be using Mediatek's own cloud platform. The setup is described in two parts:
1) Creating a prototype, with data channels to control and monitor data.
2) Creating a test device to support the hardware connectivity and data transfer.
Humidity, Temperature, Altitude and Pressure values would start showing up as soon as you run your program. It's the Air Quality display and Dust Concentration that involves a bit of tweaking.
Each of those controls has a shortcut menu. Open the shortcut menu for data channel to select Show History option, which will display all pasta and present values of respective Data Channel.
1. Devise a compact case for ease of use and transportation.
2. Integrate an Alarm (Buzzer) that will go off in case of Fire.
3. Use AWS instead for Cloud Services.


Comments