

Hardware components | ||||||
_ztBMuBhMHo.jpg?auto=compress%2Cformat&w=48&h=48&fit=fill&bg=ffffff) |
| × | 1 | |||
 |
| × | 1 | |||
 |
| × | 1 | |||
Software apps and online services | ||||||
 |
| |||||
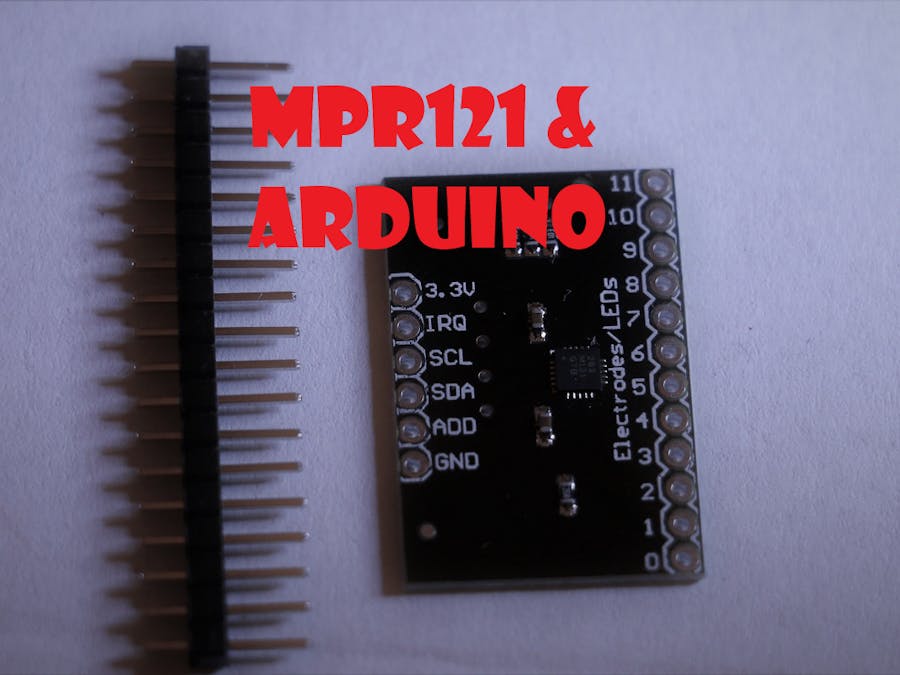
MPR121 is a 12-pin touch sensor, using capacitance capabilities of the IC.
There are 2 libraries for this IC, I personally prefer Using the bare conductive one.
https://github.com/BareConductive/mpr121
The chip has a trigger pin, that allow you to know that one of the pins was either touched or released, giving you great response time and giving you option to use an interrupt instead of scanning the state in the loop – like showed in the example.The only down side it that you have only one trigger pin for all the 12 IO pins of the IC.The I2C address can be set ADDR is the I2C address select pin. By default, this is pulled down to ground with a 100K resistor, for an I2C address of 0x5A. You can also connect it to the 3Vo pin for an address of 0x5B, the SDA pin for 0x5C or SCL for address 0x5DThis setting is for the adafruit boards, some of the clone boards haved ifferent I2C address sets and defaults. You can use the I2C scanner in case you do not know the one for your board.
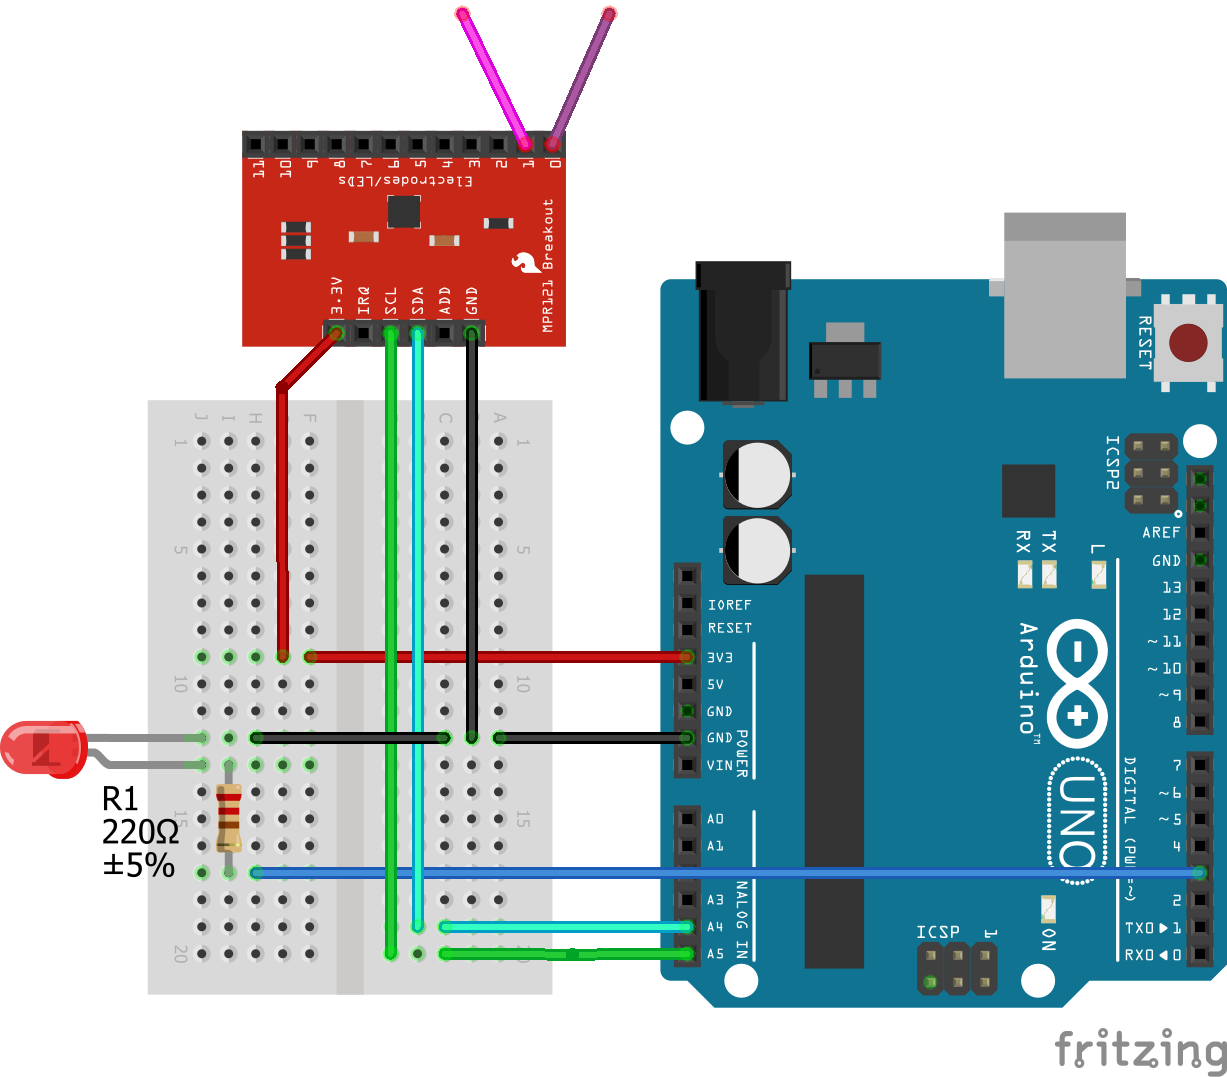
Connecting the boards is really simple, as shown in the drawing.
One thing do note - most of the breakout boards power supply is rated at 3.3V do not power it with the 5V. what about the data level voltage - well due to the nature of the i2c hardware you wont damage the MPR121 with the 5V of the arduino, but if you do notice issue reading from it, or not even finding it on the bus - try a logic level converter between the 2.
Over the years I made a few things with this great IC.On2 of the first things I created was a game for my kid, the letters on the top are connected to 2 MPR121 and each touch will trigger an mp3 record of me saying the letter name.
I also at the same time experimented with the bare conductive paint - it’s a lot of fun, and works great with the MPR121.


Comments