


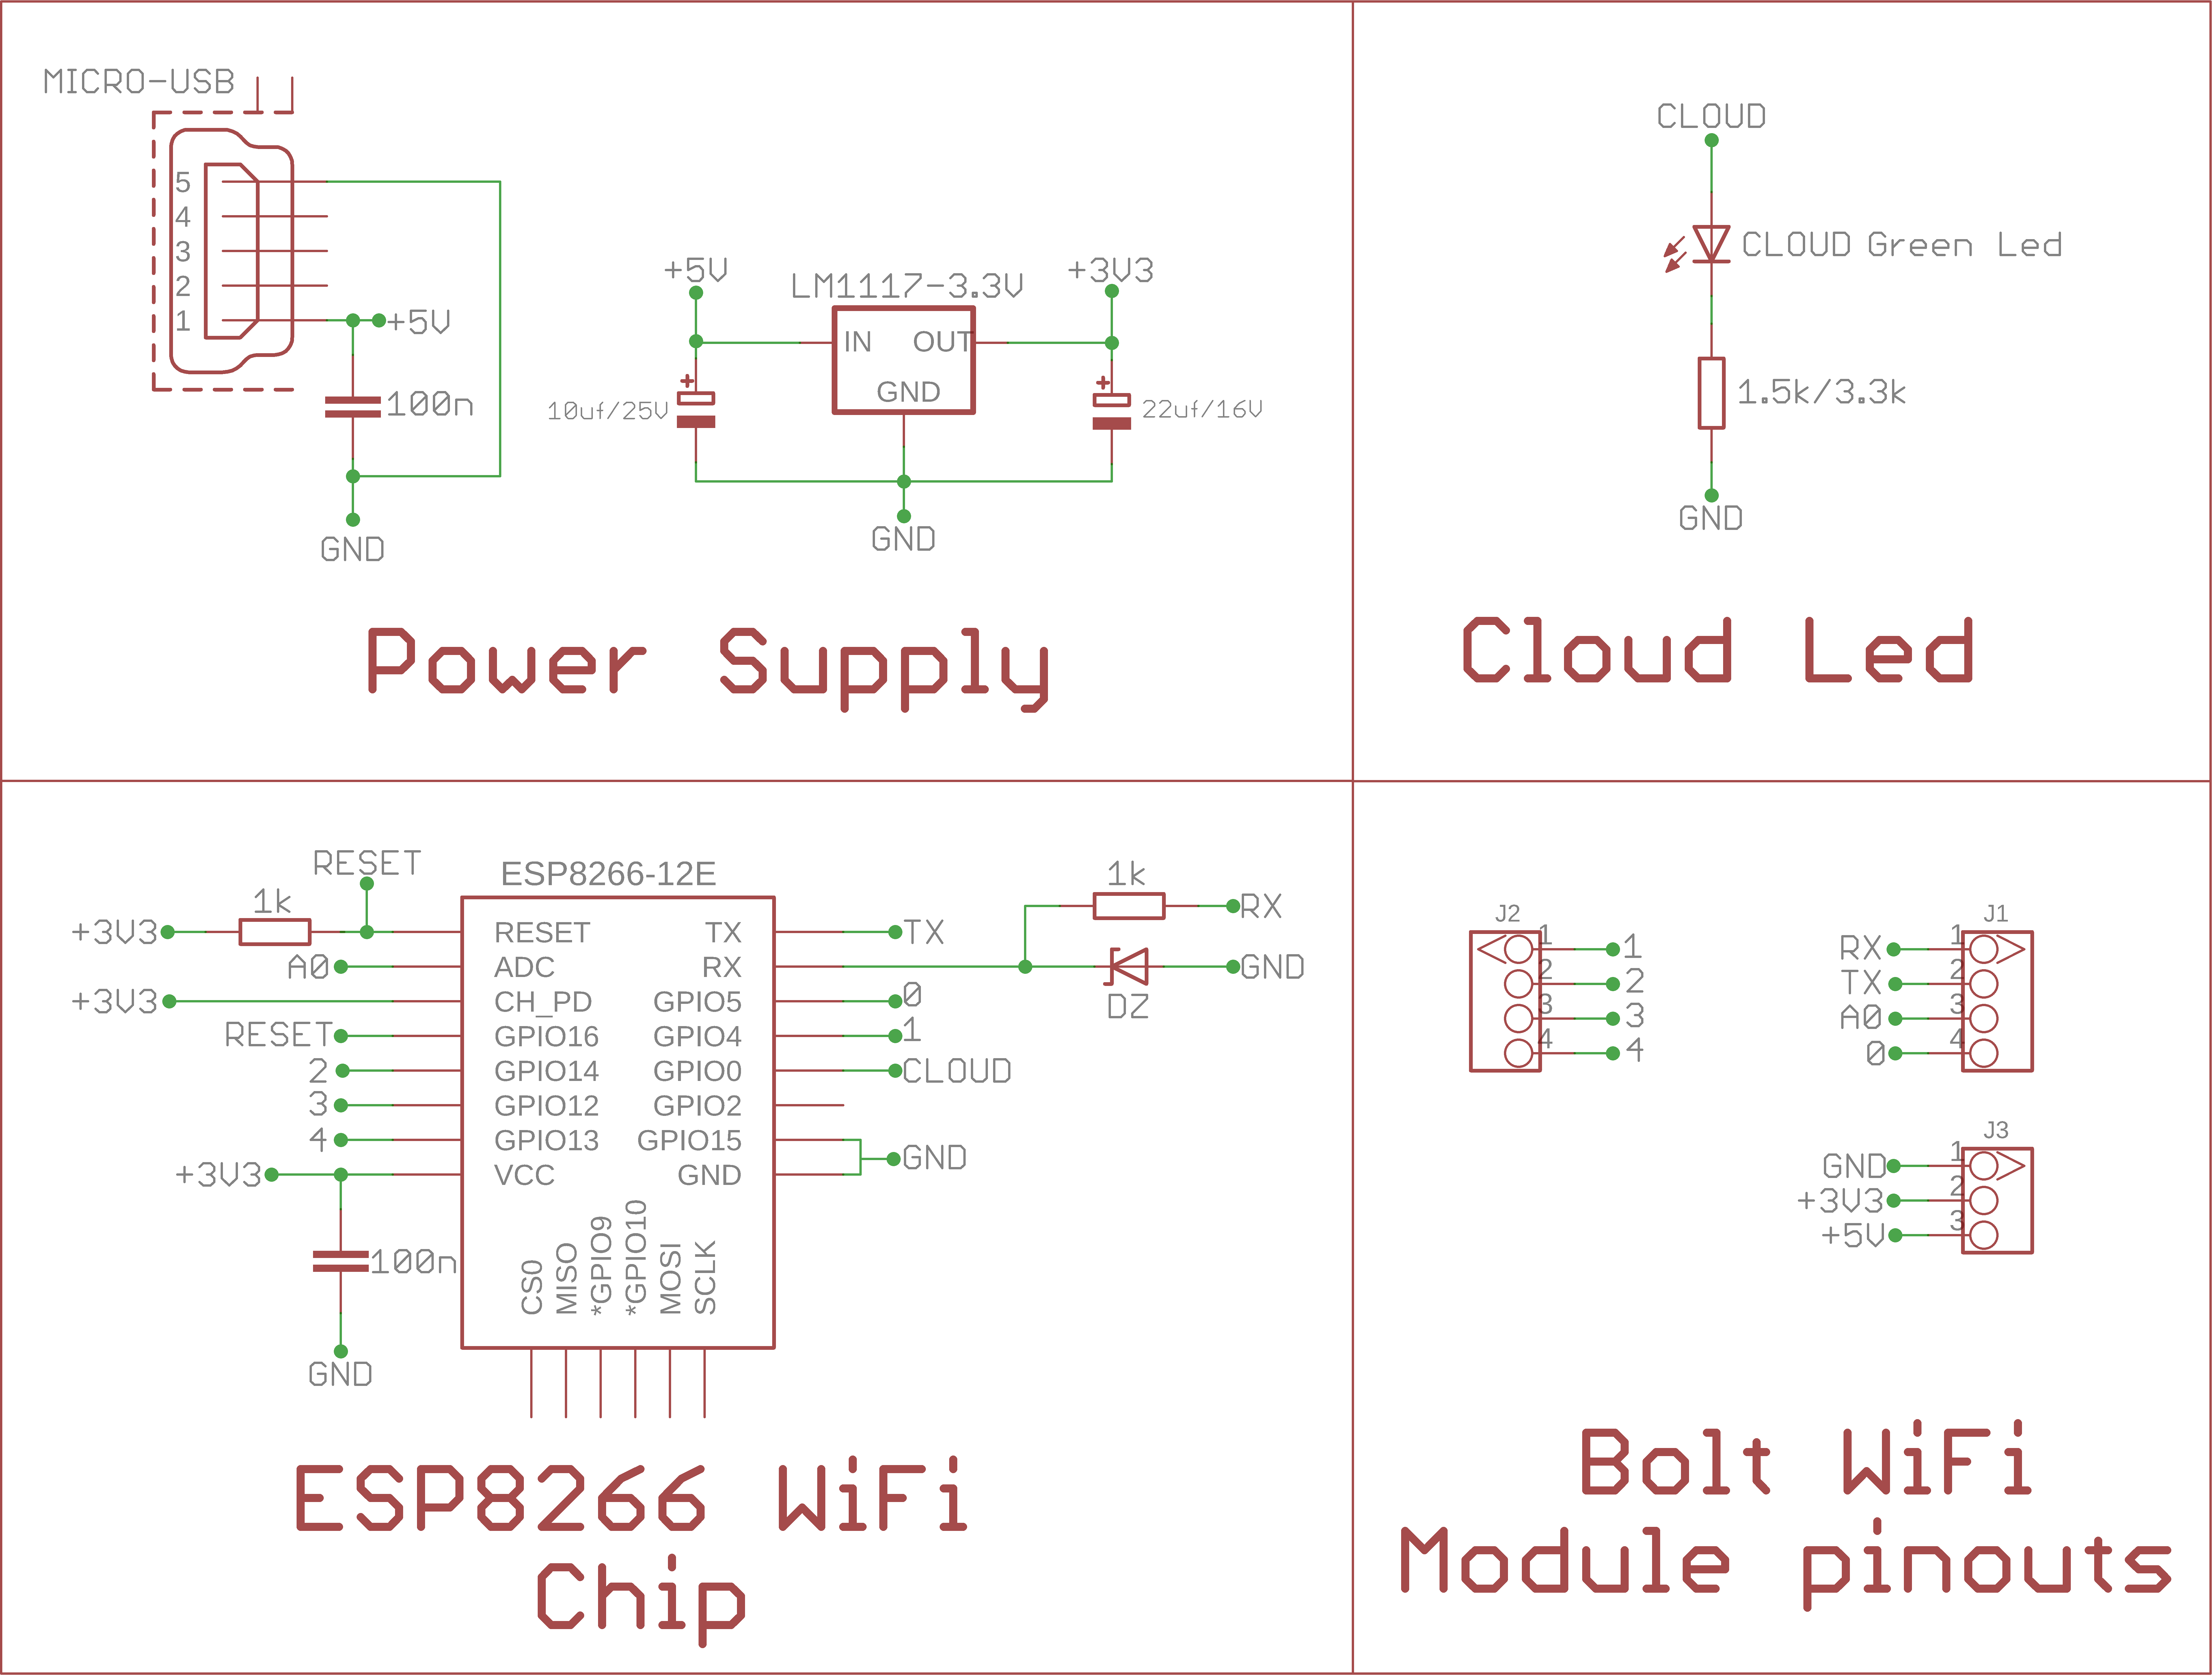
Hardware components | ||||||
 |
| × | 1 | |||
 |
| × | 1 | |||
 |
| × | 1 | |||
 |
| × | 1 | |||
 |
| × | 1 | |||
 |
| × | 1 | |||
 |
| × | 1 | |||
| × | 1 | ||||
Software apps and online services | ||||||
 |
| |||||
| ||||||
 |
| |||||
 |
| |||||
1.INTRODUCTION
The most prevalent problem in India and worldwide is the ever-increasing risk in air-pollution. One of the major contributions to air pollution is done by harmful emissions from automobile vehicles. Here I am trying to present a product idea that will monitor the emission of the vehicles and send alerts to the owner whenever the pollution level rises above the threshold values for the required service. Once the given time period is over, the vehicle’s ignition system is cut-off and RTO will be informed. It could also detect whether last filled fuel was adulterated or not by the wrong fuel or wrong octane rating.
3.STEPS FOR BUILDING THE PROJECT
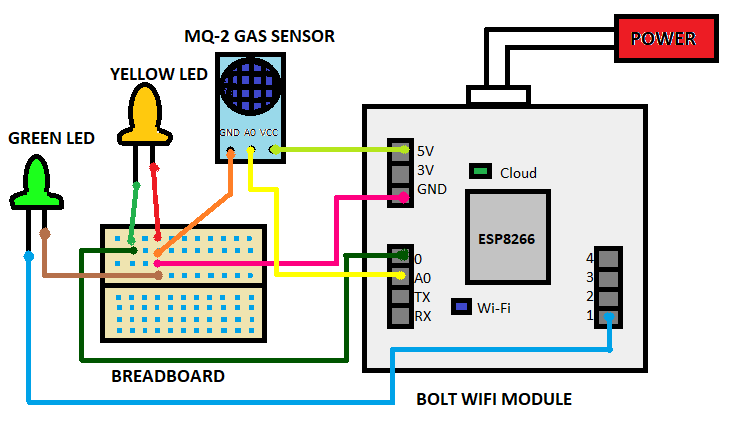
Steps for connecting thesensor to bolt IoTWi-Fi module: -
STEP 1: Connect the Vcc pin of the MQ2 sensor to the 5V pin of the Bolt IoT Wi-Fi module.
STEP 2: Connect the Gnd pin of the MQ2 sensor to the GND rail of breadboard, also connect the ground rail to the GND pin of the Bolt IoT Wi-Fi module.
STEP 3: Connect the Analog output of theMQ2 sensor to the A0 pin of the Bolt Wi-Fi module.
Steps for connecting LEDs to Bolt Wi-Fi module: -
STEP 1: Connect the cathodes of the LEDs to the ground rail of the breadboard.
STEP 2: Connect the anode of the yellow led to the D0 pin.
STEP 3: Connect the anode of the green led to the D1 pin.
Steps for writing the PYTHON code: -
STEP 1: In the code, first import the conf file which has all the credentials. Bolt python library which will fetch the data stored in Bolt cloud. The Sms library is also imported to send SMS alerts and Bolt is used for accessing data from bolt devices. The python JSON and time libraries are also imported.
STEP 2: Now initialize a variable that will store the maximum threshold value. This would send an alert if carbon content/pollution emission goes above the maximum limit.
STEP 3: To fetch data from Bolt cloud, create an object called ‘mybolt’ which can access the data from Bolt. For the Bolt Cloud to identify the bolt device, provide the API key and the Device ID when creating mybolt object. To send an SMS, create an object of the same.
STEP 4: To continuously monitor the pollution/carbon reading, enclose the logic to fetch, compare and send the SMS inside an infinite loop using the ‘while True:’ statement. To exit the loop, press CTRL+C.
STEP 5: The green led/ ignition system is turned on by the ‘digitalWrite’ function, connected to the D1 pin of Bolt.
STEP 6: The code fetches sensor value using ‘analogRead’ function which is connected to the A0 pin of Bolt.
STEP 7: The response from the Bolt cloud using the analogRead() function is in JSON format, so load the JSON data sent by cloud using Python’s JSON library.
STEP 8: The sensor value is inside a field labeled as “value” in the response. Access the JSON values using the statement ‘sensor_value = int(data[‘value’])’. This line also converts sensor reading to integer datatype.
STEP 9: This is enclosed inside a try-except block to handle any error that may occur in the code.
STEP 10: The next line of code checks if the sensor reading is above the maximum limit or not. If it exceeds, then SMS will be sent.
STEP 11:If the above statement is true then digitalWrite() is executed on the D0 pin of the Bolt, turning ON the yellow led.
STEP 12:The SMS to be sent containing the text “The Current pollution level is” followed by sensor reading and “Your vehicle needs servicing in concern with pollution emission.
STEP 13:The response from Twilio will be stored inside the ‘response’ variable.
STEP 14: The status of the message is printed on the console.
STEP 15: The statement ‘time.sleep(60)’ puts the program execution on hold for 60 seconds. This means here seconds are for the pollution service time period of the vehicle.
STEP 16: The next line code shows the turning off the ignition system/ green led using digitalWrite() function.
STEP 17: The message is sent to the RTO/owner which contains the text “The engine has been cut off since pollution service period had been expired.”
STEP 18: The statement ‘time.sleep(45)’ puts the program execution on hold for 45 seconds.
4.WORKING OF THE PROJECT
1. When there is no pollution i.e. the sensor value is below the threshold, then the green LED/ ignition system is turned ON.
2. When there is pollution i.e. the sensor value is above the threshold value, then the yellow LED is turned ON indicating the alert. Simultaneously, an alert message is sent to the owner of the vehicle to get the vehicle serviced.
3. Once the servicing time period in concern with pollution emission has been expired, the ignition system/engine/green Led turns OFF and the message is sent for the same to the owner and can be sent to RTO.
Circuit diagram of pollution detecting system


Comments