

Hardware components | ||||||
 |
| × | 1 | |||
 |
| × | 1 | |||
 |
| × | 1 | |||
 |
| × | 1 | |||
Software apps and online services | ||||||
 |
| |||||
Here we create an alarm system so that we don't get late and miss our morning lectures! Firstly, we need to create an account at Integromat.
CREATINGINTEGROMATACCOUNT:
1. We need to visit www.integromat.com
2. We need to verify our email and sign into our account
After creating the account we need to set up a scenario on the website which will activate the buzzer connected to the Bolt device at a set time everyday.
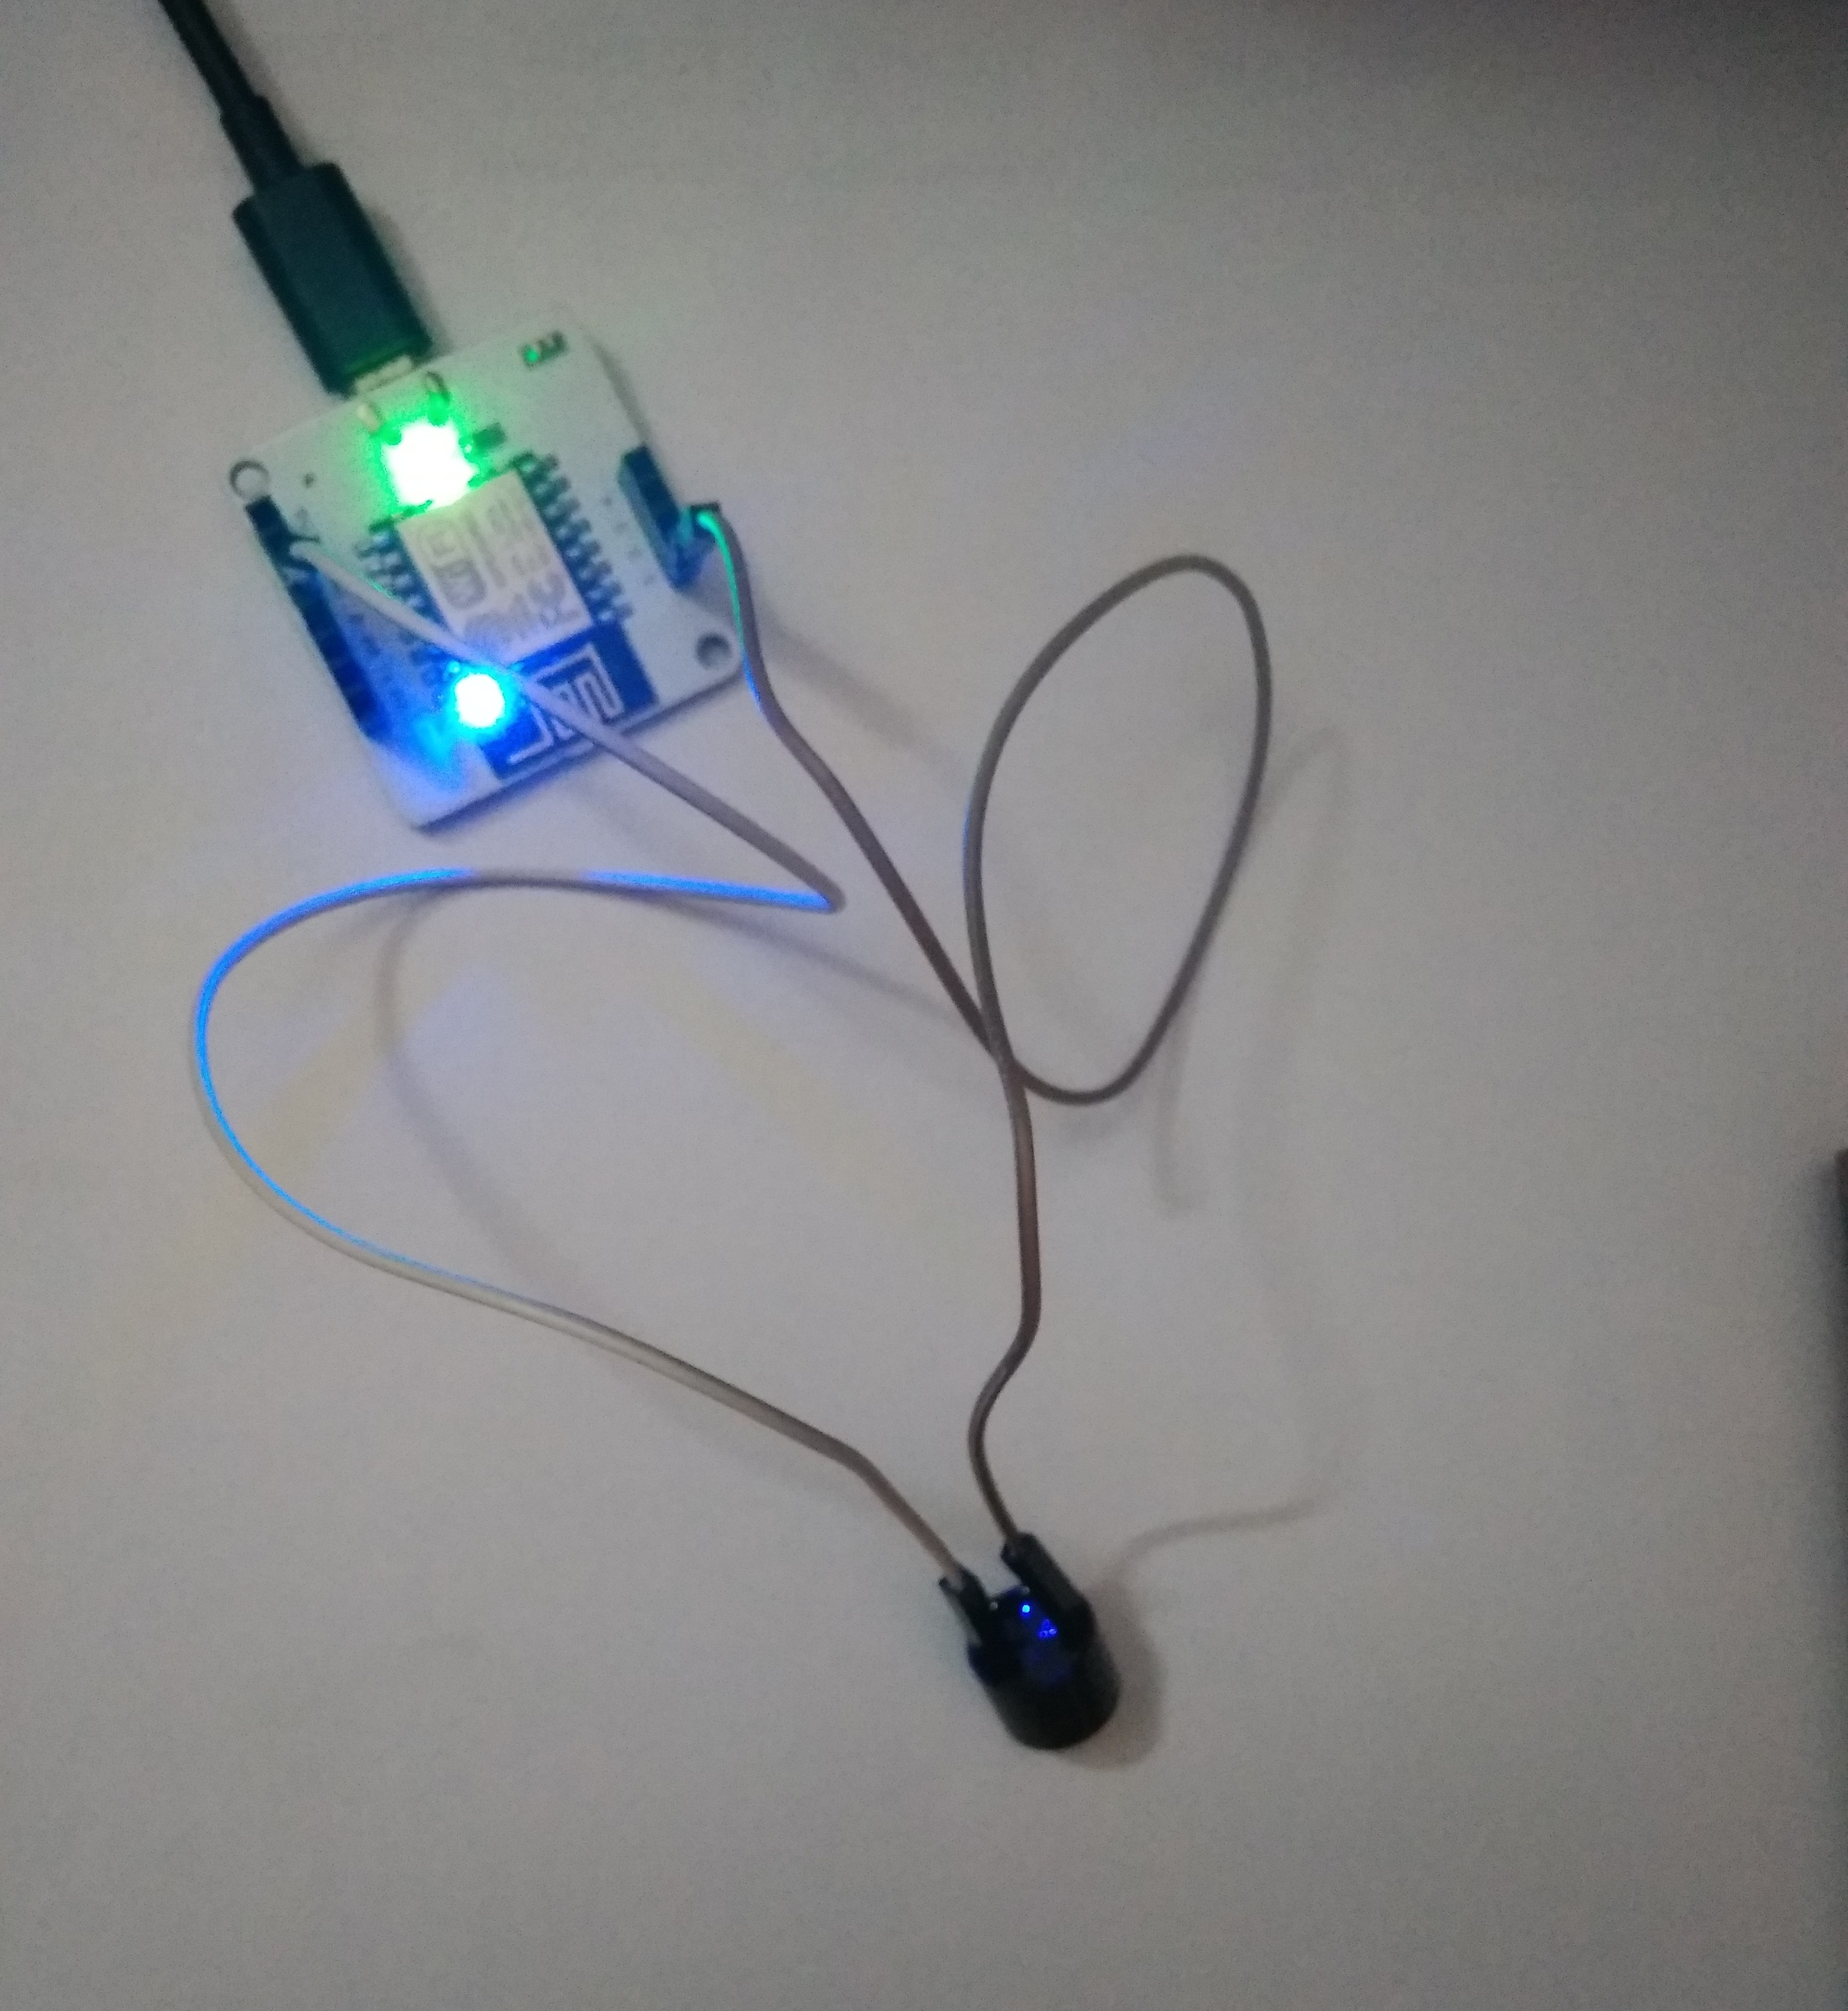
Let us build up the connections for our new Bolt project
SETTINGUPCONNECTIONS:
1. We need to connect the longer (+ve) end of the buzzer to GPIO pin 1 of the Bolt device
2. We need to connect the shorter (-ve) end of the buzzer to the GND pin of the Bolt device.
3. Next, we need to power the Bolt device on using micro-USB cable.
CREATINGTHE FLOW OF COMMANDS:
STEP 1:
Click on New Scenario
Choose Bolt IOT
Click on the ADD button and give a connection name and enter the BOLT IOT API key in the space provided.
You can find your API key by clicking on the link https://cloud.boltiot.com/api_credentials. You can copy the API from there. Click continue.
In the command drop down list choose Write Digital Output.
Enter the device name in the box provided below that. You can find your device name by clicking on https://cloud.boltiot.com/home/. You can copy it from here.
Choose Pin as 1 since we use GPIO pin 1 of Bolt Device
Choose State as HIGH
Click OK
STEP 2 :Now we want the buzzer to ring for a few seconds before it goes off.
Click on the purple coloured tools option.
Select sleep option.
Enter the number of seconds you want the buzzer to ring in the Delay box. I have entered 8 seconds.
Click OK
Click on add new module.
Select BOLT IOT.
Select Write Digital Output Option in command section.
Enter the Add option next to Connection.
Enter the API key, as done in part one of command flow.
Enter the same Device ID as earlier.
Enter Pin as 1.
Enter State as LOW
Click OK.
STEP 4 :Click on the picture of a tiny clock in the initial Bolt module at the first part of command flow.
This helps us to schedule the alarm. Choose the Run scenario and the time at which you would want the alarm to ring.
Click OK.
You have successfully set up the alarm.
The final setup would look like the picture given below.
Now we must save the scenario using the save icon in the controls section.
To test the alarm, we click on the run once button.
The alarm rings for 8 seconds and then stops.


Comments