


_ztBMuBhMHo.jpg?auto=compress%2Cformat&w=48&h=48&fit=fill&bg=ffffff)
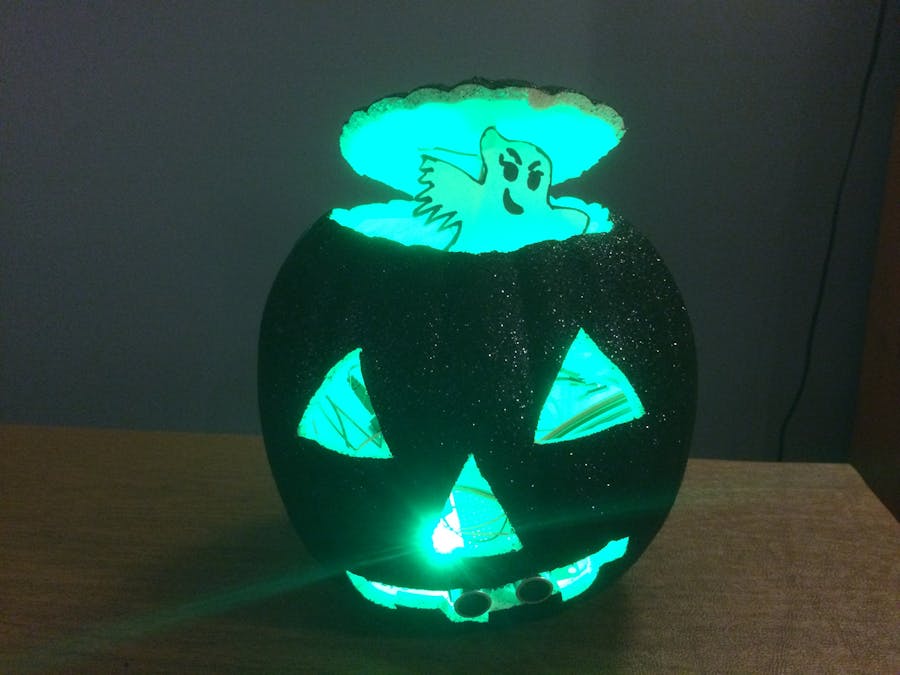
This is a cool project to do before Halloween. Can easily be adapted to multiple controllers , sensors etc.
/*
HC-SR04 Ping distance sensor]
VCC to arduino 5v GND to arduino GND
Echo to Arduino pin 13 Trig to Arduino pin 12
Red POS to Arduino pin 11
Green POS to Arduino pin 10
560 ohm resistor to both LED NEG and GRD power rail
More info at: http://goo.gl/kJ8Gl
Original code improvements to the Ping sketch sourced from Trollmaker.com
Some code and wiring inspired by http://en.wikiversity.org/wiki/User:Dstaub/robotcar
*/

#define trigPin 13
#define echoPin 12
#define led 11
#define led2 10
#include <Adafruit_NeoPixel.h>
#include <Servo.h>
#define PIN 6
// NEOPIXEL on pin 6
// Parameter 1 = number of pixels in strip
// Parameter 2 = pin number (most are valid)
// Parameter 3 = pixel type flags, add together as needed:
//   NEO_KHZ800  800 KHz bitstream (most NeoPixel products w/WS2812 LEDs)
//   NEO_KHZ400  400 KHz (classic 'v1' (not v2) FLORA pixels, WS2811 drivers)
//   NEO_GRB     Pixels are wired for GRB bitstream (most NeoPixel products)
//   NEO_RGB     Pixels are wired for RGB bitstream (v1 FLORA pixels, not v2)
Adafruit_NeoPixel strip = Adafruit_NeoPixel(60, PIN, NEO_GRB + NEO_KHZ800);


Servo myservo;  // create servo object to control a servo
int pos = 45;    // variable to store the servo position
int pixsweep = 0;
void setup() {
   Serial.begin (9600);
   pinMode(trigPin, OUTPUT);
   pinMode(echoPin, INPUT);
   pinMode(led, OUTPUT);
   pinMode(led2, OUTPUT);
    myservo.attach(8);  // attaches the servo on pin 8 to the servo object
  myservo.write(pos);
  strip.begin();
  strip.show(); // Initialize all pixels to 'off'

}

void loop() {
   long duration, distance;
   digitalWrite(trigPin, LOW);  // Added this line
   //delayMicroseconds(5); // Added this line
   delay(5);
   digitalWrite(trigPin, HIGH);
//  delayMicroseconds(1000); - Removed this line
   //delayMicroseconds(10); // Added this line
   delay(10);
   digitalWrite(trigPin, LOW);
   duration = pulseIn(echoPin, HIGH);
   distance = (duration/2) / 29.1;


   if (distance <= 200 || distance > 0){
   if (distance < 95 ) {  // This is where the LED On/Off happens


//light pixels
   delay (100);
for (pixsweep = 0; pixsweep <=23; pixsweep += 1){
strip.setPixelColor(pixsweep, 0, 255, 0);
delay(10);
strip.show();}

    myservo.attach(8);  // attaches the servo on pin 9 to the servo object

   //sweep servo
   for (pos = 45; pos <= 90; pos += 1) { // goes from 0 degrees to 180 degrees
    // in steps of 1 degree
    myservo.write(pos);              // tell servo to go to position in variable 'pos'
    delay(15);                       // waits 15ms for the servo to reach the position
  }
    myservo.write(90);
    //myservo.detach();  // attaches the servo on pin 9 to the servo object

   digitalWrite(led,HIGH); // When the Red condition is met, the Green LED should turn off
   digitalWrite(led2,LOW);


//unlight pixels
delay(9000);
for (pixsweep = 23; pixsweep >=0; pixsweep -= 1){
strip.setPixelColor(pixsweep, 0, 0, 0);
delay(20);
strip.show();
}
delay(200);
    myservo.attach(8);  // attaches the servo on pin 9 to the servo object

  for (pos = 90; pos >= 45; pos -= 1) { // goes from 180 degrees to 90 degrees
    myservo.write(pos);              // tell servo to go to position in variable 'pos'
    delay(15);                       // waits 15ms for the servo to reach the position
  }
    myservo.write(45);
    myservo.detach();  // attaches the servo on pin 9 to the servo object

 }

   else {
     digitalWrite(led,LOW);
     digitalWrite(led2,HIGH);


   }


   }
   if (distance >= 200 || distance <= 0){
     Serial.println("Out of range");
     Serial.print(distance);
   }
   else {
     Serial.print(distance);
     Serial.println(" cm");
   }
   delay(500);
}

Thanks to Alexis Matelin.


Comments