Alarm clocks have been in use for centuries because they solve a real problem - ensuring we wake up on time.their utility is undeniable, and most of us would probably have a hard time making it to work everyday without one.
Today's, technology infact made it easier and convenient to design an alarm clock with various online platforms and modules.
STEP 1:PRE REQUIREMENTS
- Ensure your bolt Iot wifi module is powered on.
- Sign in on https://www.integromat.com/en/ and create an free account.
- connect to wi-fi module to bolt cloud.
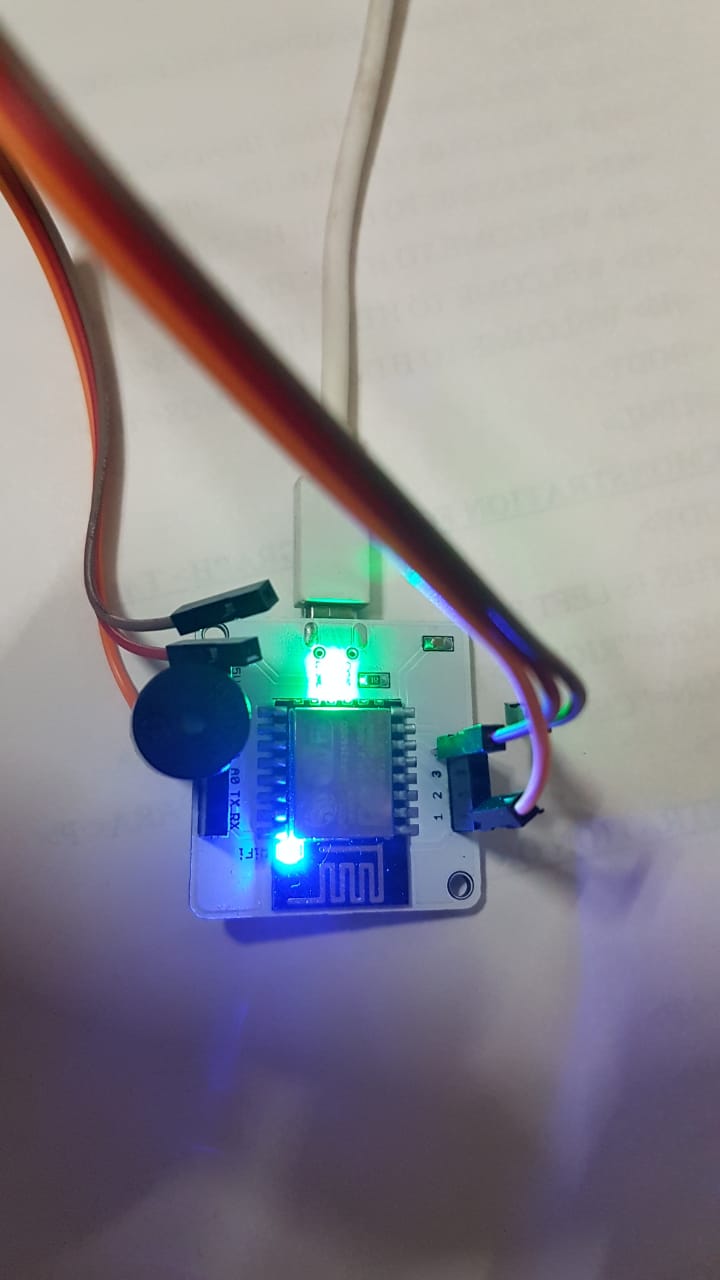
STEP 2: SETTING UP THE CIRCUIT- Connect +ve(longer leg) end of the buzzer to pin 1 of the Bolt.
- Connect -ve(short leg) end of the buzzer to GND pin of the bolt.
- use micro USB cable to power the circuit.
STEP 3:CONFIGURATION IN INTEGROMAT
- Create an integromat account and sign in.
- Click on create a new scenario on the top right.
- Search for "BOLT IOT" and select.
- Click on add button and enter your API key. To find your API key https://cloud.boltiot.com/api_credentials
- Select write digital output under command.
- Set the pin 1 as it is connected in the wifi module.
- Set the state as HIGH.
STEP 4:- Now to ring the buzzer for a few seconds select tools(purple icon) below and then select sleep option and set the time.
step5:
- Click on add new module and again select Bolt IoT.
- Select write digital output under command.
- Set the pin 1 as it is connected in the wifi module.
- Set the state as LOW
- The three connected modules would look as below:
STEP 5:- Click on the little clock icon on the initial Bolt module.
- Set the time as it is convenient to you.
- That's it, you have completed the procudere.
- Now save the scenario by clicking on the save button.
- To test the alarm. Click on the run once button.





Comments