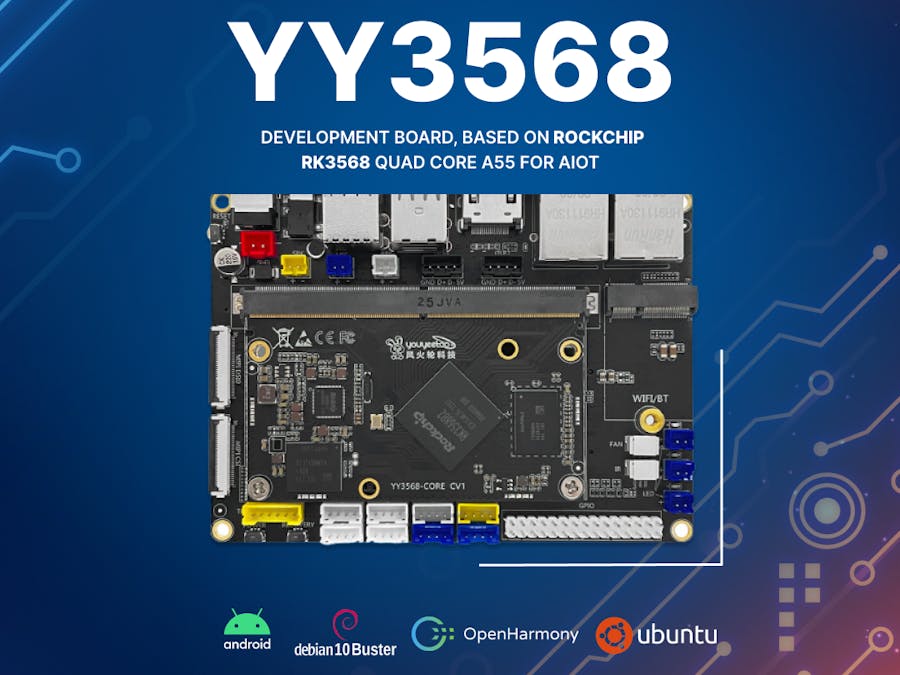
Last time, we discussed successfully establishing an SSH connection to the board after flashing firmware. Let's start by examining the board's kernel. You can use the command 'uname -a' to check the kernel version. It should display something like 'Linux yy3568-alip 4.19.232 #18 SMP Mon Jul 24 09:57:48 CST 2023 aarch64 GNU/Linux.' The board's kernel is version 4.19. Running 'cat /etc/issue' reveals that it's running a Debian 10-based system.
While the 4.19 kernel might seem a bit outdated, there are specific requirements for a 4.x kernel for a certain task, which we'll address later. Now, our next goal is to create an audio and video processing device. To do that, we need to decide which libraries to use for audio and video processing. We can't build everything from the ground up, so I've chosen to use FFMPEG. Therefore, our first step is to install FFMPEG!
- Installing FFMPEG in APT Format
The most significant advantage of using the Debian system is the ease of software installation. This is one of the main reasons I prefer Debian. First, let's take a look at the software sources. You can check them by running "cat /etc/apt/source.list". You'll notice that the official sources have been thoughtfully switched to Netease sources in China(Note: Debian is being distributed across the web through hundreds of servers (mirrors). So, go ahead and update the sources with "sudo apt update". After updating, perform a software upgrade with "sudo apt upgrade", and wait a moment for the upgrade to complete.
Next, you'll want to install FFMPEG using the APT method, but I don't recommend this approach. You can continue reading, but it's best not to follow along. Instead, simply run 'sudo apt install ffmpeg'and wait for the installation to finish. After that, you can check the FFMPEG information by entering ffmpeg -version. The screenshot is shown below:
You can see that the version number is 4.1.11. The version number isn't particularly crucial; the key issue is that we can't see Rockchip's hardware encoding. So next, let's see what H.264 encoders are available in ffmpeg. You can do this by runningffmpeg -encoders | grep 264
You can see that there are 5 encoders: the first 2 are software encoders, while the last 3 are hardware encoders. However, it's evident that these are not Rockchip''s hardware encoders. Just to be thorough, we attempted to use them, and as expected, all attempts failed!
So, the next step is to uninstall ffmpeg. You can do this by running sudo apt remove ffmpeg
Whenever we talk about downloading source code for compilation, it can be intimidating. It reminds me of my college days when the Raspberry Pi 2 had just come out, and the performance of ARM boards was still in the low hundreds of megahertz. We had to use cross-compilation. However, for the RK3568, there's no need for this hassle. Compiling directly on the board is quite fast.
- Install GCC and G++
I mentioned that we need to compile ourselves, so the first step is to install the compiler. Installing the compiler is easy:
sudo apt install gcc g++ make
1 cd
2 git clone https://github.com/rockchip-linux/mpp
3 cd mpp/build/linux/aarch64
4 bash make-Makefiles.bash
5 make -j4
6 sudo make install
After installing the compiler, you still can't compile FFMPEG right away. Instead, you need to compile some other libraries first, such as x264 for software decoding and encoding, as well as RK's hardware acceleration.
When compiling RKMPP, it's important to ensure that the kernel version is ideally Linux 4. This requirement is mentioned in the RKMPP manual. Fortunately, our board has a kernel version of 4.19 (youyeetoo team is working on5.10 kernel porting), which perfectly meets this requirement.
3. Compile x2641 cd
2 git clone https://code.videolan.org/videolan/x264.git
3 cd x264
4 ./configure --prefix=/usr/local/x264 --disable-opencl --enable-static --enable-shared
5 make -j4
6 sudo make install1 cd
2 wget https://dri.freedesktop.org/libdrm/libdrm-2.4.89.
3 tar.bz2tar -jxvf libdrm-2.4.89.tar.bz2
4 cd libdrm-2.4.89
5 ./configure --prefix=/usr/local/libdrm --host=aarch64-linux-gnu
6 make -j4
7 sudo make install I checked the official website, and currently, the latest version of FFMPEG is 6.0. So, let's go with that version.
1 cd
2 wget https://ffmpeg.org/releases/ffmpeg-6.0.tar.xz
3 sudo apt install xz-utils
4 xz -d ffmpeg-6.0.tar.xz
5 tar -xvf ffmpeg-6.0.tar
6 cd ffmpeg-6.0
7 export PKG_CONFIG_PATH=/usr/local/x264/lib/pkgconfig
8 ./configure --prefix=/usr/local/ffmpeg --enable-version3 --enable-libdrm --enable-rkmpp --enable-libx264 --enable-nonfree --enable-gpl
9 make -j4
10 sudo make install
Next, you can use the command sudo vim /etc/ld.so.conf and add "x264" and /usr/local/x264/lib to the last line. After completing this step, your ld.so.conf file should look like the following:
Finally, execute the command sudo ldconfig, After that, you can check the version of ffmpeg with /usr/local/ffmpeg/bin/ffmpeg -version. You should see that the ffmpeg version is 6.0, and both rkmpp and x264 are enabled. That's it!
Of course, you can also add the ffmpeg command to your PATH. I won't go into further detail on that.
Next, let's separately look at the decoding and encoding capabilities of ffmpeg now!
Input: /usr/local/ffmpeg/bin/ffmpeg -decoders | grep ‘264’
You can see that the h264_rkmpp decoder is already available. Now, let's take a look at the encoders!
Hmm, why didn't the rkmpp encoder show up? It's because of a protocol issue, which means that ffmpeg doesn't support rkmpp encoders, at least not in the original version 6.0 of ffmpeg. There's now a version of ffmpeg on GitHub that supports RKMPP, but I won't go into compiling it. With the version we're using, direct transcoding with hardware acceleration using ffmpeg isn't possible either because the rkmpp decoder outputs DRM frames. So, starting from the next part, we'll officially dive into using RKMPP and FFMPEG for RTMP streaming.


Comments