
Hardware components | ||||||
 |
| × | 1 | |||
 |
| × | 1 | |||
| × | 1 | ||||
| × | 1 | ||||
 |
| × | 1 | |||
Software apps and online services | ||||||
 |
| |||||
| ||||||
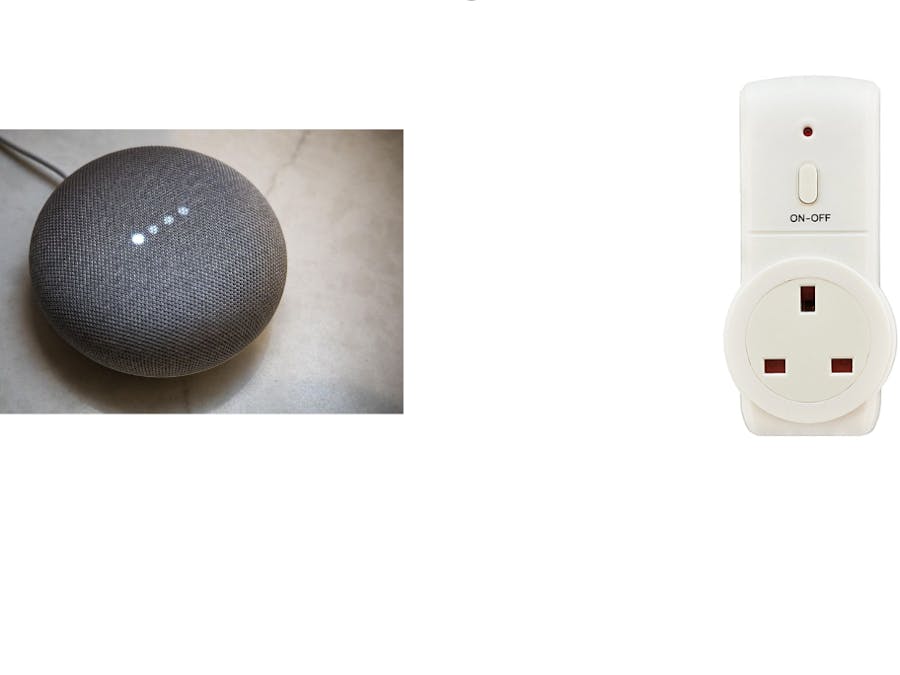
Normally, the 433MHz cannot be controlled from a smartphone or through voice assistants like the Google Assistant and Alexa. This project shows a workaround by which RC/RF sockets can be controlled using Google Assistant/Google Home.
1. Create an account with the IFTTT
2. Choose to create an Applet.
3. Click on the "+" icon
4. In the search window, type google assistant and select the google assistant trigger.
5. Choose the trigger with an option that a text trigger ingredient.
6. Set up the trigger as shown below.
7. Open an account with adafruit.io and choose to create a new feed.
8. Headback to IFTTT and select an action for the set google assistant trigger. In the search window type adafruit and select the option that comes up.
9. Then select the option to send data to Adafruit.io
10. In the Feedname option, select the feedname that you just created in adafruit.io and set the data to save option as shown.
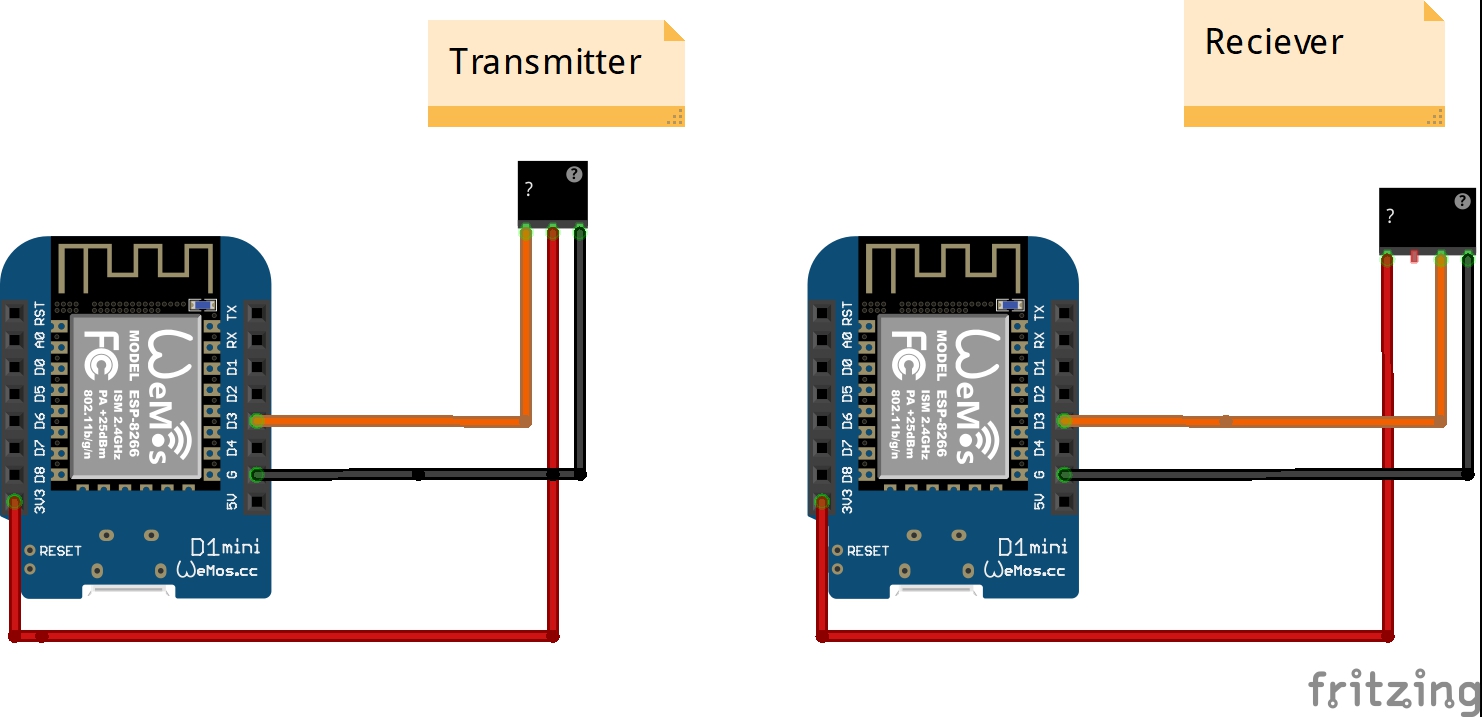
11. Connect a RF Receiver to Arduino/NodeMCU/Wemos as shown below (make changes to the wiring diagram according o your board).
12. In the arduino IDE, add the "rc-switch" library and open the example receiver sketch. Make changes to the pin according to your wiring/board and then upload it. Open the serial monitor and press the buttons on the remote that came with your socket and make a note of the "decimal" pulse codes.
13. Now connect a RF transmitter to Wemos/NodeMCU as shown in the above wiring diagram. Make suitable changes to the provided sketch and upload it.
14. Start controlling your RF/RC Sockets with Google Home.


Comments