


Hardware components | ||||||
 |
| × | 1 | |||
| × | 9 | ||||
Software apps and online services | ||||||
 |
| |||||
| ||||||
Hand tools and fabrication machines | ||||||
 |
| |||||
 |
| |||||
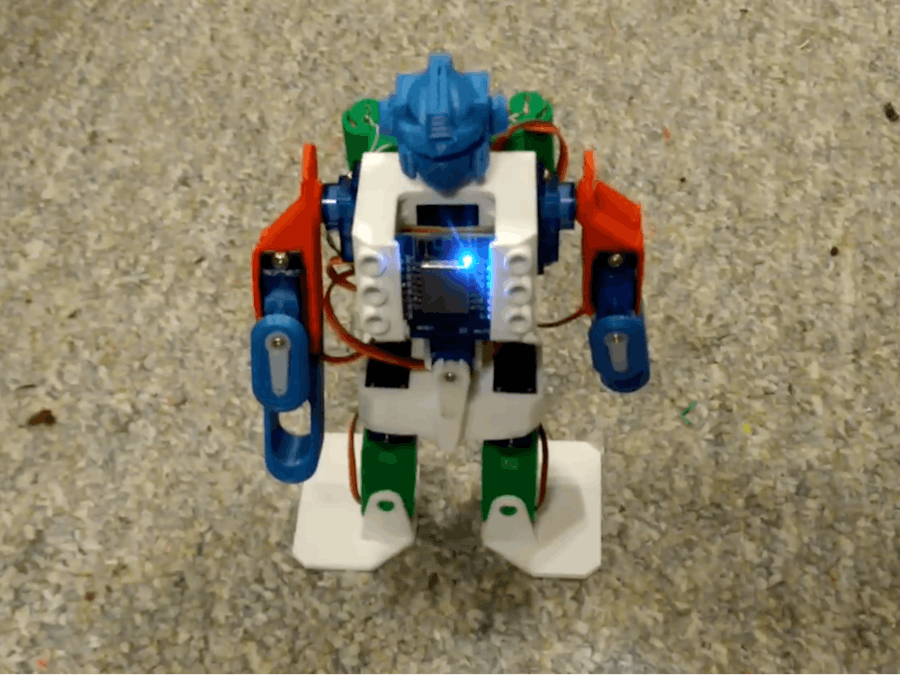
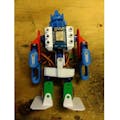
The project was dreamed up as a teaching tool for programming something hands-on and tangible. Many Arduino and coding projects have little to show for your students efforts. Let's face it, "hello world" and a blinking LED aren't too inspiring. I wanted something that had multiple entry points and completed a product from start to finish all with a purpose outside of just building for building sake.
My final goal for this project is to have a collection of these robots that have servo slugging matches and battle with infrared weapons. Students who take this project on can start anywhere. There isn't a definitive beginning. Just like in real world engineering, you often complete only a piece of the puzzle.
For this project, a student could start with modifying the code to make the RC style controls more intuitive for themselves, or maybe less directly controlled with preprogrammed actions.
They could also start with modifying the 3D-printed parts to, say, add another set of legs.
Finally, they could just build the thing and start battling it out with friends.
The point is to introduce your students to the concepts of engineering, through fun, then see how they choose to customise and go from there.
I purchase my 9g servo motors and the Wemos D1 board from Aliexpress or eBay. There are no screws used in this design other than what comes with the servos. The parts are 3D-printed, and are purposefully tight so they snap together without the need for hardware.
I hope you enjoy this project as much as I did creating it!


Comments