

Hardware components | ||||||
 |
| × | 1 | |||
| × | 1 | ||||
Emails are one of the dinosaurs of communication methods. It's older than the World Wide Web and are still used by many people today. We use it in the Coding World office on a daily basis. So why not visualize with how many unread emails you have and what better to use than a cute unicorn! Here we have some example on how it looks in reality:
Even though that email is quiet old it is still used a lot. One reason is that everyone can just install a email server and start sending their own emails. Another reason for this is, that there are open protocols for managing your emails. One of them is called IMAP. This protocols enables multiple email clients (like your web mail, thunderbird or apps) to manage your emails at the same time. Because this protocol is open and so standardized we can easily integrate it into our python or other programming projects.The necessary libraries are already installed on your pi.
What you need:
1. Running Raspberry Pi with an Internet connection
2. An E-Mail account + Credentials (email, password and maybe the server)
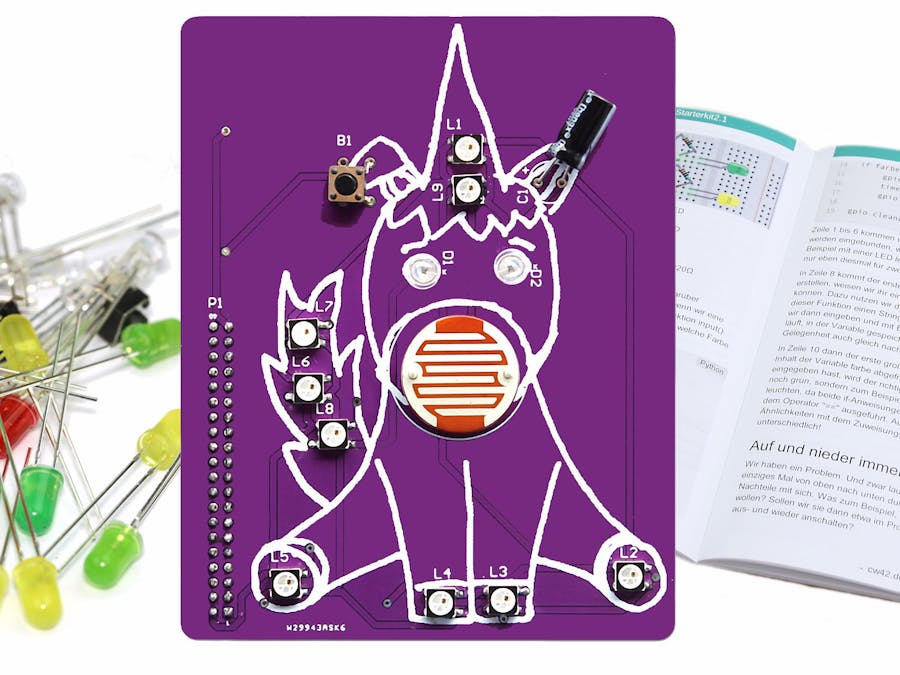
3. Your Coding Unicorn Shield (Raspberry Pi Version)
The Codeimport imaplib
import unicornshield as unicorn
import time
mailServer = 'server'
mailUsername = 'password'
mailPassword = 'password'
mail = None
def connect():
global mail
mail = imaplib.IMAP4_SSL(mailServer)
mail.login(mailUsername, mailPassword)
mail.list()
mail.select("inbox")
connect()
def getUnreadmails():
data = mail.search(None, 'UNSEEN')
unreadmails = len(str(data[1]).split())
if str(data[1]) == "['']":
unreadmails = 0
return int(unreadmails)
doNotDisturb = False
lastChecked = time.time()
waitTillNextCheck = 60*2
unreadmails = getUnreadmails()
while True:
oldUnreadMails = unreadmails
if time.time() > lastChecked+waitTillNextCheck:
try:
unreadmails = getUnreadmails()
except:
connect()
unreadmails = getUnreadmails()
lastChecked = time.time();
if unicorn.buttonPressed() == True:
if doNotDisturb == False:
doNotDisturb = True
else:
doNotDisturb = False
print(doNotDisturb)
unicorn.clear()
if doNotDisturb == True:
unicorn.setPixel(0,0,0,155)
unicorn.show()
else:
if oldUnreadMails == unreadmails:
pass
if unreadmails <= 9 and unreadmails >=1:
for x in range(unreadmails):
unicorn.setPixel(x, 0, 155, 0)
elif unreadmails > 9:
unicorn.setAll(155, 0, 0)
else:
unicorn.setPixel(0,150,150,0)
unicorn.show()
time.sleep(0.1)
Because the code is very long we won't go into everything in detail. You find more information in the Demo and Documentation Project.
- In the first three lines we are importing all the necessary libraries. We need the
imaplibfor the communication with the email server.
- In the first three lines we are importing all the necessary libraries. We need the
imaplibfor the communication with the email server.
- In line 5 to 7, we are defining the variables for the email server settings.mailServer is for the address of the mail server (e.g., imap.googlemail.com), the second is mailUsername this is usually your email address and emailPassword for your email password. Please keep in mind that you should never publish this information publicly.
In the next step we are creating an empty variable with the name mail we need this in the later use.
- In line 11 we are creating our function and are calling it
connect(). In this function we will handle the connection process to the email server. For this we first need make the variable mail accessible in the function. In the next step we turning all the Pixels/RGB LEDs white in line 14 and 15 so the user knows, what is going on. In the lines 16 to 19, we are creating the email connection with the credentials we have created before and opening the inbox. This is main folder and the folder you normally see your new emails. In the end of the function we are turning the Pixels on the Unicorn Shield off.
- In line 22 we are calling this function for the first time. Keep in mind that this function will then change the mail variable which we can use later.
- In the line 24 we are creating a second function. It is called
getUnreadmails().
This function is, like the name suggests, to get a number of how many unread emails are in the inbox. For this we are creating in line 25 the variable data and are saving in it the results of mail.search(None, 'UNSEEN'). With this function we can search our inbox for unseen emails. In the next step we only need to get the amount of unread emails. Unfortunately we need to some tricks in line 26. All we are doing is converting the result and then count it with the len() function. Unless there are no emails, we have now the amount of unseen emails saved in the variable unreadmails. In line 27 and 28 we are checking for the possibilities that there are no unseen emails in the inbox. In line 29 we are returning the number of emails.
- In line 31 to 34 we are defining some variable that will important in the next step. Here we are also calling for the first time the
getUnreadmails()function.
- In line 36 our main program starts with a while loop that is always running. In the beginning of the loop we are saving the amount of emails which are here before checking the amount the of unread emails again.
- In line 38 we have an if statements that checks if it is time again to check the emails.
You don't want to do that too often because a) it's normally not changing so often b) you don't want to give your email servers too many requests. You can vary this waiting time with changing the variablewaitTillNextCheck in line 33. The wait time is saved in seconds. If it is time for checking again, the code intended from line 39 to 43 are executed. Here we have a try statement. This statement is checking if thegetUnreadmails() is able to perform it's job. If we use this problem longer, it can happen that the connection breaks. In this case we are creating the connection again in line 42 and getting the amount of unread emails in line 43. Either way, we are saving in the variable lastChecked the last time we have checked.
In the next part from line 46 to 50 we are checking if there is any change for the do not disturb function. We are checking this by getting the status of the button with the function .buttonPressed(). If the button is pressed, the status should change. Luckily there are only two possibilities. Either the Variable doNotDisturb is True so this function is on or it is False.
The part from line 52 to 67 is the last part. In this part we are creating the visualization for the emails. For this we are using multiple if statements. In the first if statement beginning in 53 we are checking if the doNotDisturb is on. In this case, we don't want to show any information. For this we simply color the first Pixel in blue in line 54 and 55. This looks like this on the shield:
In the else statement we are than handling the email visualizations. In line 57 we have an if statements that checks if the amount of emails has changed. If this is not the case, the 'pass' command in line 58 will be executed and the while loops start from the beginning. If their is no change, then there is simply no need to change the visualization on the unicorn.
In 59 we are checking in the if statements that the variable *unreadmails* is less or equal than 9 and more equal than 1. If this is the case, the for loop in line 60 and 61 is activated. With the help of this for loop we display as many Pixels in the green color as there are unread emails. Here is an example for 7 unread emails:
Now we only have two possible cases left. In line 62 we are checking if there are more than 9 unread emails. In this case, we can't display the amount of emails correctly but we can just make all pixels glowing in the red color. This is maybe also a good motivation to finally check on those unread emails.
The only other case is checked in line 64 and 65. If we don't have any unread emails, then we also want to display that. For this we are using just the color yellow on the first pixel.
Because we don't want to write show() for every possible ways and so only copy and paste, we used it once on the end.
A) Emails are great and a good examples why open systems can be an awesome playground! You couldn't have done this easily for Facebook messages or snaps. B) The Coding Unicorn Shield is a great add-on for such projects! You can use the LEDs for creating awesome animations and the input devices for interactions.


Comments