



Hardware components | ||||||
 |
| × | 1 | |||
| × | 1 | ||||
 |
| × | 1 | |||
Software apps and online services | ||||||
| ||||||
Hand tools and fabrication machines | ||||||
| ||||||
 |
| |||||
Most drones hide their brains inside a plastic shell. You fly them, crash them, and never find out what kept them in the air.
We built the opposite.
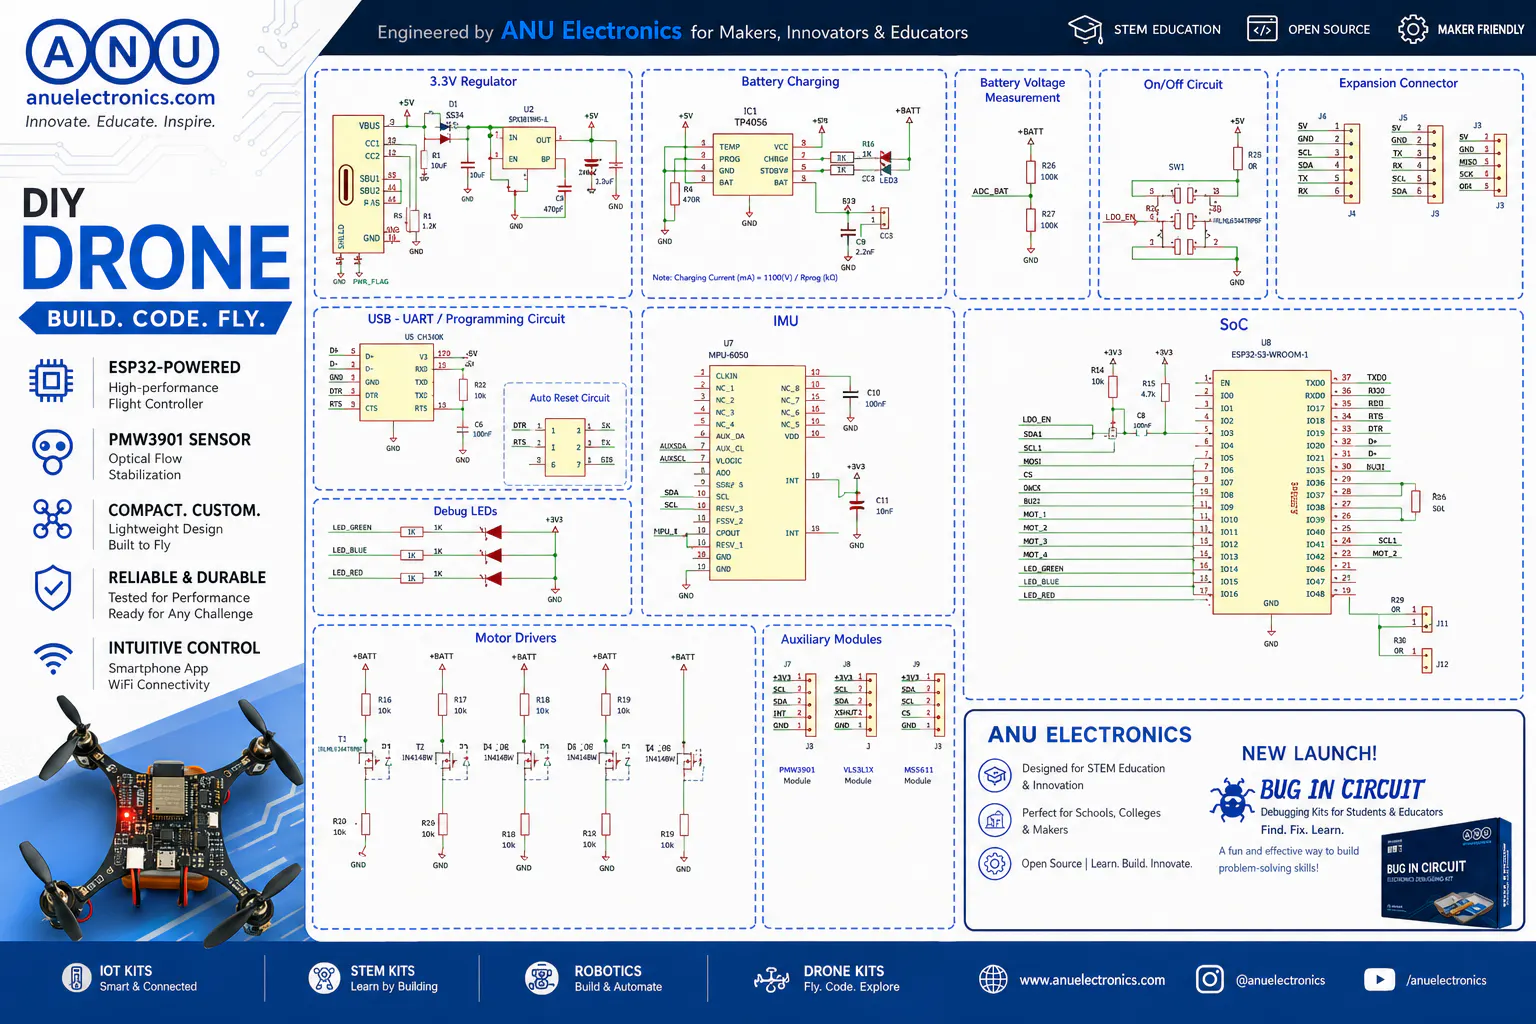
This palm-sized quadcopter has no shell and no separate frame. The PCB is the frame. The motors mount straight onto the board, the flight controller sits in the middle, and every trace, sensor, and driver is right there for you to see. When it lifts off, you're watching a circuit board fly.
And you control it from your phone.
We teach embedded systems. Every year we see the same thing: students can blink an LED, but "real-time control" stays abstract. PID loops, sensor fusion, and PWM feel like textbook chapters, not skills.
A drone changes that instantly. When your PID gains are wrong, it wobbles. When your sensor fusion is off, it drifts. When everything is right, it hovers like magic. The feedback is immediate, physical, and impossible to ignore. That's the best teacher there is.
How It Stays in the AirHundreds of times per second, the drone runs a tight control loop:
- Sense: The IMU [sensor model] measures rotation and acceleration.
- Think: The microcontroller [MCU] fuses that data to work out the drone's exact tilt (roll, pitch, and yaw).
- Correct: Three PID controllers calculate how much each motor must speed up or slow down to stay level.
- Act: MOSFET drivers push PWM signals to the four motors.
- Listen: Meanwhile, your phone streams throttle and direction commands over [Wi-Fi / BLE].
If any link in that chain is slow or wrong, the drone falls out of the sky. That's why building one teaches you so much.
The HardwarePart Details
Frame + flight controller ANU custom single-board PCB
Microcontroller ESP32-S3, Dual-core
IMU MPU6050
Motors 4× 720 Coreless Motor
Propellers 2× CW + 2× CCW
Battery [e.g., 1S LiPo, mAh]
Control Smartphone app via [Wi-Fi]
Getting It Airborne
- Mount the motors on the PCB pads, following the CW/CCW layout.
- Fit the props. Wrong rotation means an instant flip, so double-check this step!
- Power up on a flat surface so the IMU can calibrate.
- Pair your phone and ease into a low hover.
- Tune. If it drifts or oscillates, tweak the PID gains and feel the difference right away.
By the time it's flying, you've done hands-on work with:
- Sensor fusion: turning noisy IMU data into a stable attitude estimate
- PID control: the same algorithm behind industrial robots and commercial flight controllers
- PWM motor control: precise speed control of four motors at once
- Wireless communication: real-time command links from a phone
- PCB design: how a board can carry both the circuit and the structure
These aren't toy concepts. They're the foundations of robotics, automotive, and aerospace systems, scaled down to fit in your palm.
Part of Something Bigger: CoreStack Engineer's KitThis drone is the final flight in CoreStack Engineer's Kit, built around one idea: One Kit. One Journey. Every Skill.
Inside the kit are five development boards, each opening a new chapter:
- Arduino Uno R4 WiFi: where every journey starts
- Raspberry Pi Pico 2: dual-core power and PIO magic
- CYD ESP32: touch displays and GUIs, powered by our partnership with LVGL
- ESP32-CAM: computer vision on a chip
- STM32 Nucleo-F446RE: professional-grade ARM development, down to the registers
…and then the ANU PCB Drone, where everything you've learned comes together and takes off.
Guided tutorials take you from your first blink to flight control, with no gaps and no guesswork.
Help Us Launch It 🚀
CoreStack is live on Kickstarter right now, and every backer brings us closer to getting this kit into the hands of students, makers, and engineers everywhere.
Early backer tiers are limited. If this drone made you smile, now's the time.
About ANU ElectronicsWe're an electronics design and education company based in Chennai, India. We design PCBs and PCBAs, manufacture learning kits, and run hands-on workshops in Arduino, ESP32, STM32, and Edge AI. CoreStack is everything we've learned from years of teaching, packed into one box.
Questions, ideas, or want to collaborate? Drop a comment below. We read every one.


Comments