

Hardware components | ||||||
 |
| × | 1 | |||
 |
| × | 1 | |||
 |
| × | 1 | |||
 |
| × | 1 | |||
 |
| × | 1 | |||
 |
| × | 1 | |||
Software apps and online services | ||||||
 |
| |||||
Hand tools and fabrication machines | ||||||
| ||||||
 |
| |||||
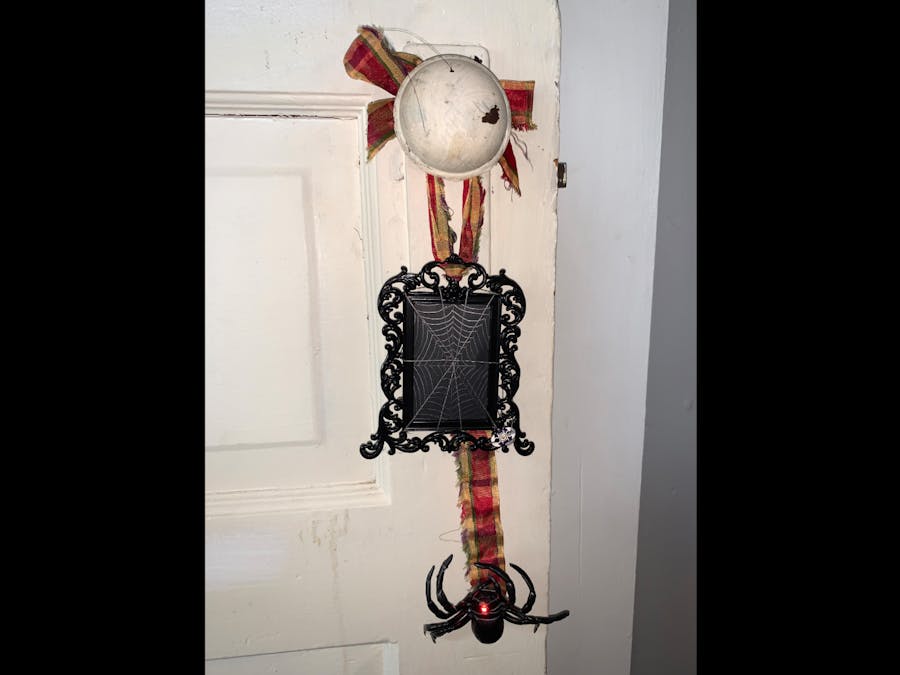
Halloween is right around the corner. Parents are excited to decorate their homes for the season and participate in the spooky festivities going on in the community with their children. Halloween stores work to support the demand by selling simple decorations.
I wanted to take halloween decorations to a new level by exploring an interactive, festive approach. This will allow children to better connect with the toy decoration and remain entertained throughout the season. My goal for my spider web decoration prototype was to highlight the spiders activities by using LED’s and musical tunes.
Additional Supplies(not listed):
- Metallic Pen
- Black Construction Paper
- Plastic Spider
- Picture Frame
- Festive Ribbon
Step 1: Map out the circuits
My prototype combines to separate objects together. It was important to map out the circuits in the beginning to avoid any collisions with negative and positive charges.
Step 2: Code & test
(Code can be found under the attachments)
The next step involves loading the code onto the board and testing the code. It is important to make sure it runs smoothly during this phase.
Step 3: Build the components
In this phase it is important to consider how you want the web and spider to look. I choose to purchase a plastic spider and draw some of the web in metallic pen so I did not have to figure out how to create it all in conductive thread.
Step 4: Sew pieces together
Using the sketch you created previously, begin sewing all of the conductive thread together to create the final prototype. Make sure the thread does not interact with other circuits. This can cause the final prototype not to work.
FinalTakeaways: After completing prototype
Combining more than one interaction into a single e-textile board’s code loop will inevitably not run smoothly. My prototype contains a button press activation and a touch, tune application that runs completely independently in the same code loop. When running the code separately they work perfectly. However, when they are combined it causes the button function to not work properly. If the tune has been initiated, it has to completely finish the tune before the button activation can work again because of the loop feature. It sometimes has issues even beyond this due to the board getting caught in the loop.
Start with sketching, build the code, THEN prototype. Prototypes can get really complicated because the negative and positive threads cannot touch. Therefore, if you begin building the prototype and coding as you go it will get very complicated and you will most likely have to start over multiple times to successfully make everything work


_3u05Tpwasz.png?auto=compress%2Cformat&w=40&h=40&fit=fillmax&bg=fff&dpr=2)
Comments