

Hardware components | ||||||
| × | 1 | ||||
 |
| × | 1 | |||
 |
| × | 1 | |||
Software apps and online services | ||||||
 |
| |||||
Dear Tech Friends,
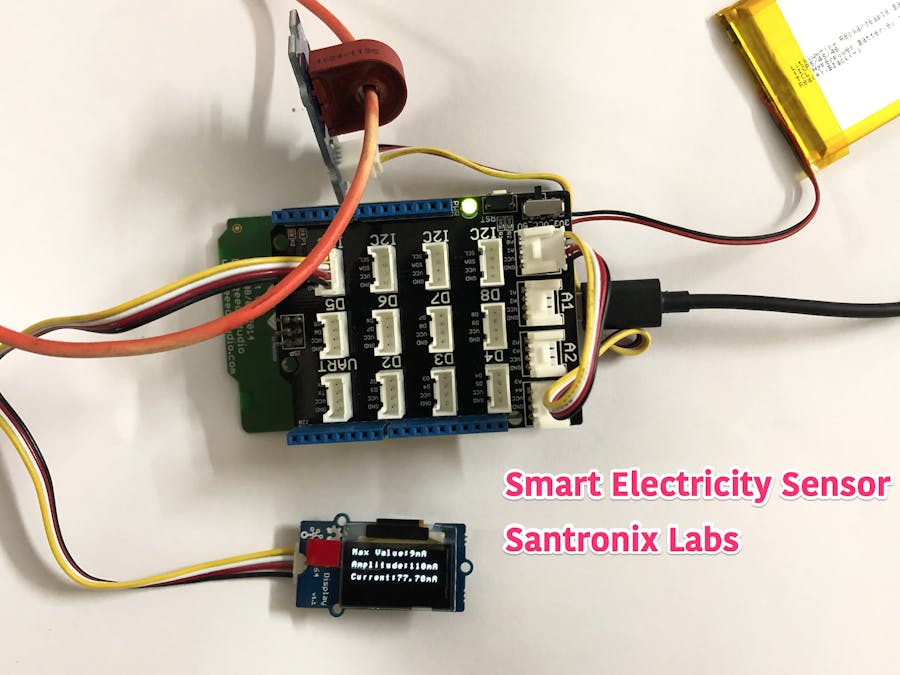
In this tutorial, we are showing how can you build a simple Smart Electricity (Current) sensor using IoT prototype development board (MediaTek LinkInt One), Grove Electricity sensor and an OLED Display. The project is very simple and you can build it in just 5 mins.
How does it work?
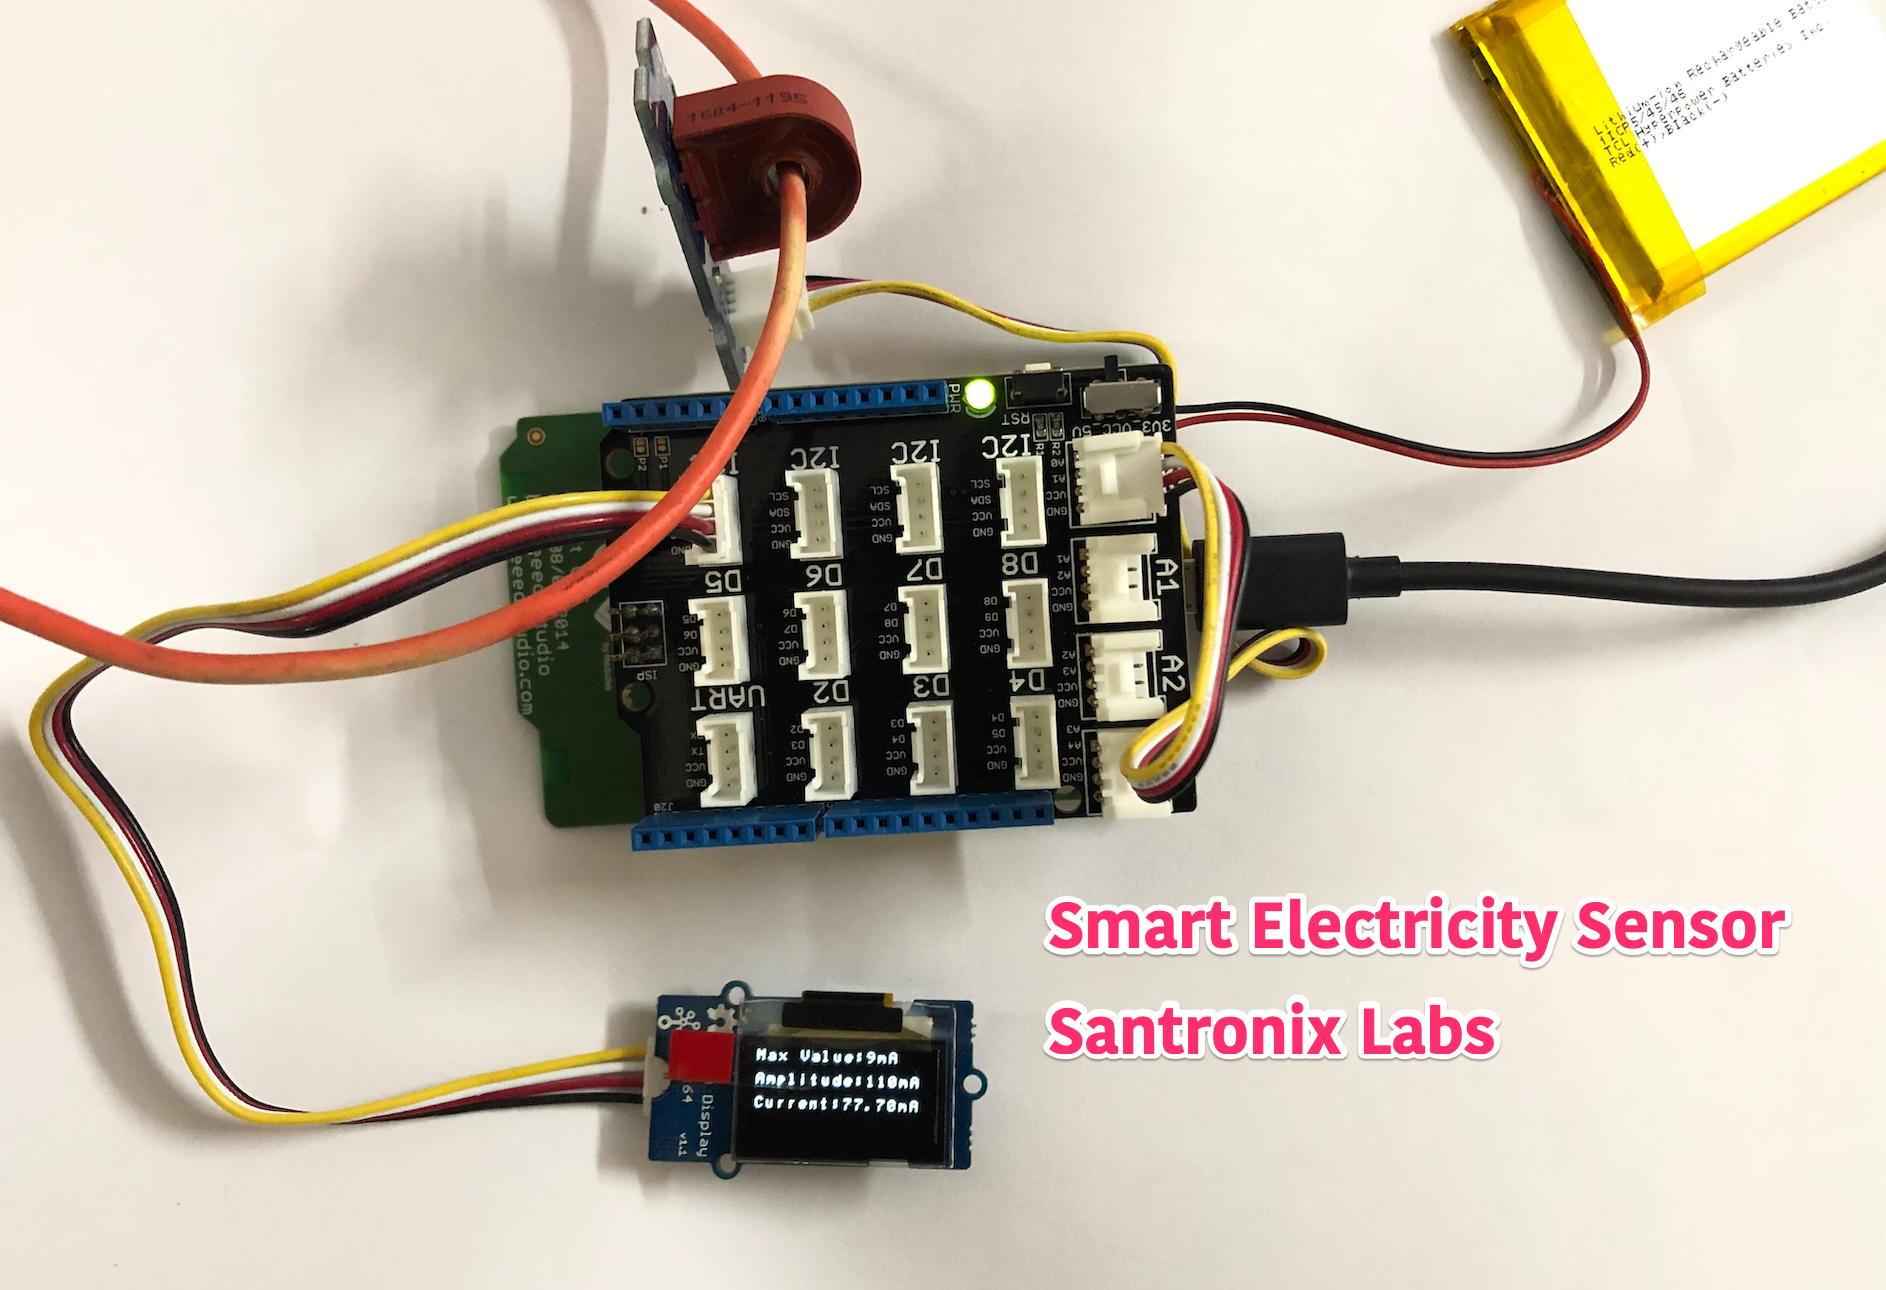
So the current sensor is looped around the current carrying cable (The sensor only detects Alternating current, so please use only AC current cable).
Caution : High AC voltage 230V is involved, so please be careful and do not touch the bare cables. If you are not proficient handling AC currents, please take help from professionals)
The detected sensor is sensed at analog port A0 of the microcontroller board which then is converted to the instantaneous values which are displayed on the OLED Display.
Here's the video on how to setup and run
The software code or a program link is here.
The components can be purchased from the below links
MediaTek LinkIt One Board : https://amzn.to/2ZxJ9fJ
Or buy the kit with grove shield : https://amzn.to/2PDe2uH
Grove Electricity sensor : https://www.seeedstudio.com/Grove-Electricity-Sensor-p-777.html
OLED Display : https://www.seeedstudio.com/Grove-OLED-Display-0-96-p-781.html
The complete instructions are in the video. Use Arduino IDE for writing the software code.
Happy learning!

Comments