

Hardware components | ||||||
 |
| × | 1 | |||
Software apps and online services | ||||||
 |
| |||||
The following tools are required to run this demonstration.
- Java Runtime Environment (JRE), at least 1.8
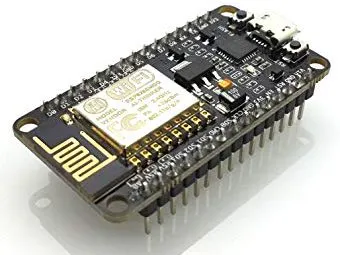
- NodeMCU Board
If not already installed, download and install the Arduino IDE from the following link: https://www.arduino.cc/en/Main/Software
When plugged, if the NodeMCU port is not detected, then you need to download and install the USB driver manually using the following link: https://github.com/nodemcu/nodemcu-devkit/tree/master/Drivers
3. Add NodeMCU board support to Arduino IDEFirstly open the Arduino IDE, go to "Files" > "Preferences" entry.
Copy the below URL in the "Additional boards Manager URLS" Textbox : http://arduino.esp8266.com/stable/package_esp8266com_index.json
Click "OK" to close the "Preferences" dialog box.
After completing the above steps, go to "Tools" > "Board:..." and then select "Board Manager"
Type in the textbox "esp8266", then navigate to "esp8266 by esp8266 community" and "install" the software for Arduino.
Go to "Tools" > "Board...", and then select "NodeMCU 1.0" board.
Once all the above process been completed, you are ready to program the NodeMCU board with Arduino IDE.
4. Connect your NodeMCUPlug the NodeMCU board to your computer through a micro-USB cable.
Copy, Paste this code into the Arduino IDE
int LED = D0;
void setup() {
 pinMode(LED, OUTPUT);
 digitalWrite(LED, HIGH);
}
void loop() {
 digitalWrite(LED, LOW);
 delay (200);
 digitalWrite(LED, HIGH);
 delay (200);
}
Click on verify button to compile the sketch.
Compilation output:
Click on upload button to upload the sketch to the NodeMCU board.
Upload output:
You should see the onboarded led (red) blinking.
5. (Optional) Plug a sensor to your NodeMCU5.1 Prerequisites
- Digital Light Sensor (LM393)
5.2 Schematics
Connect the 3-pin digital light sensor as follows :
- (LM393)VCC <---> Vin(NodeMCU)
- (LM393)GND <---> GND(NodeMCU)
- (LM393)DDO <---> D1(NodeMCU)
5.3 Sketch
Copy, paste, compile and upload the following sketch :
int LUM_SENSOR = D1;
int LED = D0;

void setup() {
 Serial.begin(115200);
 pinMode(LUM_SENSOR, INPUT);
 pinMode(LED, OUTPUT);
}
void loop() {
 int val = digitalRead(LUM_SENSOR);
 Serial.println("Sensor value = " + String(val));
 if (val == 0)
   digitalWrite(LED, LOW);
 else
   digitalWrite(LED, HIGH);
 delay(500);
}
If you hide the light sensor with your hand, you should see the led switched OFF and vice versa.


Comments