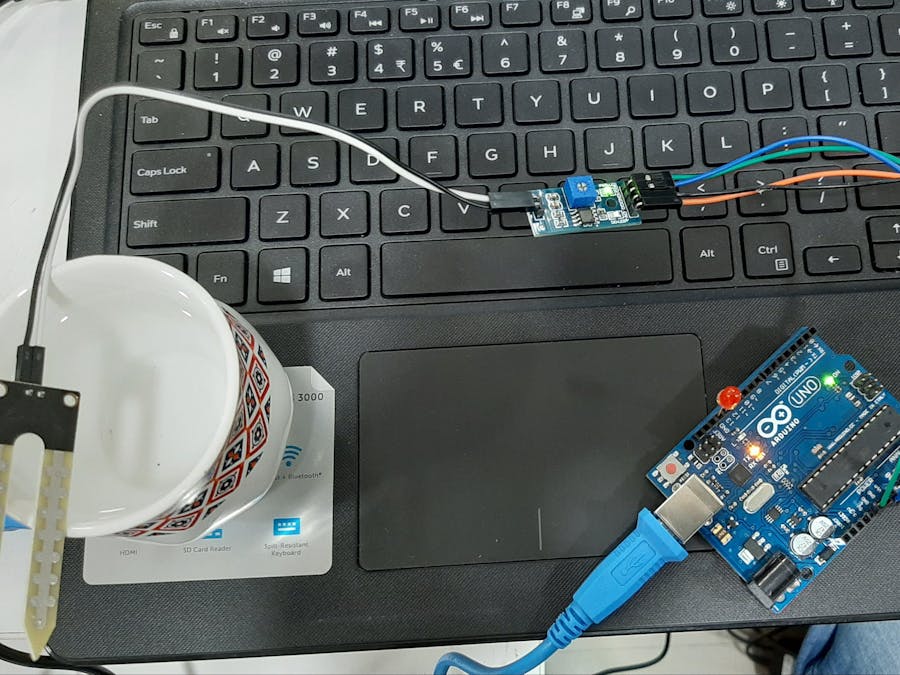
- STEP 1: Soil Moisture Sensor consists Of four Pins i.e, A0, D0, GND and Vcc. Connect these Pins to the Arduino With Jumping Wires and Do not connect the digital Pin i.e, D0 to the Arduino. Connect the Pins and make sure that they are connected properly. Connect the Led to the Arduino to one of the digital Pins.
STEP 2: Before going to the code, let us see the working of the soil moisture sensor. The soil moisture sensor consists of two probes which are used to measure the volumetric content of water. The two probes allow the current to pass through the soil and then it gets the resistance value to measure the moisture value.
When there is more water, the soil will conduct more electricity which means that there will be less resistance. Therefore, the moisture level will be higher. Dry soil conducts electricity poorly, so when there will be less water, then the soil will conduct less electricity which means that there will be more resistance. Therefore, the moisture level will be lower.
This sensor can be connected in two modes; Analog mode and digital mode.
STEP 3: Connect the Arduino to the PC and open the ARDUINO IDE and write the code. The code is very simple to understand and basic. Use the analogRead function to read the values for the sensor. Try to do the code by your own, if you have any doubts regarding the code, the code is shown below.
STEP 4: The Led glows if the moisture is less than the required and doesn’t glow if the moisture level is more. The output of the Project is shown below with some pics and a video.


_ztBMuBhMHo.jpg?auto=compress%2Cformat&w=48&h=48&fit=fill&bg=ffffff)


Comments