

To keep bees you need a lot of information to make decisions. The temperature is a good point to find out how the bees are doing currently (e.g. swarming, information about the brood etc). Also the weight is important to get information about the possibility to honey harvest. The project describes an implementation to get that information. The main scope was to build very an economical smart scale with additional sensors. To transmit that information a low power WAN technology is used, concrete LoRa and LoRaWAN. So that solution is independent of energy or information infrastructure. No need of Wlan, LTE at the location of hives are needed. Only the gateway needs that and can transform and transmit to many other systems (AWS, Azure, ThingsBoard, rest endpoints). In the project the IoT platform ThingsBoard is used for data visualization, but of course you can do a lot more stuff with ThingsBoard. I hope you enjoy the facts and maybe you create your own project with some improvements. Please let me know.
That is the system architecture.
I take 2 plates. One for top and one for the bottom. On the bottom plate I mounted 4 half bridge cells. On the top plate I mounted some 4 screws. Also I mounted a frame on the top plate.
To integrate half bridge load cells to Arduino MKR 1300 board I used the HX-711 shown in following image.
Following describe the pins between HX711 and Arduino MKR 1300.
GND -> GND; DT -> A2; SCK -> A1; VCC -> VCC
The description to connect 4 half bridge load cells to each other an to HX711 is documented here: https://learn.sparkfun.com/tutorials/getting-started-with-load-cells. Now you need to calibrate the the cells with small program and reference weight. You should something about this procedure her: https://blog.medien.ifi.lmu.de/swh/2018/09/10/hx711-how-to-measure-incorrectly/
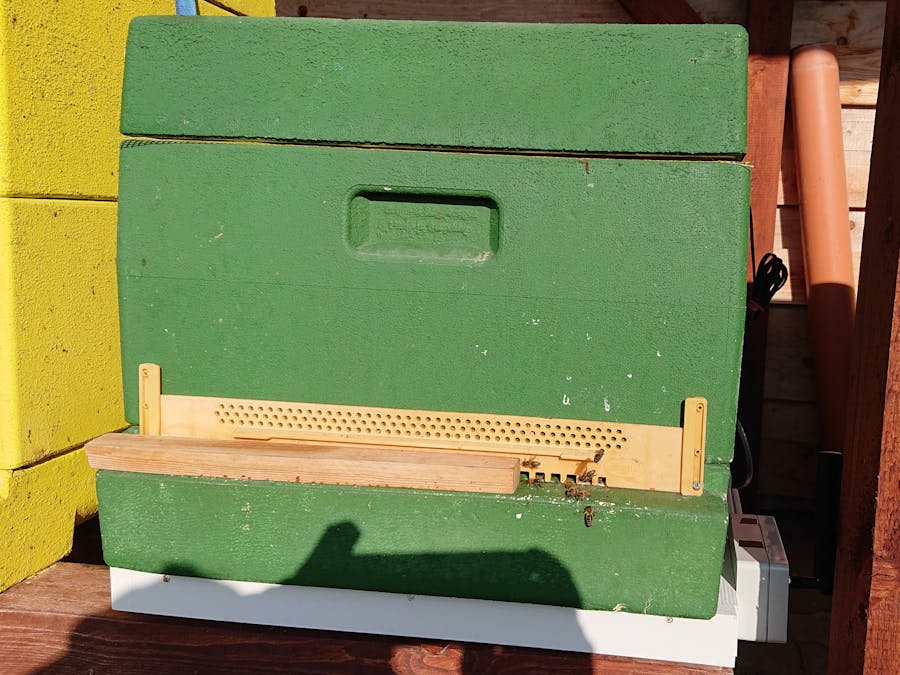
Building sensor to measure temperature and humidityI used the Bosch BME280 and take universal box to place within the hive and also an additional part outside the hive.
The connection Arudino MKR 1300 and Bosch BME280 sensor is described that image.
All hardware needs to be connected and installed. The code for the node device do the following.
I used the Raspberry Pi 3 and LoRa concentrator shield IMST iC880A. You can find details here: https://shop.imst.de/wireless-modules/lora-products/8/ic880a-spi-lorawan-concentrator-868-mhz?c=12. I put this shields in one universal box.
I used an outdoor antenna from Delock (LoRa frequency!).
To bring live to the hardware a software bundle is needed. I used the software chirpStack (old: LoRaServer), https://www.chirpstack.io/. And am a fan of that stuff, you have integrators for Azure, AWS, ThingsBoard and many more. You can transform data to Cayenne LPP (https://developers.mydevices.com/cayenne/docs/lora/). You have to download the a ready to go image from here https://www.chirpstack.io/gateway-os/install/raspberrypi/. And create your SD card e.g. with the tool Balena etcher. All stuff for initial configuration you can find here https://www.chirpstack.io/gateway-os/use/getting-started/. In my project I used the ThingsBoard IoT plttform. So created integrators for that. Also my LoRaWAN node transmit Cayenne LPP transformed data so I need configure codec function to Cayenne LPP (no custom code needed!).
IoT platform with ThingsBoardThe chirpstack gateway provide connectors to thingsboard. Details to thingsboard you can find here: https://thingsboard.io/. Basically you can use ThingsBoard as community edition in the cloud and also on premise. And also in a professional edition, means that you have more types of integrators like OPC UA etc. Try the demo and you will love it :). For my project I configured the integrator in my gateway, described here: https://www.chirpstack.io/application-server/integrate/sending-receiving/thingsboard/. Here you can also find the information to create a device in the ThingsBoard administration website. I used the demo account for ThingsBoard. But later I prefered to build my own small enterprise IoT platform (on premise). For my project I got every 10 minutes data of my bees.
In my project I have a distance between LoRaWAN nodes and my gateway of 800m. Normally this no problem for LoRa. Currenty I am testing to get information about possible distances with used technology stack.
The costs are realy cheap. The gateway (normally you need one device) you can calculate with 200 Euro. The Arduino MKR 1300 round about 40 Euro. The 2 plates for scale 50 Euro. All other stuff is really cheap - maybe all together 20 Euro. If you compare that with a scale in the marketplace for bees - the price is more than ok.
My software tooling was: Aruduino IDE, Fritzing and of course the used software above.
The following image shows indoor sensor in the hive.


Comments