This device check how many times and for how long you open your door fridge, then every 30 minutes, it sends that data to the IoT platform Adafruit IO.
I want to measure how many times and for how long my fridge was opened every day.
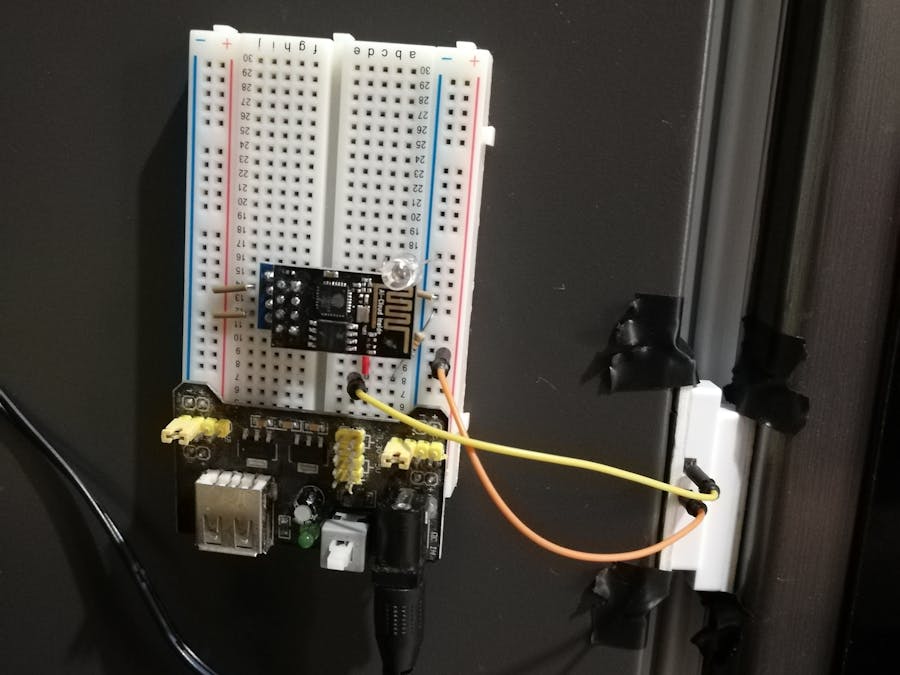
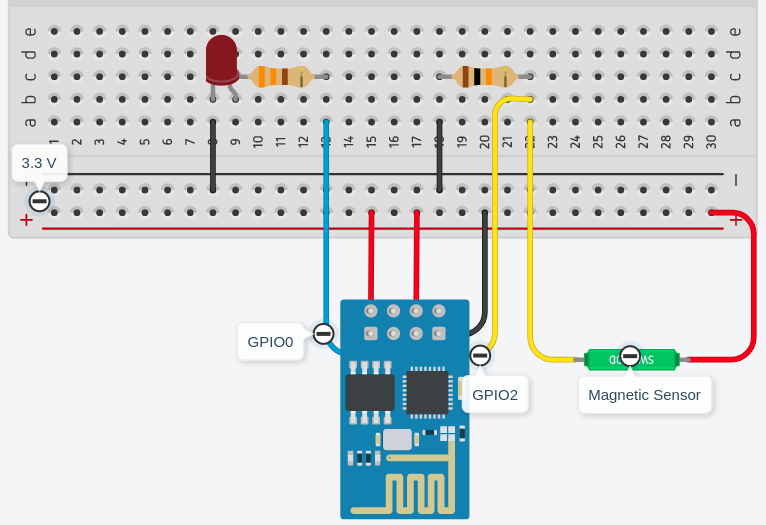
The device is based in the ESP-01 which is able to connect via wifi to an Internet network. It has a door magnetic sensor. When the door is open, the device increase a count an gets the ESP-01 clock time. Then after the door is closed, it gets the ESP-01 clock time and makes a subtraction. That time is stored in a variable and send every 30 minutes.
You can change the interval time between data is sent.
The image below shows the dashboard with some data.
For more information about Adafruit IO check the link below:
https://learn.adafruit.com/welcome-to-adafruit-io/overview
Note: If you are having issues connecting, please ensure you have the latest Adafruit IO Arduino library.


Comments