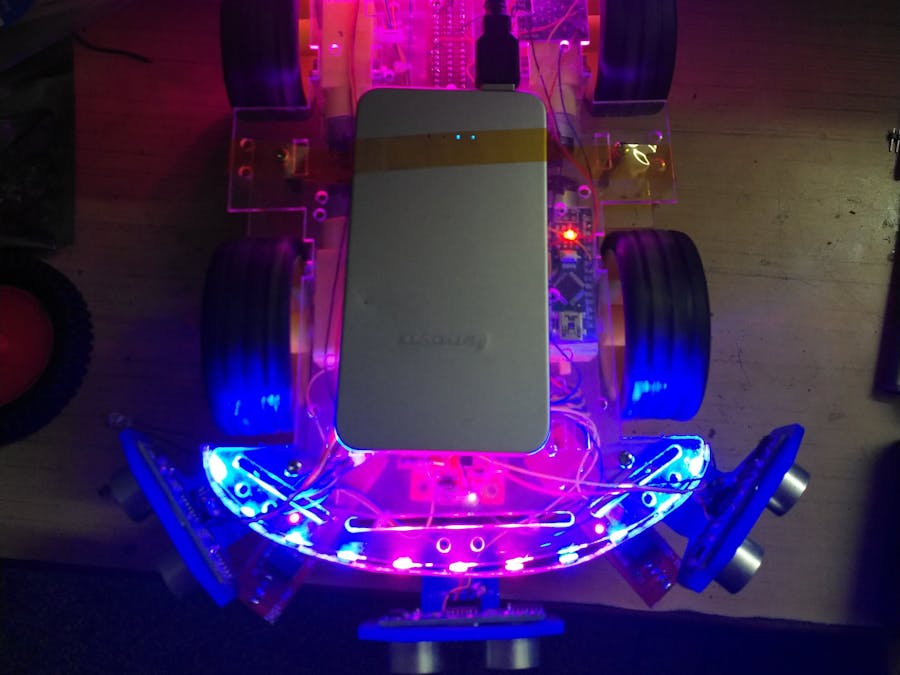
Carbon RoverSo the goal is simple, to create a rover that wouldn’t fall off an edge nor would it hit an obstacle.
To achieve this goal, the rover is setup with:
- 6 HC-SR04 ultrasonic sensors:
- Much like SONAR, these sensors measures distance by sending out a sound wave at a specific frequency and listening for that sound wave to bounce back. By recording the elapsed time between the sound wave being generated and the sound wave bouncing back, it is possible to calculate the distance between the sonar sensor and the object.
- On the rover there is
- One sensors on every corner facing outwards
- One sensor at the front center and one at the back center facing outwards.
- When any object comes closer than 15cm to the rover, it moves in the opposite direction to the object.
- 4 IR sensors:
- These are also called object detection sensors, unlike the ultrasonic sensors these are more boolean in nature, they either detect an object or they don’t so it either ‘1’ or ‘0’.
- On the rover these are used to detect whether there is ground beneath or not. and to achieve that:
- There are two sensors on each corner of the rover facing downwards.
- When the sensors detect that the rover has run out of ground, it starts going in the opposite direction.
Table of Contents1) Hardware1.1) Hardware requirements2) Software2.1 Build Environment Setup3) HC-05 Module SetupThe HC-05 Module directly connects to the Carbon, but we need to prepare it before we can proceed with it. - Open the “.ino” file under “arduino/arduino_hc05” folder with Arduino IDE. - Connect Arduino to Host PC and flash the.ino file. - Disconnect the Arduino from any power source. - Connect the HC-05 to the Arduino in the following manner:
- If there is a button near the key/enable pin DO NOT connect the key pin
- Connect the Arduino to the host PC, make sure the KEY Button is pressed while you connect the Arduino to the Host PC
- Open the Serial Monitor in the Arduino IDE
- Set the Baud to 38400
- Set it to “Both NL & CR”
- It should say “Enter AT Commands”
- Type ‘AT’ (without the quotes) and click Send
- If it says “OK” the everything is working as expected
- If it gives “Error(0)”, try entering ‘AT’ again
- If there is no output, something is wrong with the setup, make sure you have followed all the steps
- Set BlueTooth Name
- Enter ‘AT+NAME=CARBON_ROVER’
- It should respond with ‘OK’
- Set UART Baud Rate
- Enter ‘AT+UART=115200’
- It should respond with ‘OK’
- Disconnect the HC-05 module from Arduino.
4) Carbon Rover
4.1) Hardware SetupPinoutIR Edge Sensor
Ultrasonic SensorsAll Ultrasonic sensors are connected using a Voltage Divider using a combination of 2kOhm and 1KOhm resistors for the echo pin as the Carbon is limited to 3v3 on the GPIO pins. Please follow this blog for the details.
Motor Controller
HC-05
NOTE: The code is using UART6. However if you want to use UART2 just modify the line #define UART_DEV CONFIG_UART_STM32_PORT_6_NAME in main.c and “CONFIG_UART_STM32_PORT_6=y” in prj.conf
Arduino to CarbonNOTE: This uses a Bi-directional Logic Level Shifter to shift from 5v Logic to 3v3 Logic. This Setup might work without a LLS using Arduino Pro Mini but has not been tested
Arduino to NeoPixel
4.2) Building and Flashing- Clone This Repository
$ git clone https://github.com/96boards-projects/carbon_rover - Copy the folder rover into the root directory of Zephyr source.
- Build
$ cd /path/to/zephyr/root$ source zephyr-env.sh$ cd rover$ mkdir build; cd build$ cmake -DBOARD=96b_carbon ..$ make
- Connect the micro-USB cable to the USB OTG Carbon port and to your computer. The board should power ON. Force the board into DFU mode by keeping the BOOT0 switch pressed while pressing and releasing the RST switch
- You should see following confirmation on your Linux host:
$ dmesgusb 1-2.1: new full-speed USB device number 14 using xhci_hcdusb 1-2.1: New USB device found, idVendor=0483, idProduct=df11usb 1-2.1: New USB device strings: Mfr=1, Product=2, SerialNumber=3usb 1-2.1: Product: STM32 BOOTLOADERusb 1-2.1: Manufacturer: STMicroelectronicsusb 1-2.1: SerialNumber: 3574364C3034
$ sudo make flash
5) Video Demonstration 


_3u05Tpwasz.png?auto=compress%2Cformat&w=40&h=40&fit=fillmax&bg=fff&dpr=2)
_SPmZ63wPgQ.png?auto=compress%2Cformat&w=40&h=40&fit=fillmax&bg=fff&dpr=2)
Comments