Nowadays, people all over the world are mostly interested in keeping touch with newly developing technologies. Being a part of it, I have gone through a few of them and one of the platform I found apt for it was Bolt. Bolt IoT cloud is one of the platforms in providing major capabilities to bolt devices. All bolt devices are connected to Bolt cloud.
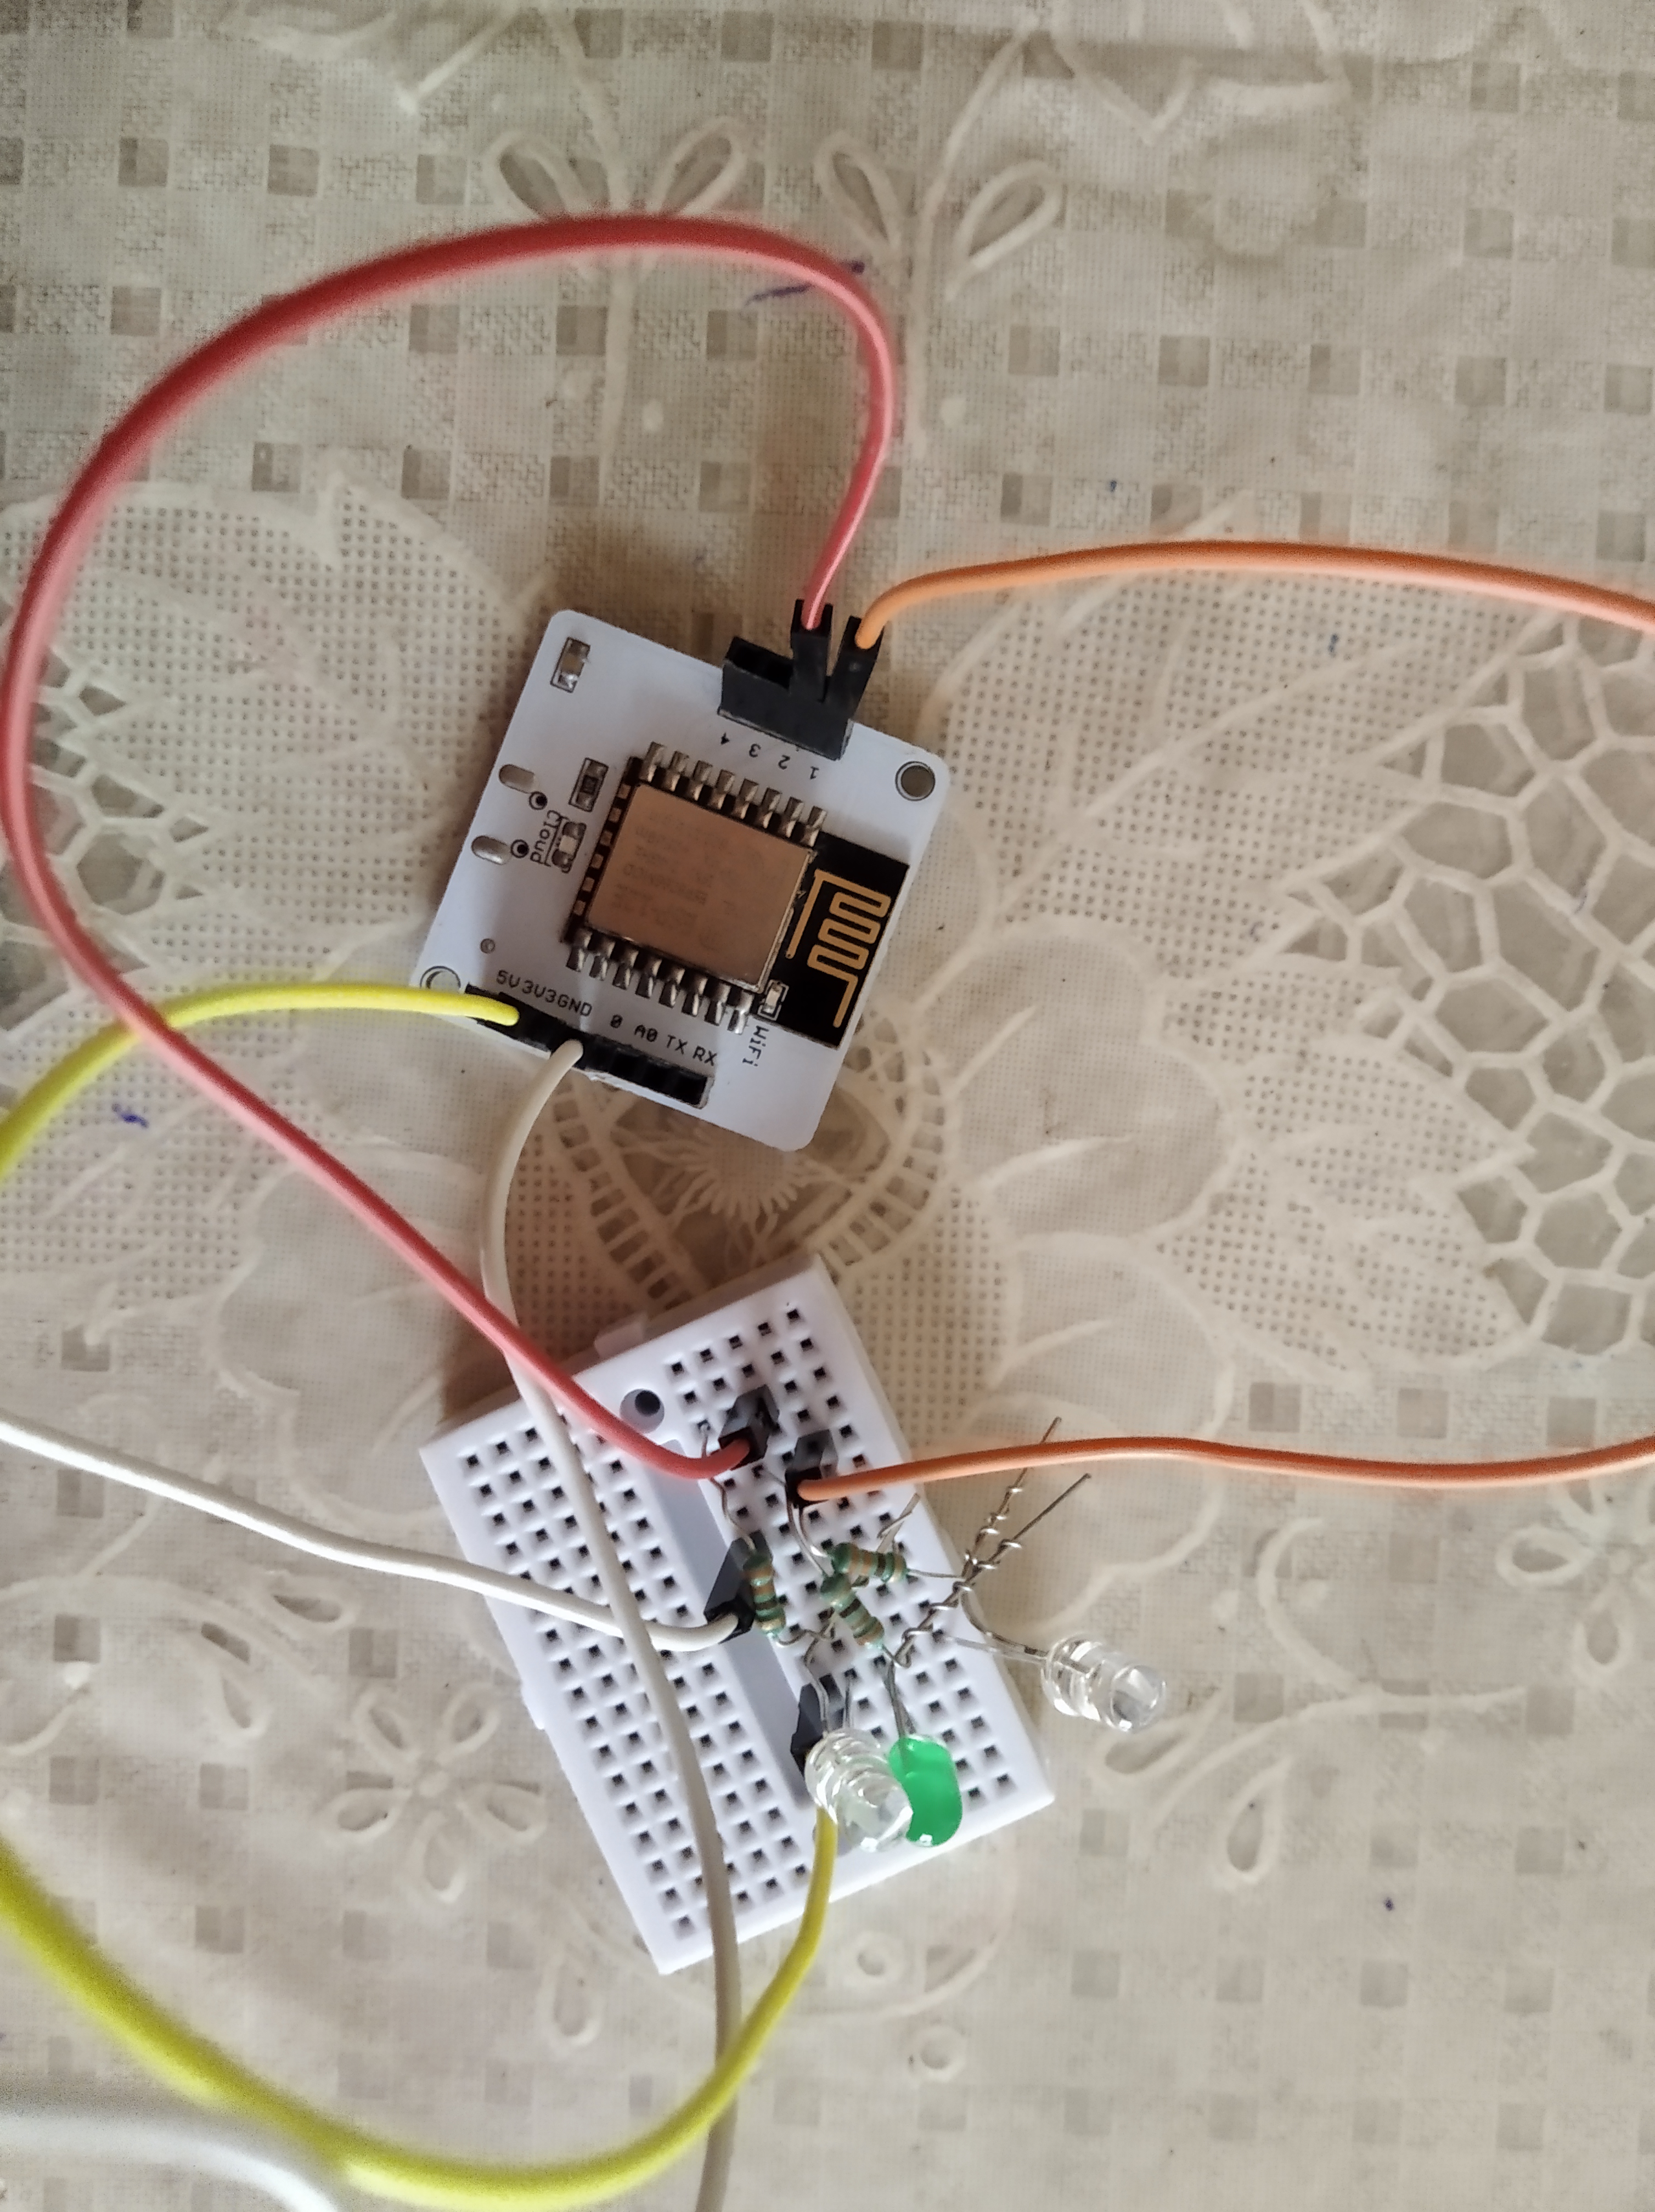
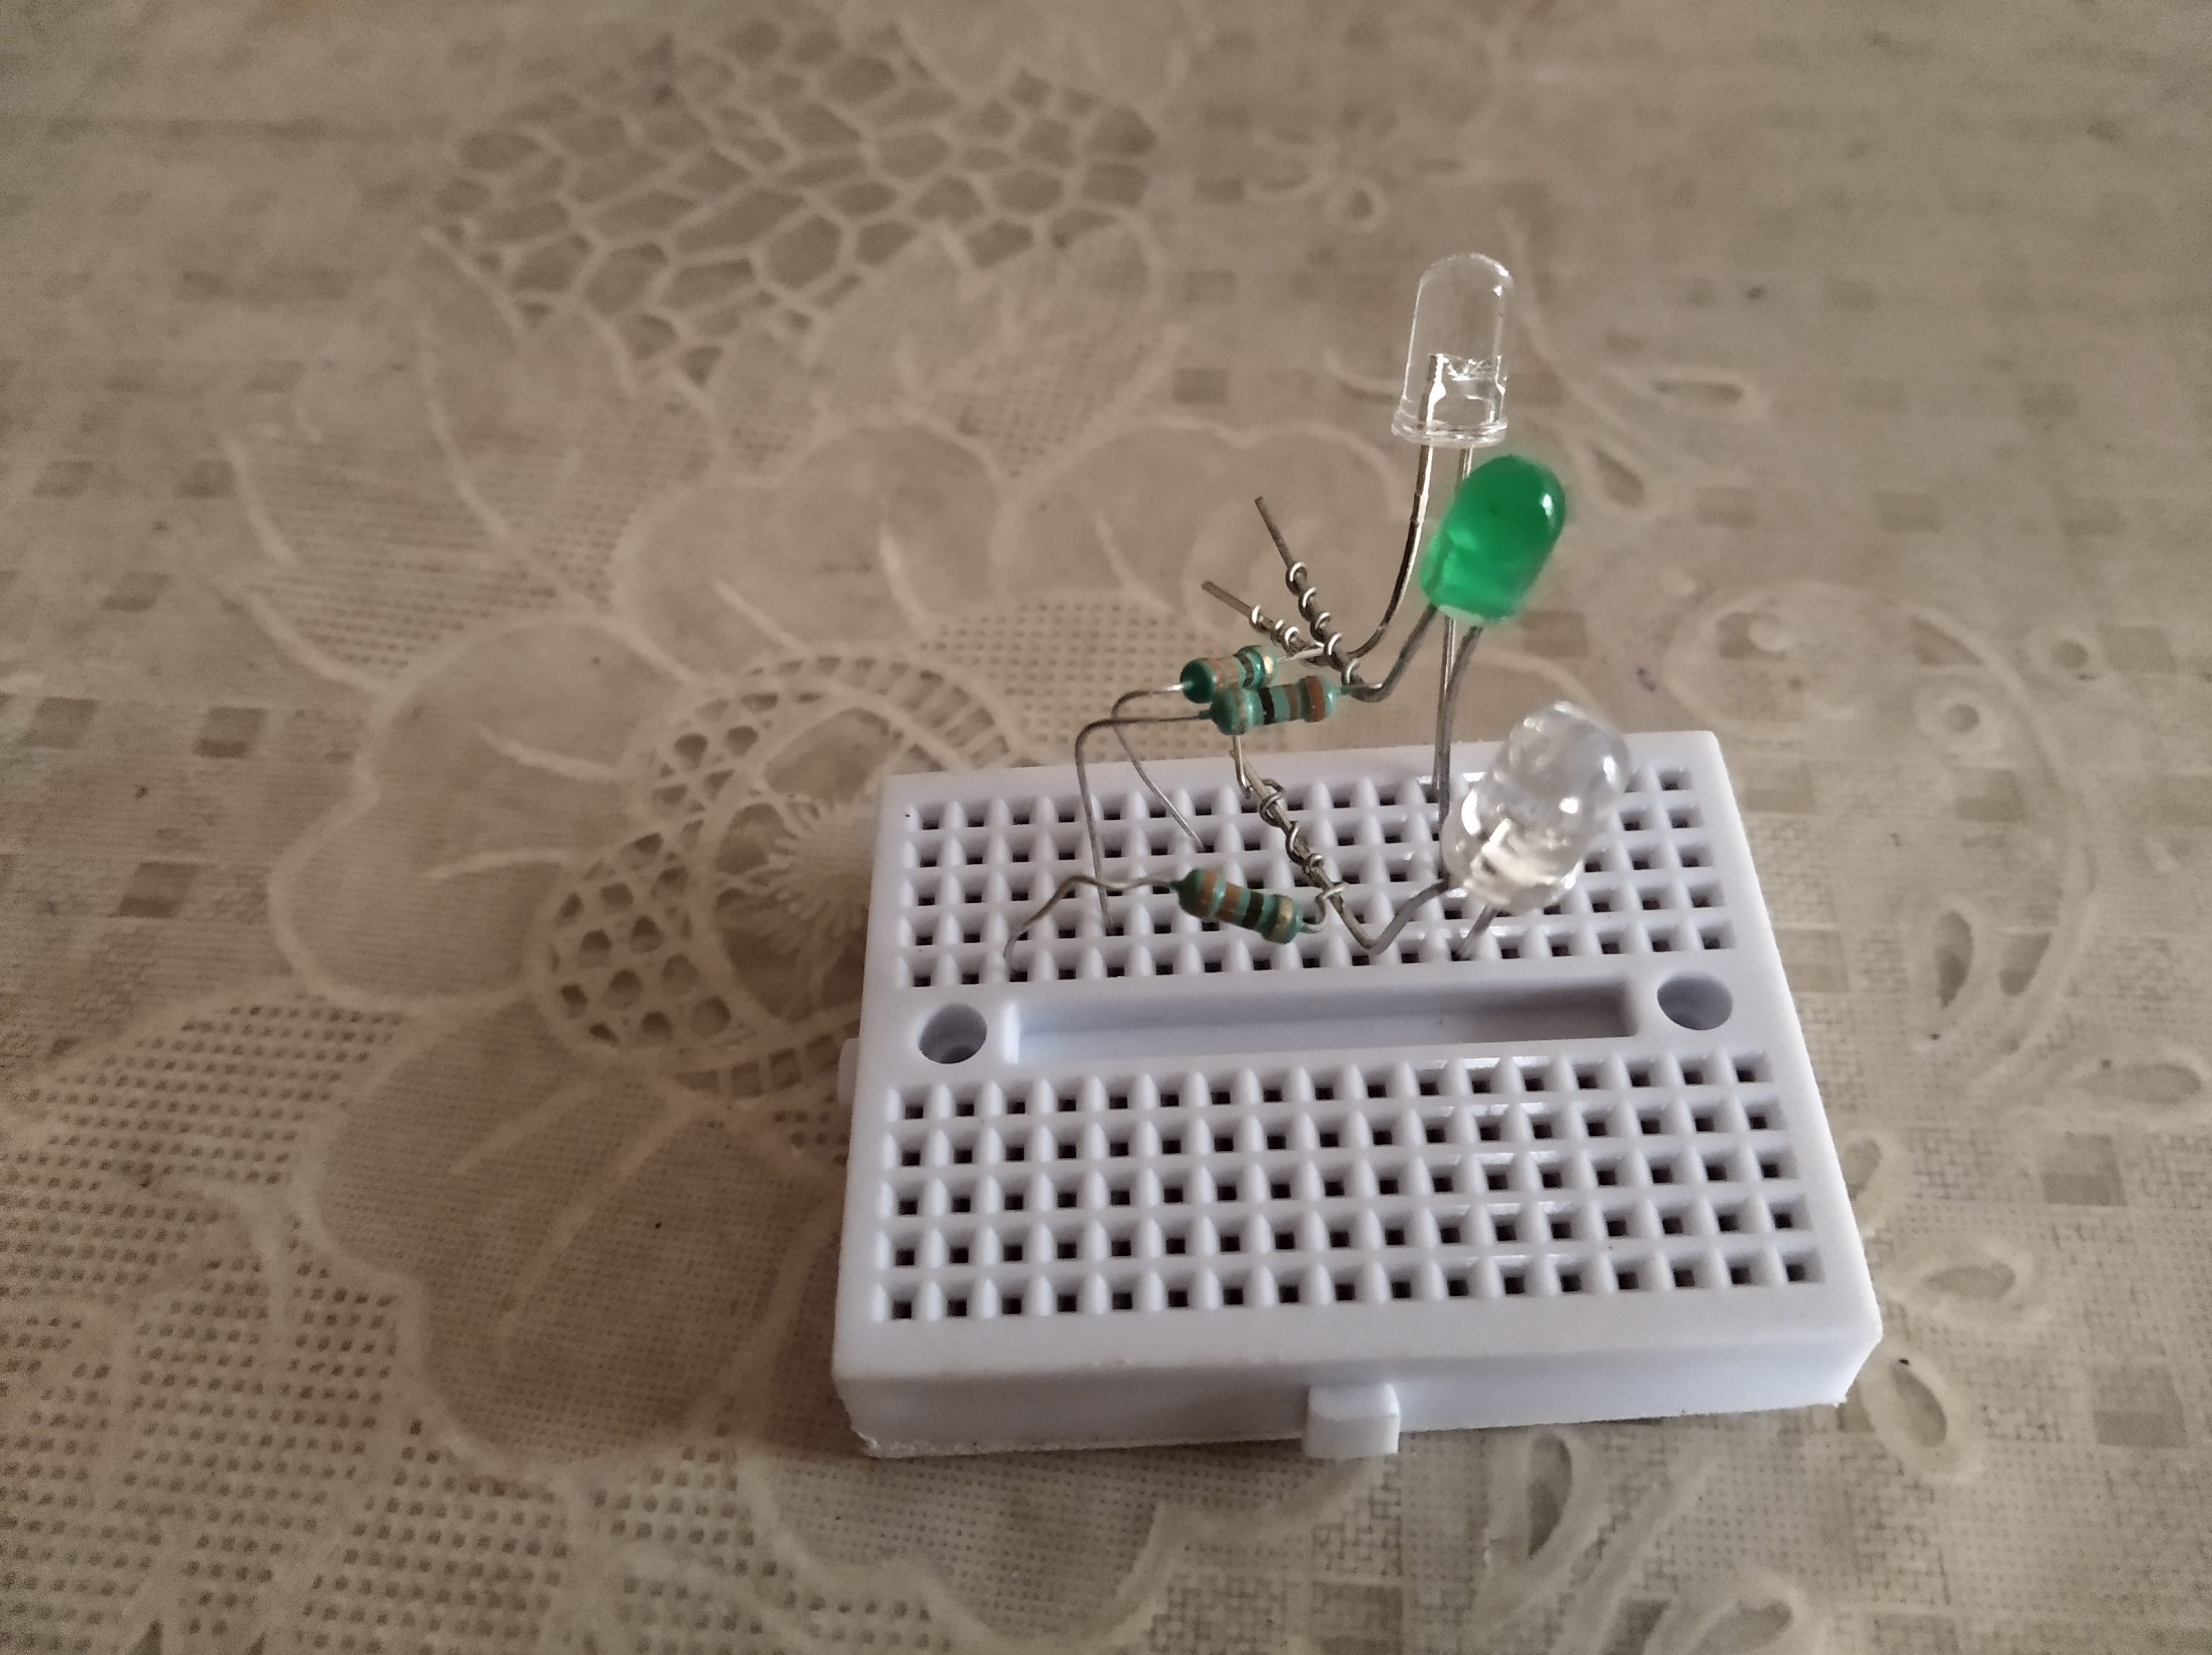
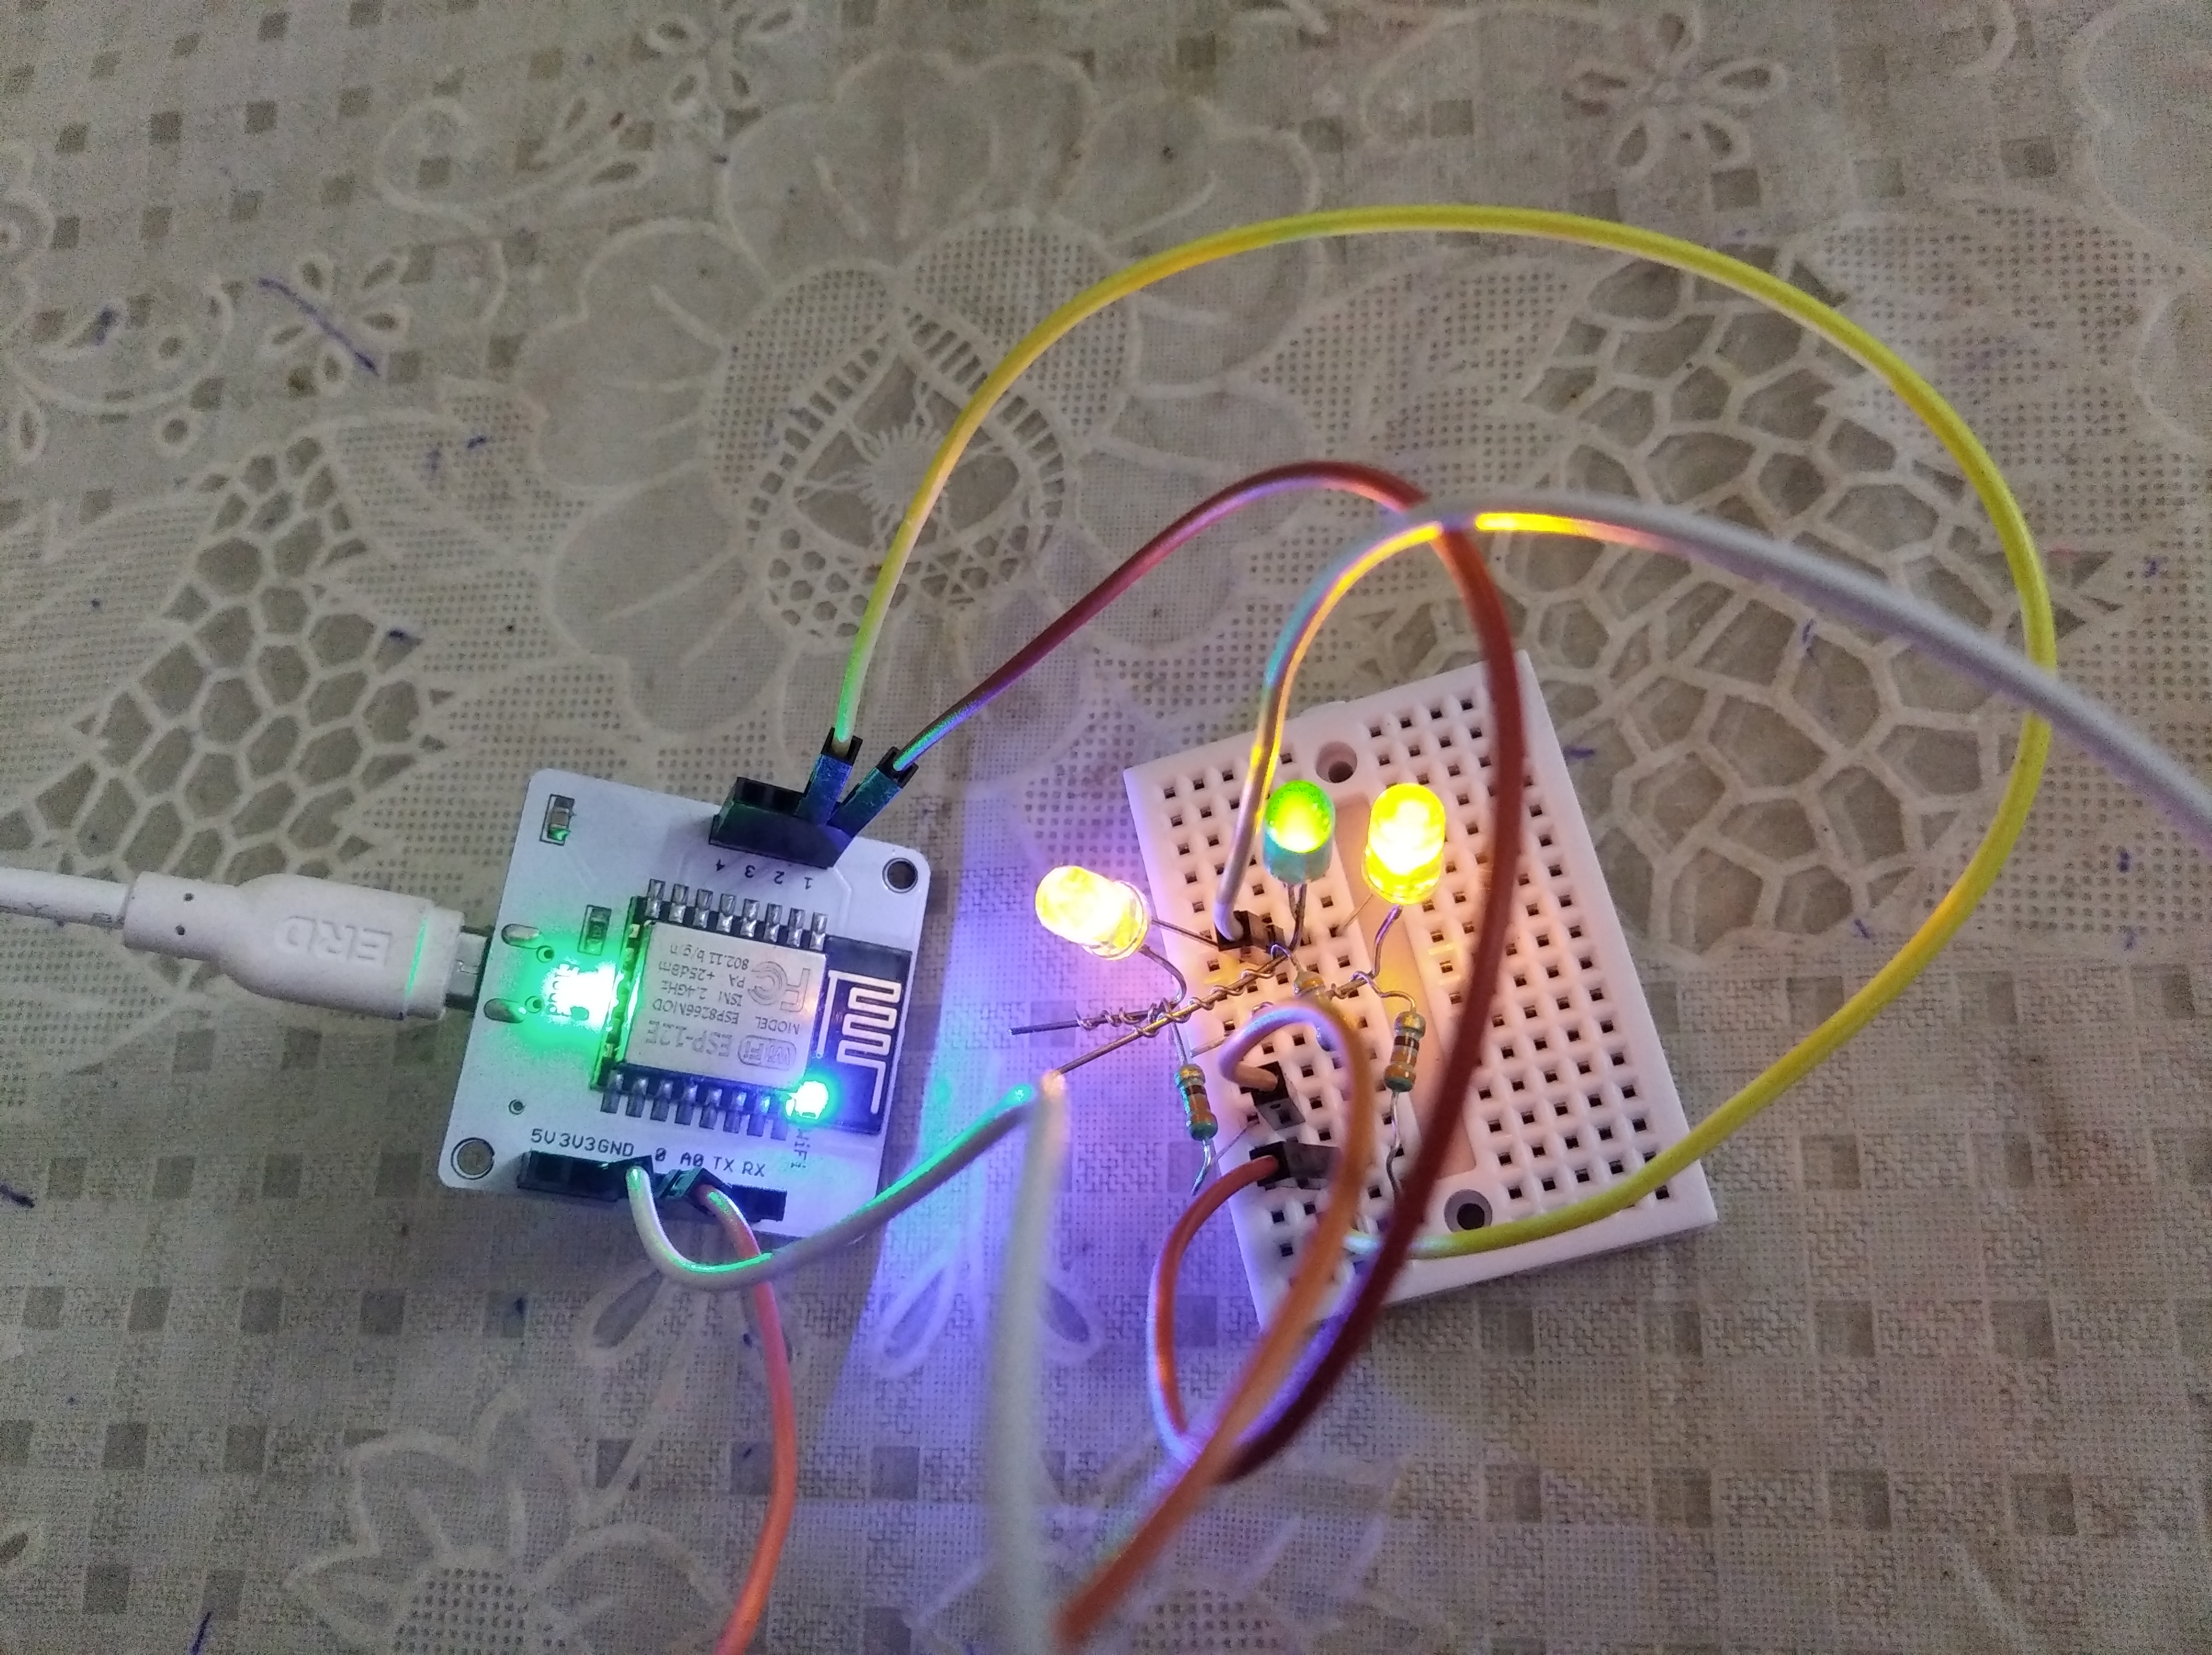
Here I am going to give an idea about how we can control our home with key pad of our mobile phone. Through this project we come to know that we can control anything from anywhere. In this project I have introduced three LED s, and let it be for different areas like one for Drawing room, one for Bed room and the other one for Kitchen. Along with these LED s, I have used three resistors of 330 ohms.
AboutComponentsusedalongwiththeirneeds.
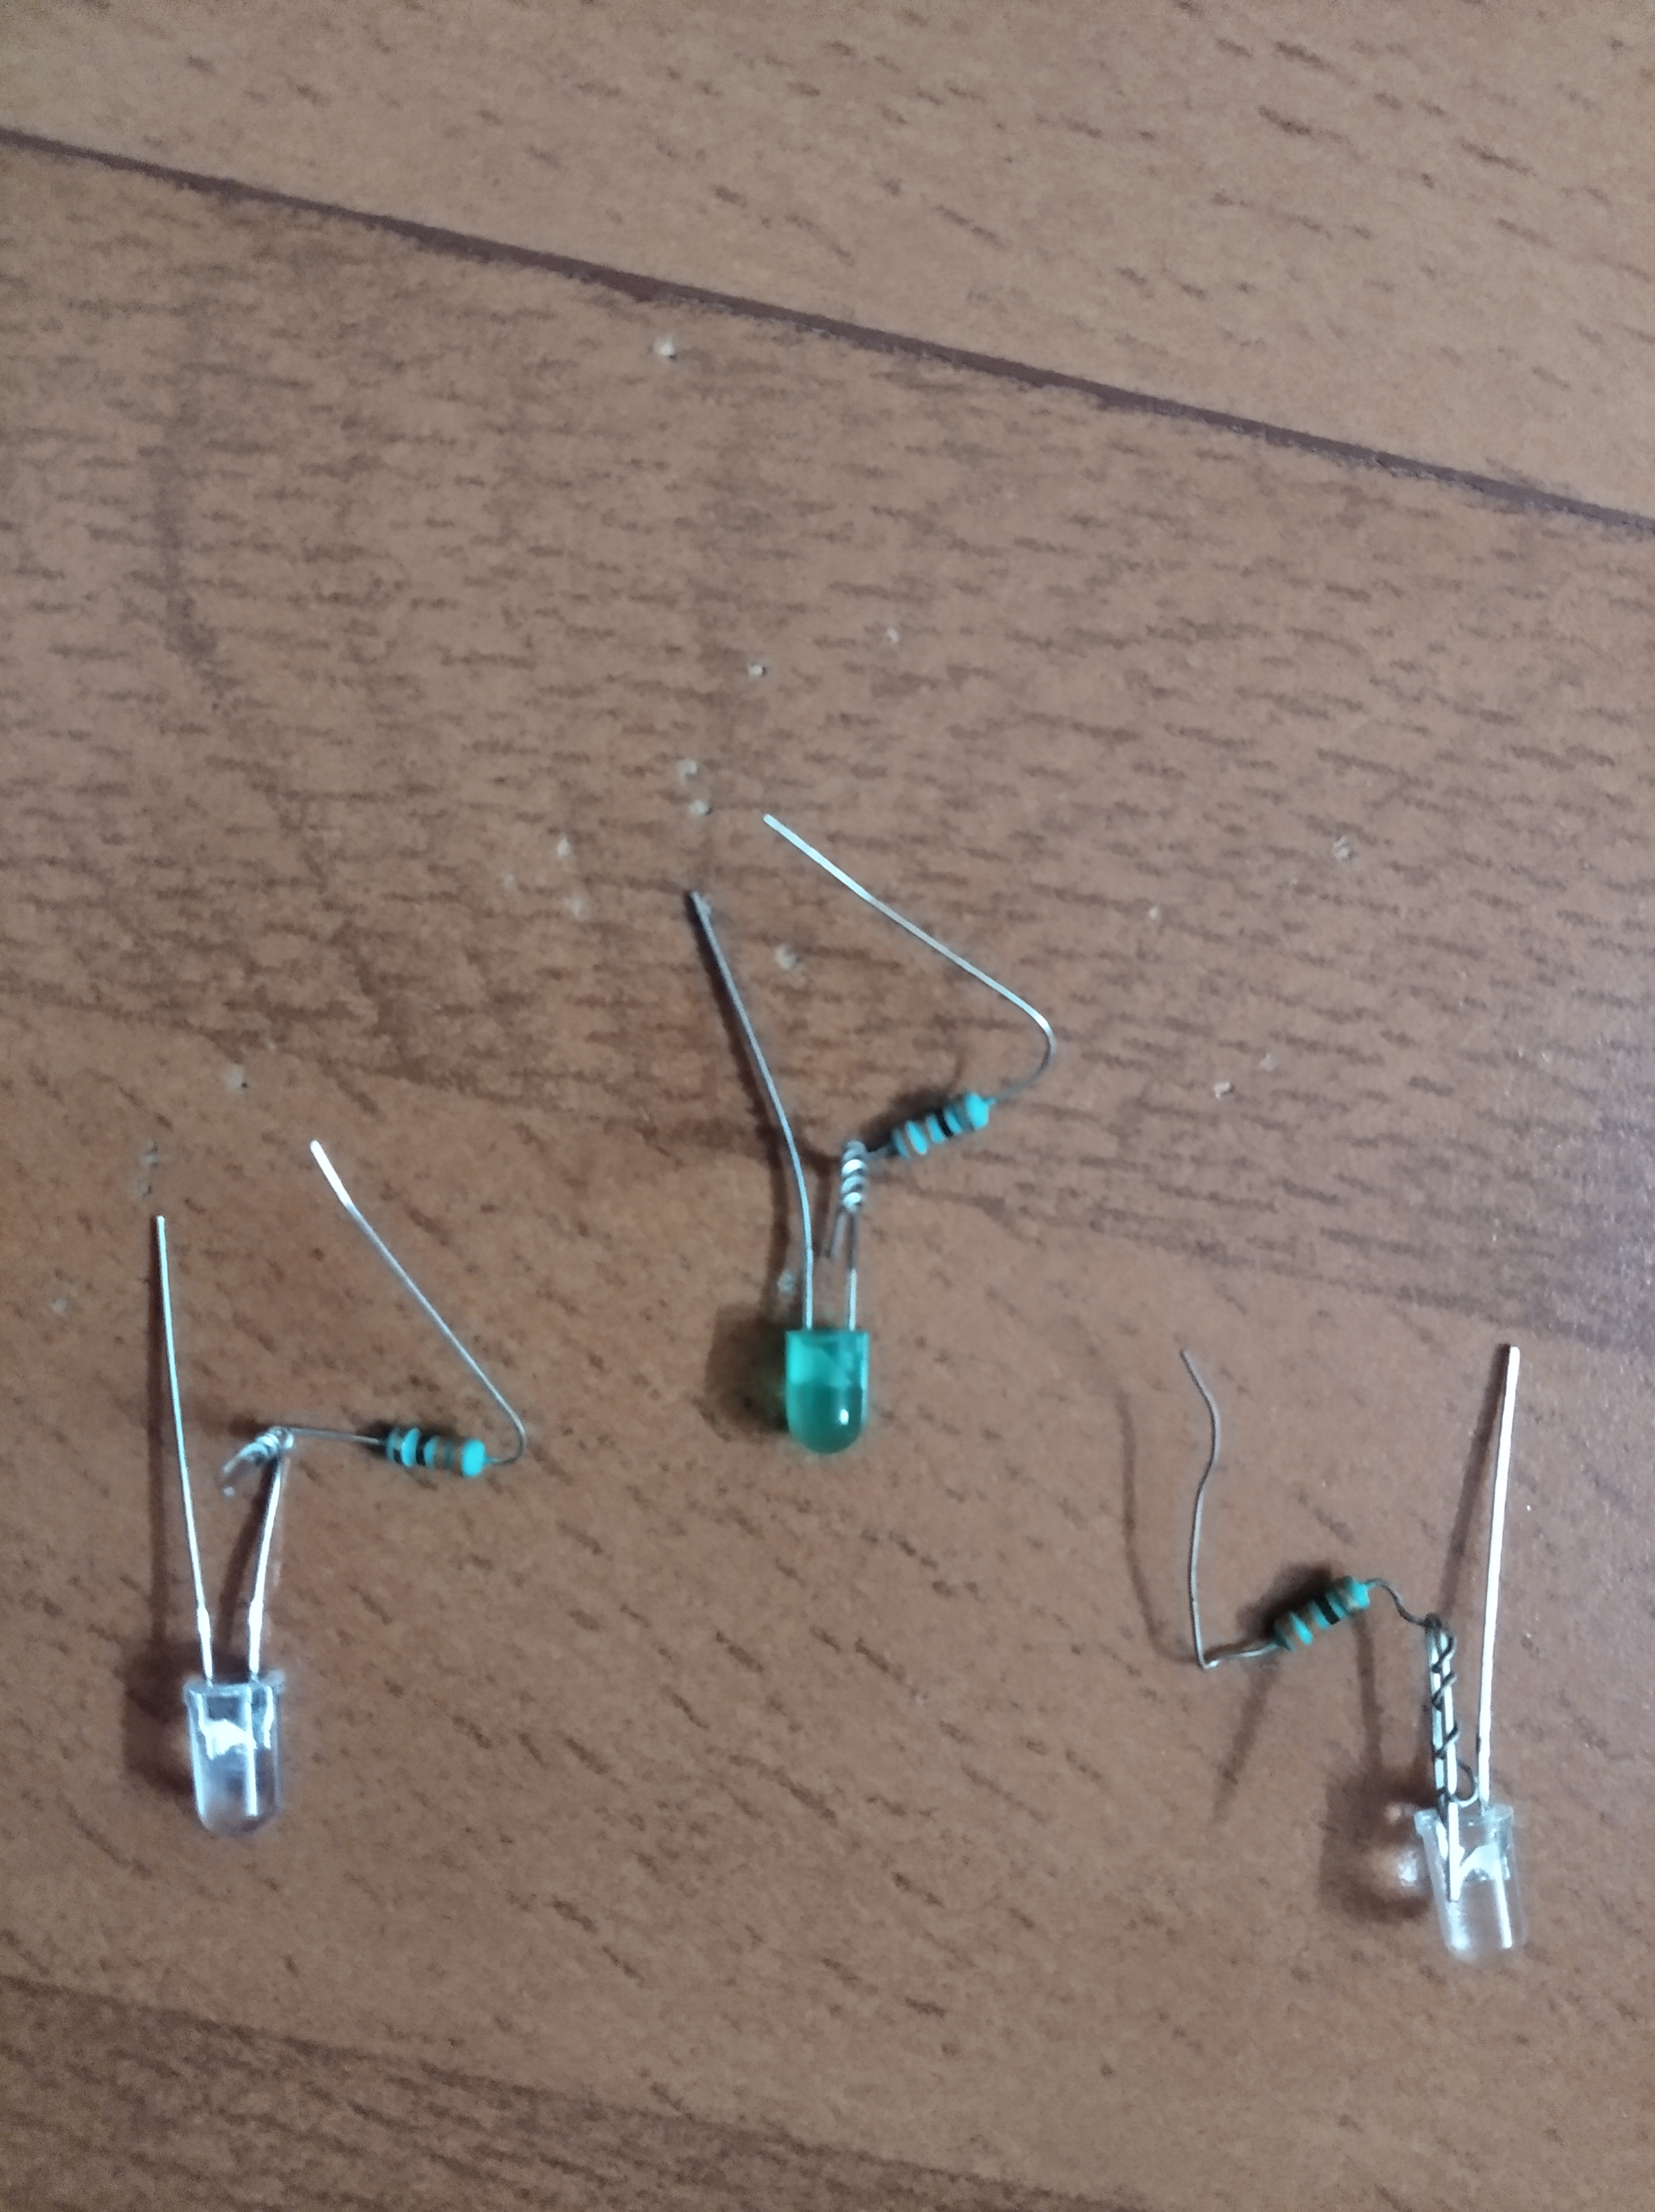
LED is the main component used here. LED stands for Light Emitting Diode. This diode is able to convert Electrical energy into Light energy. LED has two legs where one is longer and the other one is shorter. Longer leg is positive and shorter leg is negative. In the connection, we are connecting longer leg (positive) to GPIO pin (It is the pin in Bolt device which is marked as 0, 1, 2, 3, 4. We can choose any pin from this as our GPIO pin.) and the shorter leg to the ground. Resistors are wrapped along each LED s to control the flow of current along each one.
AbouttheCode.
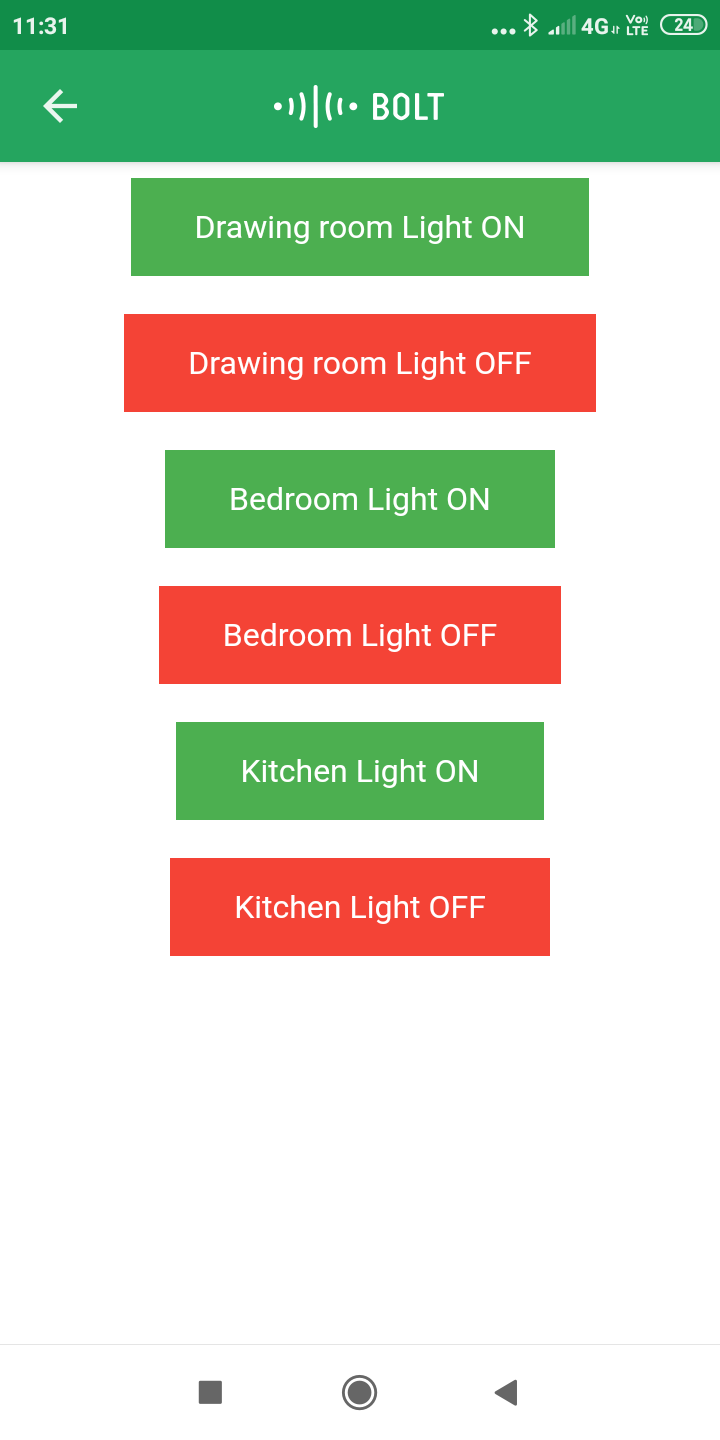
Here the LED s are controlled using the code that we are writing in the Bolt cloud. In the bolt cloud I used HTML along with Javascript and CSS to create buttons. In the header, we will add the js file(Javascript code) which has predefined functions like digitalRead, digitalWrite etc already hosted in the Bolt cloud. Then in our code we will be setting API keys which is present in our Bolt cloud Dashboard. Then we will create buttons in the body of HTML code. I have also used CSS to beautify the buttons.
Demonstration:


Comments