

Hardware components | ||||||
_ztBMuBhMHo.jpg?auto=compress%2Cformat&w=48&h=48&fit=fill&bg=ffffff) |
| × | 1 | |||
 |
| × | 1 | |||
 |
| × | 1 | |||
 |
| × | 1 | |||
 |
| × | 1 | |||
| × | 1 | ||||
| × | 1 | ||||
| × | 1 | ||||
| × | 1 | ||||
| × | 1 | ||||
| × | 1 | ||||
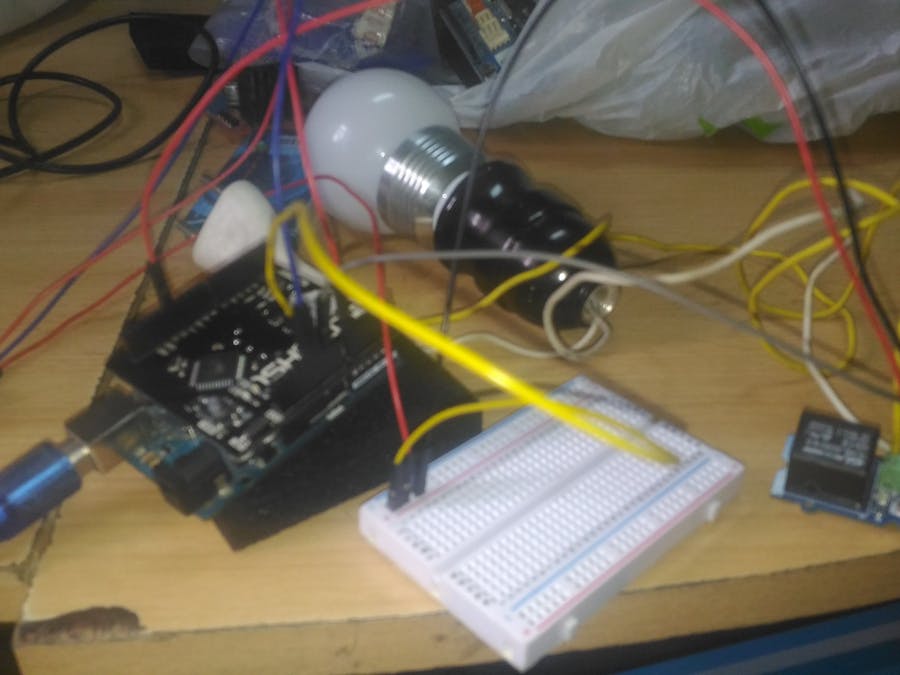
This home automation project is mainly based on Arduino UNO, 1sheeld and an android smartphone. I decided to build this project so that I can make more use of my android smartphone to make the life easier.Tools and Components Used:
1x breadboard
1x Arduino UNO
1x Arduino cable
1x smoke sensor module
1x Relay Module
1x 220V lamp
1x Home power source
1x 1Sheeld
1x Electric strike
Jumpers
This project enables you to:1. Control your home (or at least your room's) lights and power outlets (on/off) using a keypad in your android smartphone.
2. Get a buzzer beep through your phone speaker in case of detecting smoke in your home that exceed a threshold predefined value.
3. Access your home, simply opening your home door lock, through entering a pattern. In case of entering the correct pattern, the door becomes unlocked and you get an email informing you that the home was accessed. In case of entering a wrong pattern, a photo of the one entering the pattern is captured and sent to you attached in a mail informing you of an attempt to access the home.
First Step:1. Connect the 1sheeld to the arduino.
2. Connect the signal pin of the relay module to pin 13 in the Arduino.
3. Connect the vcc pin of the relay module to the 5V pin of the Arduino.
4. Connect the GND pin of the really module to pin GND of the Arduino.
5. Connect the vcc pin of the smoke sensor to pin 5V of the Arduino.
6. Connect the GND pin of the smoke sensor to the GND pin of the arduino.
7. Connect the analog signal pin of the smoke sensor to pin A0 of the Arduino.
8. Connect the signal pin of the electric strike to pin 13 of the Arduino.
9. Connect the power pins of the electric strike to prop-er power sources.
10, Connect Arduino to your computer through the USB cable.
1. Download 1sheeld Arduino Library and save it in the suitable folder.
2. Start writing the code by adding initialization values and library defining
#define CUSTOM_SETTINGS
#define INCLUDE_BUZZER_SHIELD
#define INCLUDE_PUSH_BUTTON_SHIELD
#define INCLUDE_KEYPAD_SHIELD
#define INCLUDE_EMAIL_SHIELD
#define INCLUDE_PATTERN_SHIELD
#define INCLUDE_CAMERA_SHIELD
#include
int taken =0;
long previousMillis = 0;
int State = LOW;
int lamp = 12;
int sensor = A0;
int reading = 0;
int Lock = 13;
PatternNode patternStored[] = { {0, 0}, {1, 0}, {2, 0}, {2, 1}, {2, 2} };
int counter = 0;
int length = 0;
3. Writing the setup part of the arduino program
void setup()
{
 OneSheeld.begin();
 pinMode(lamp, OUTPUT);
 pinMode(sensor, INPUT);
 pinMode(Lock, OUTPUT);
}
4. Write the function of the pattern and door lock
void pattern() {  if (Pattern.isNewPatternReceived())
 {
   /* This pointer act as array to store the last pattern entered by user. */
   PatternNode * patternEntered = Pattern.getLastPattern();
   /* Get the length of the pattern to loop over it. */
   length = Pattern.getLastPatternLength();
   /* Check if the pattern length is equal to 5. */
   if (length == 5)
   {
     for (int i = 0; i < length ; i++)
     {
       if (patternEntered[i].row == patternStored[i].row && patternEntered[i].col == patternStored[i].col)
       {
         counter++;
       }
     }
     if (counter == 5)
     {
       digitalWrite(Lock, HIGH); // lock is high when opened
       Email.send("your_email@gmail.com", "Your Home Security", "Your home was accessed right now!");
     taken =0;
     }
     else
     {
       digitalWrite(Lock, LOW);
       if (taken ==0){
       Camera.setFlash(ON);
       Camera.rearCapture();
       taken = 1;
       }
       Email.attachLastPicture ("your_email@gmail.com", "Your Home Security", "Someone tried to access your home and we took a picture of him", 0);
       counter = 0;
     }
   }
   /* If pattern length is different turn off the LED.  */
   else
   {
     digitalWrite(Lock, LOW);
    if (taken ==0){
       Camera.setFlash(ON);
       Camera.rearCapture();
       taken = 1;
       }
     Email.attachLastPicture ("your_emailh@gmail.com", "Your Home Security", "Someone tried to access your home and we took a picture of him", 0);
   }
 }
}
5. Write the loop part of the code in which the function of the keypad and the smoke sensor and the calling of the pattern function are included
void loop()
{
 if (Keypad.isRowPressed(0) && Keypad.isColumnPressed(0))
 {
   if (digitalRead(lamp) == LOW)
   {
     digitalWrite(lamp, HIGH);
   }
   else
   {
     digitalWrite(lamp, LOW);
   }
 }
 reading = analogRead(sensor);
 if (reading >= 90) {
   unsigned long currentMillis = millis();
   if (currentMillis - previousMillis > 1500) {
     // save the last time you blinked the LED
     previousMillis = currentMillis;
     // if the LED is off turn it on and vice-versa:
     if (State == LOW)
     { State = HIGH;
       Buzzer.buzzOn();
     }
     else
     { State = LOW;
       Buzzer.buzzOff();
     }
   }
 }
 else
 {
   Buzzer.buzzOff();
 }
 pattern();
}
1. Switch the 1sheeld to the upload mode with the switch being directed away from 1sheeld logo.
2. Verify the code on Arduino IDE.
3. Upload the code to the Arduino.
4. Switch the 1sheeld to the bluetooth mode using the switch directed towards the 1sheeld logo.
Fourth and Final Step: HAVE FUN!1. Download 1sheeld app from play store for android.
2. Open your bluetooth and connect to your shield from the app.
3. Add the following shields:
- Buzzer
- Keypad
- Camera
- Pattern
4. Start testing:
- Click the '1' button of the keypad and enjoy the lamp turning on and turning off when you click it again.
- Expose the smoke sensor of your home to smoke and listen to your phone speaker beeping.
- Try to enter the correct pattern (which is L in this case as written in the code and which is the default pattern) and see the electric strike opening and receiving the email.
- Try to enter a wrong pattern and check the received mail with your photo attachedas the one who have tried to access the home door.
I hope you enjoy the project and learn much from it!


Comments